Give your friends €10 off their first order!
Refer a FRIEND








A project from our live show Create Together Club - 5 Days of Creativity - Broadcast Friday 14TH Feb 2025 · 14/02/2025 · watch it from 19:30
Create a stunning card featuring a stamped poppy design with horizontal coloured stripes running through it. Cut your stamped image into thin strips and reassemble them with gaps to reveal vibrant pink, green, blue and peach stripes beneath. This paper piecing technique creates a modern, segmented effect whilst keeping the poppy image perfectly aligned across the card.
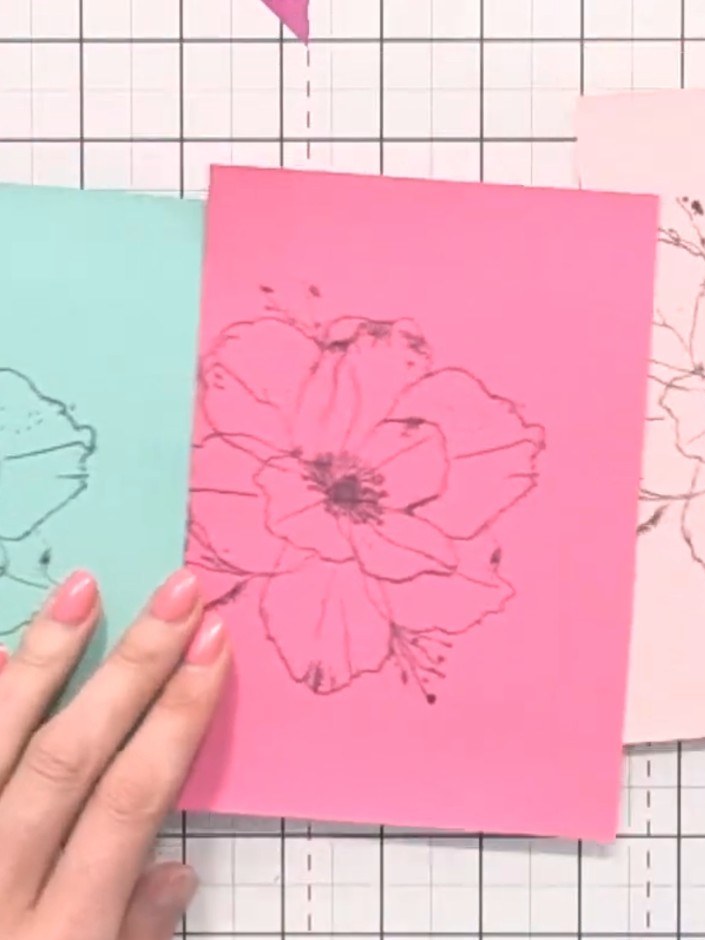
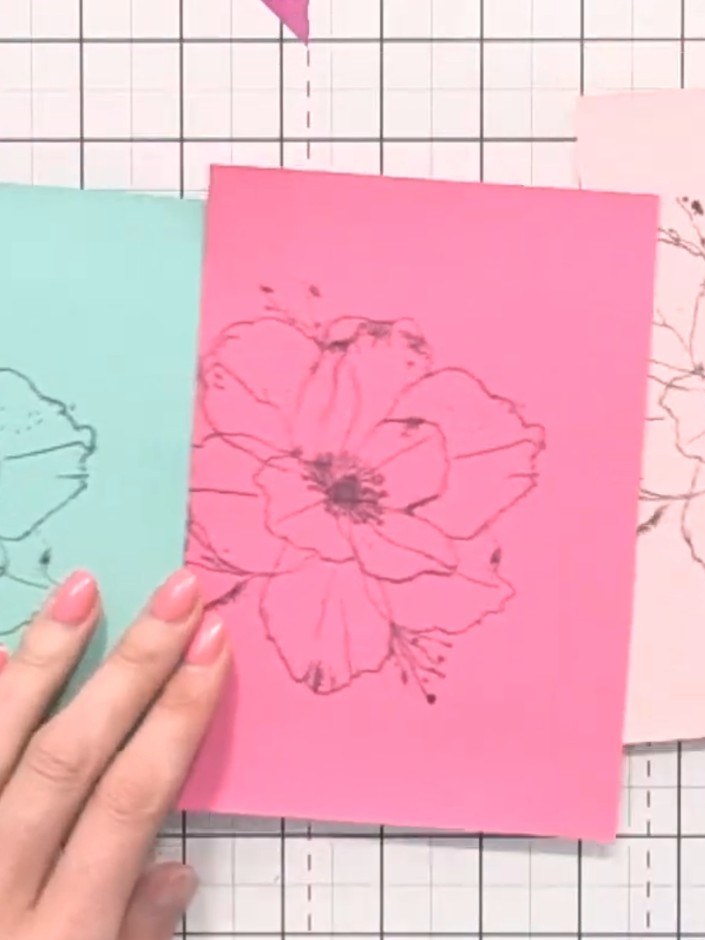
Gather your four stamped poppy pieces on different coloured card stock: mint green, pink, pale pink, and blue.
▶ watch this step (19:30)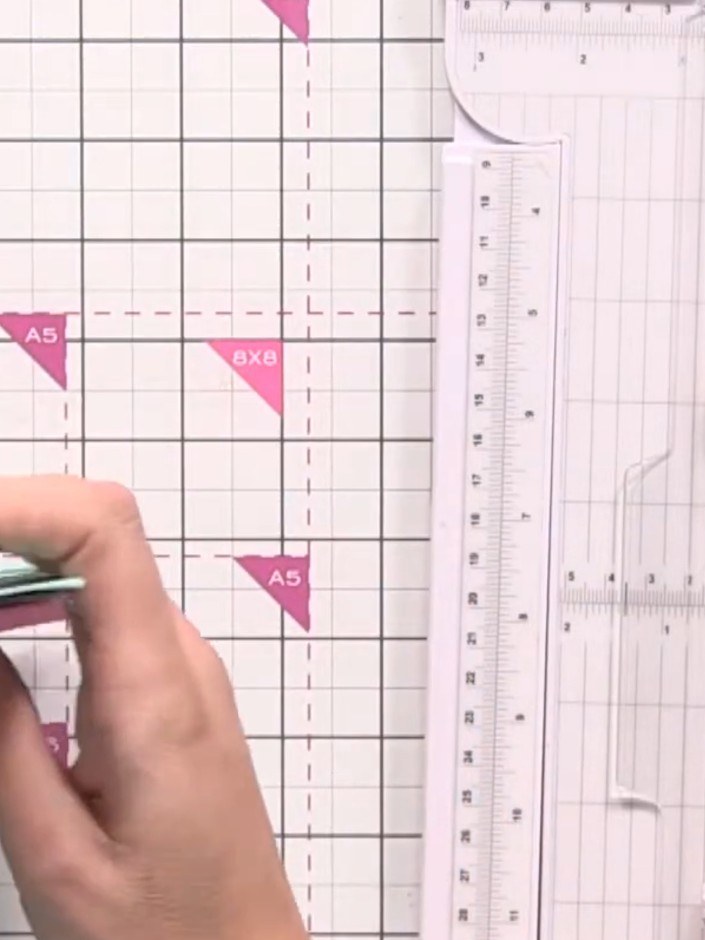
Using a guillotine, cut thin horizontal strips from each stamped piece, keeping the strips roughly the same width across all colours.
▶ watch this step (20:00)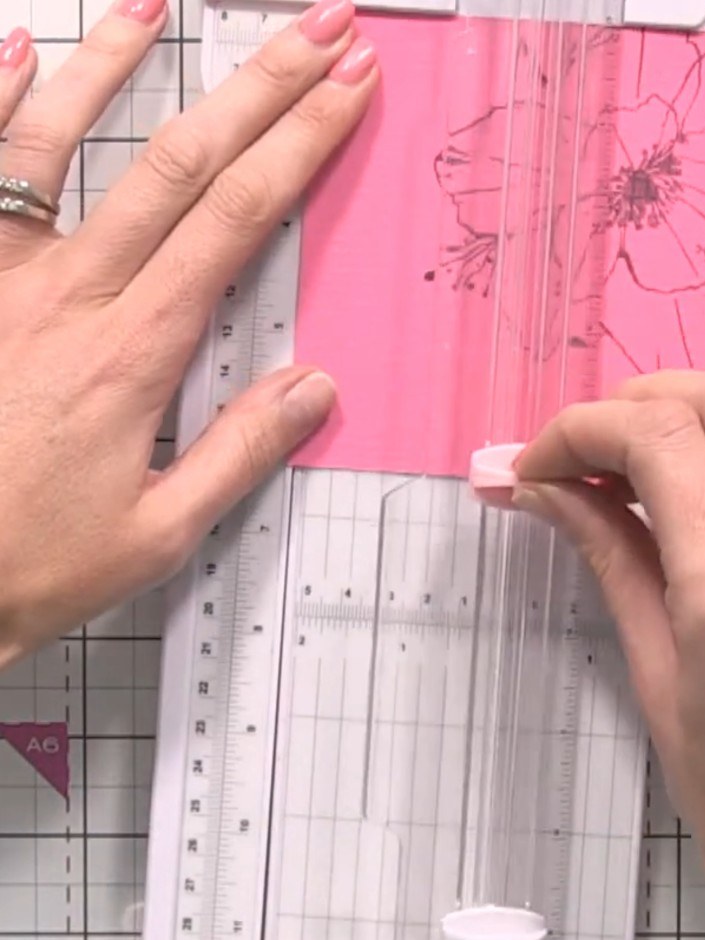
Arrange your pink card strips in the desired order on your work surface. You can choose to arrange them from light to dark or in any colour sequence you prefer.
▶ watch this step (20:30)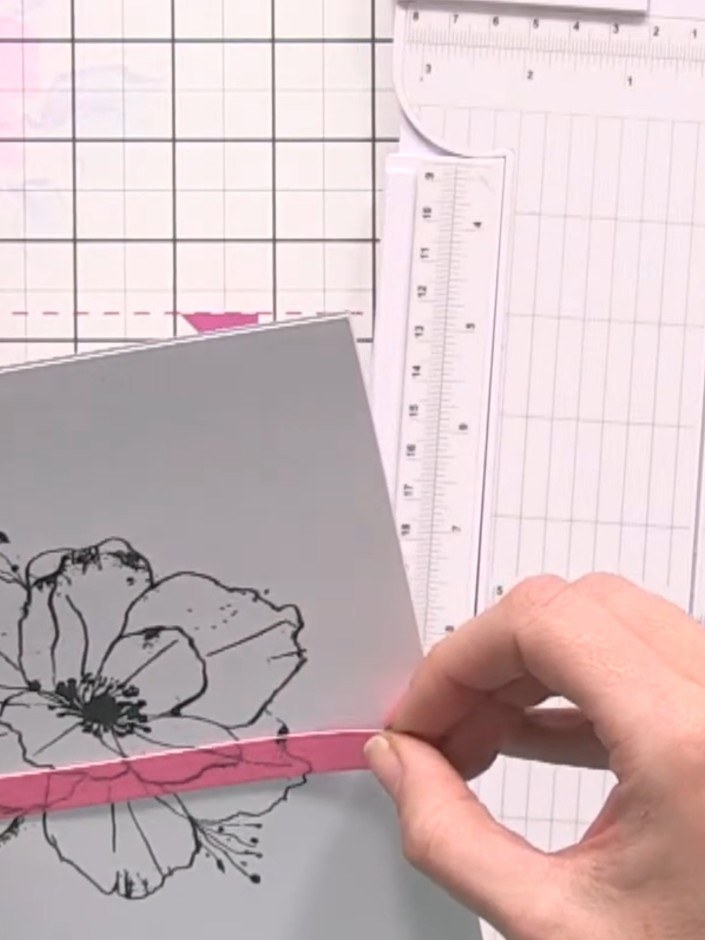
Take your card blank and apply the first pink strip along the top edge, carefully aligning it with the stamped flower design on the grey card.
▶ watch this step (21:00)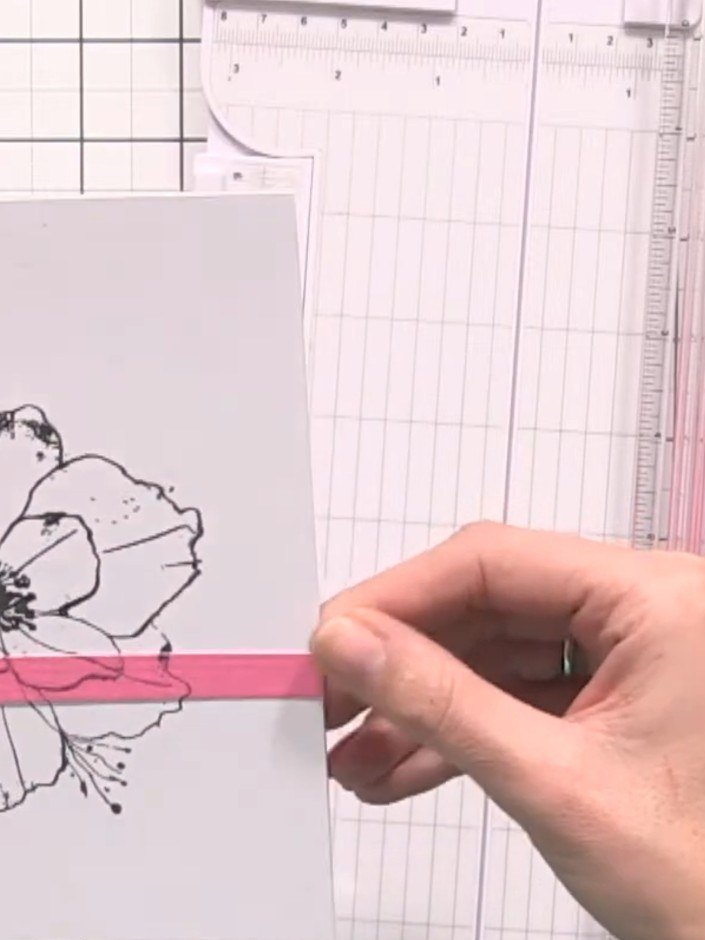
Position the second pink strip directly below the first strip, aligning it so the poppy design continues seamlessly across both strips. Ensure the flower image matches up where the strips meet.
▶ watch this step (21:30)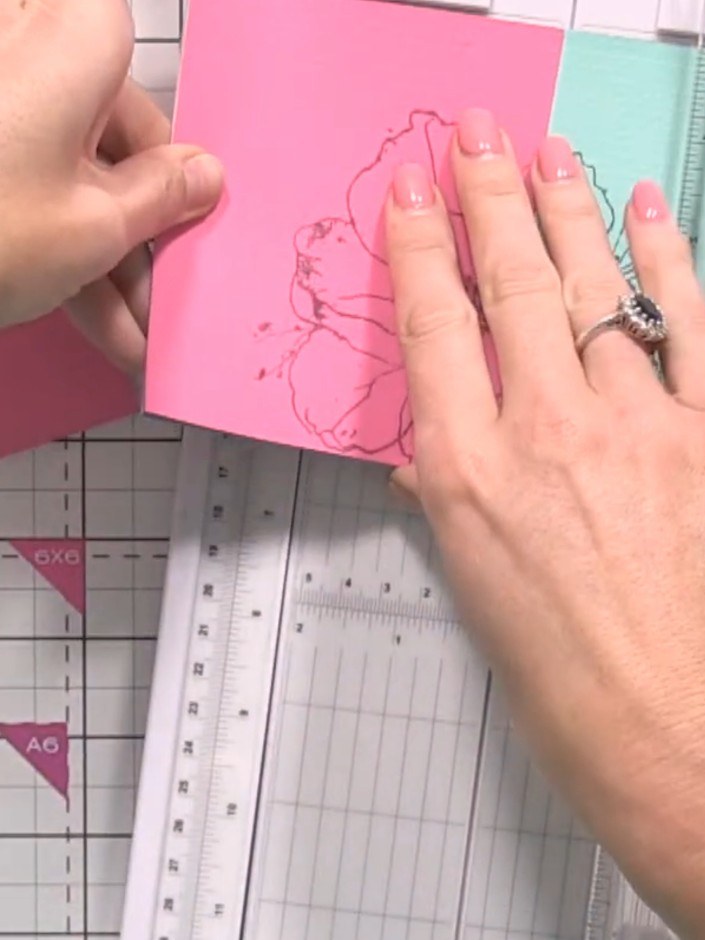
Continue adding strips in your chosen order, aligning each design element carefully. Hold the strip in place and smooth it down to ensure the stamped images line up perfectly with the previous pieces.
▶ watch this step (22:00)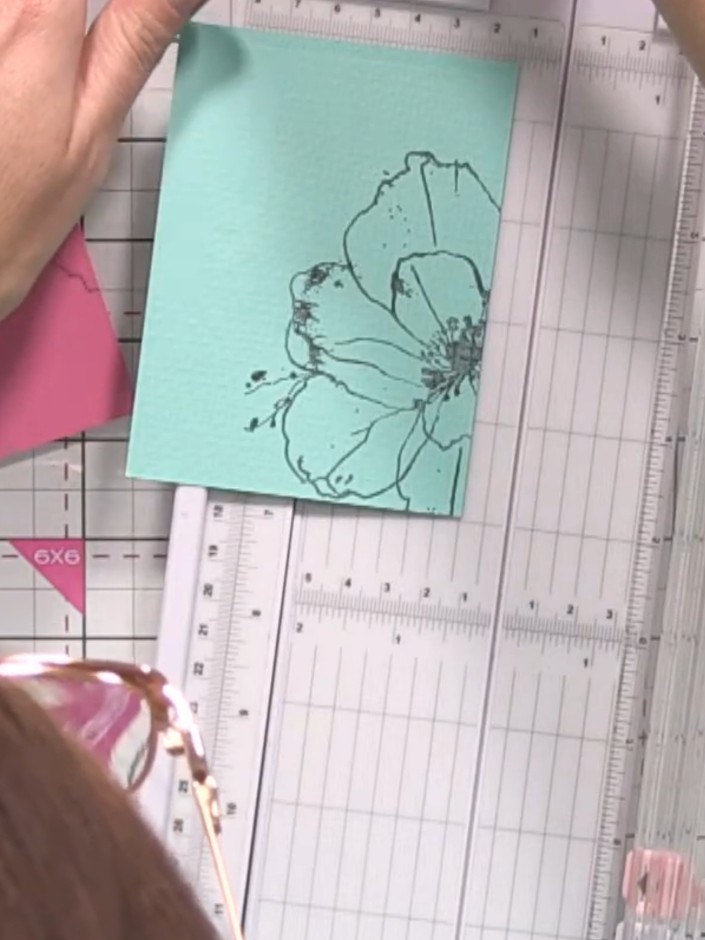
Place the stamped card with the horizontal striped pieces on your guillotine and trim down to create a neat rectangular card with clean edges around your design.
▶ watch this step (22:30)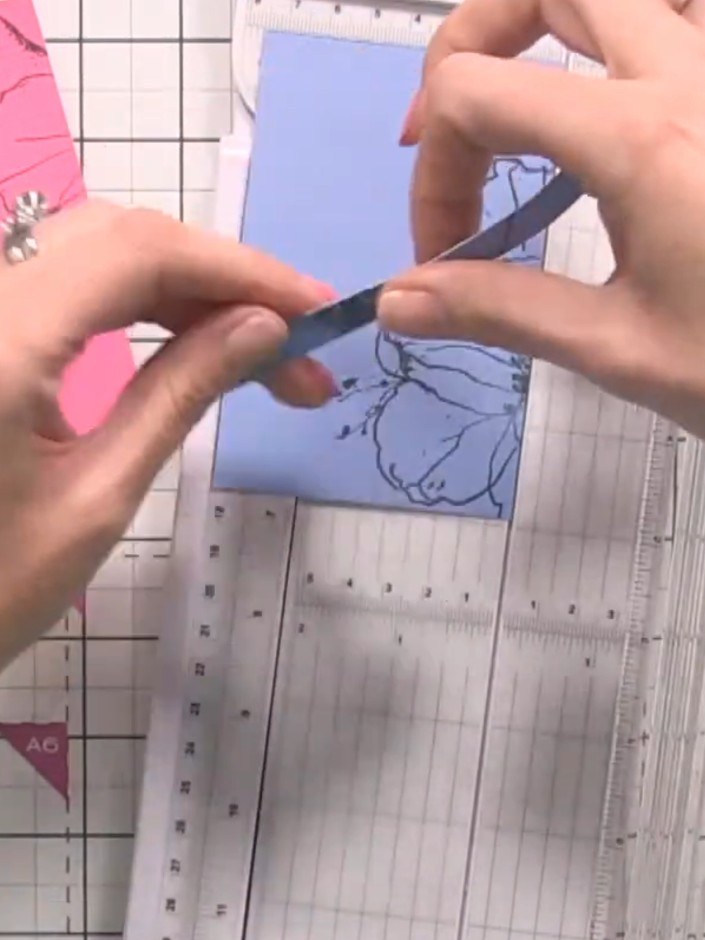
Stamp a sentiment from the stamp set onto the card front using black ink.
▶ watch this step (23:00)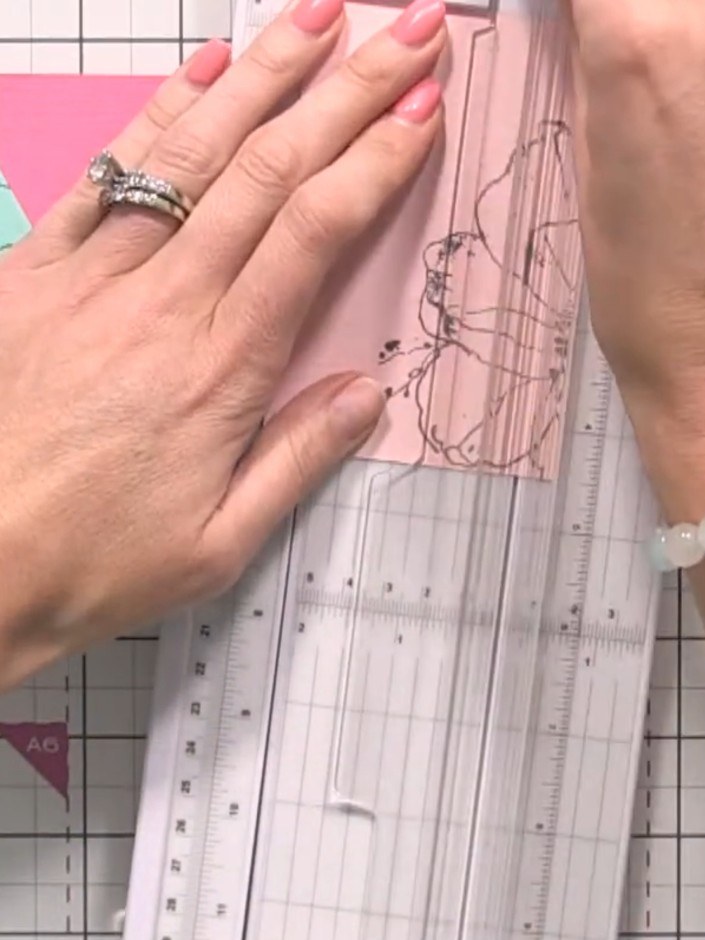
Adhere your finished stamped and pieced design to the front of a card blank to complete your card.
▶ watch this step (23:30)Written up from the show itself. See every guide from our shows · free how-to guides · watch live on My Telly