Give your friends €10 off their first order!
Refer a FRIEND








A project from our live show Create Together Club - 5 Days of Creativity - Broadcast Friday 14TH Feb 2025 · 14/02/2025 · watch it from 24:00
Create a bold monochromatic card by stamping the same poppy design repeatedly onto white card stock, then cutting and reassembling the pieces to create a striking black-on-white effect with a painterly quality.
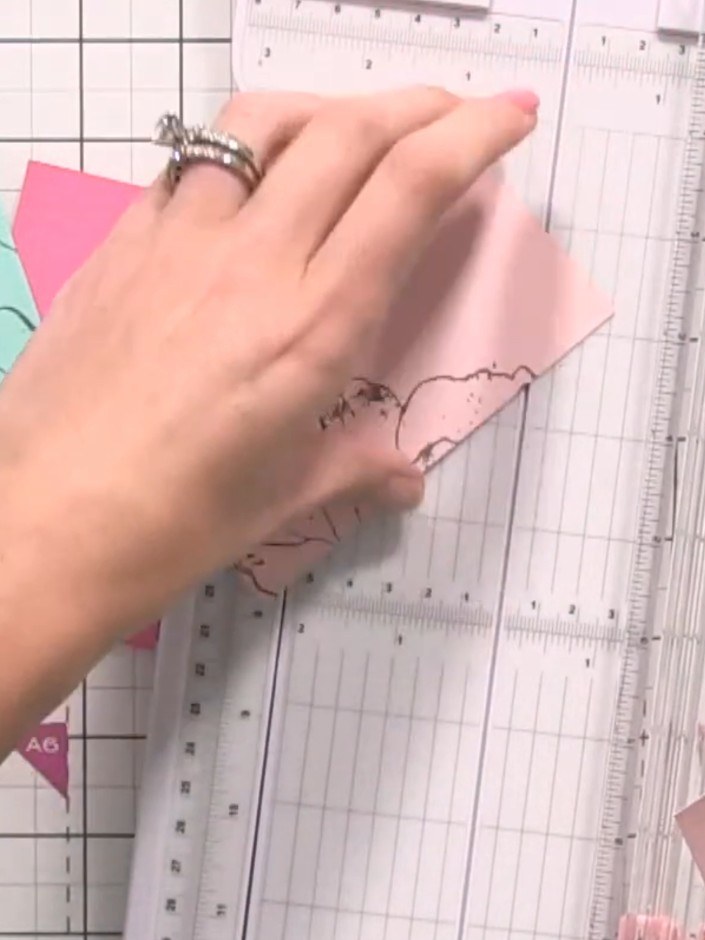
Prepare multiple pieces of white card stock by stamping floral images onto them. Trim the stamped pieces using a paper trimmer to create individual panels for your segmented card design.
▶ watch this step (24:00)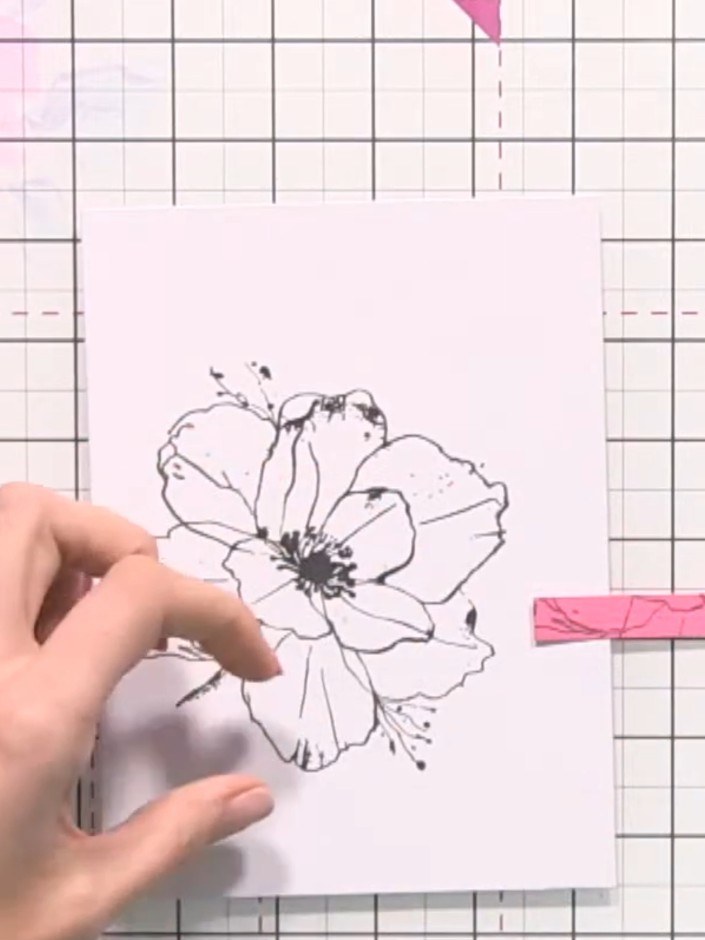
Ink up the large poppy stamp with black ink using an ink pad.
▶ watch this step (24:15)
Stamp the poppy image onto each piece of white card stock in the same position. Hold the stamp steady and ensure consistent placement across all pieces without moving the stamp between stampings.
▶ watch this step (24:30)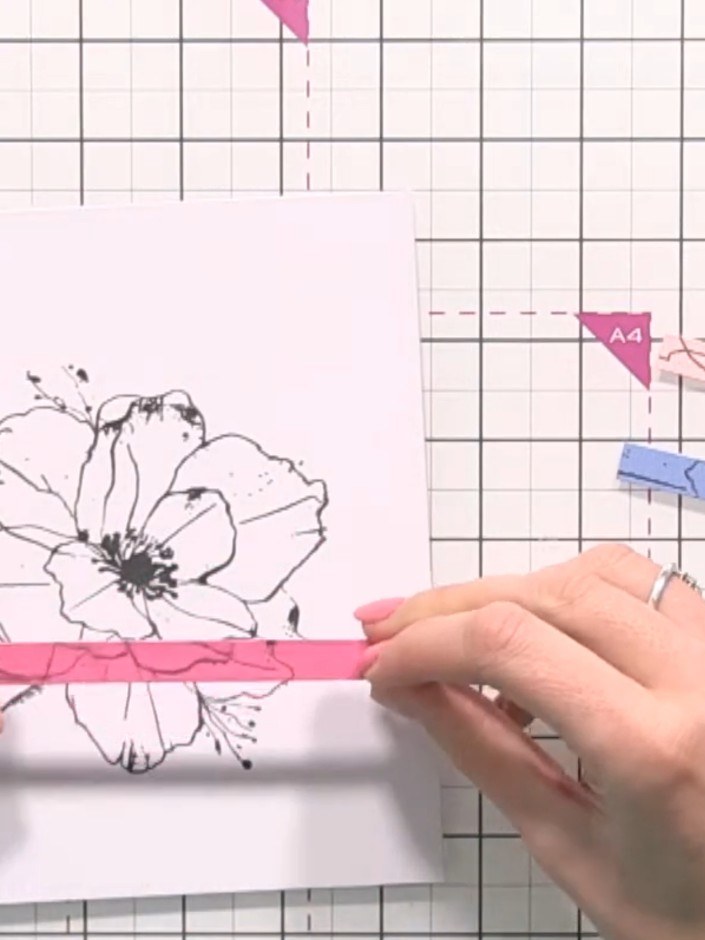
Cut the stamped white pieces into thin horizontal strips using your guillotine, lining up each cut carefully to create even strips.
▶ watch this step (25:00)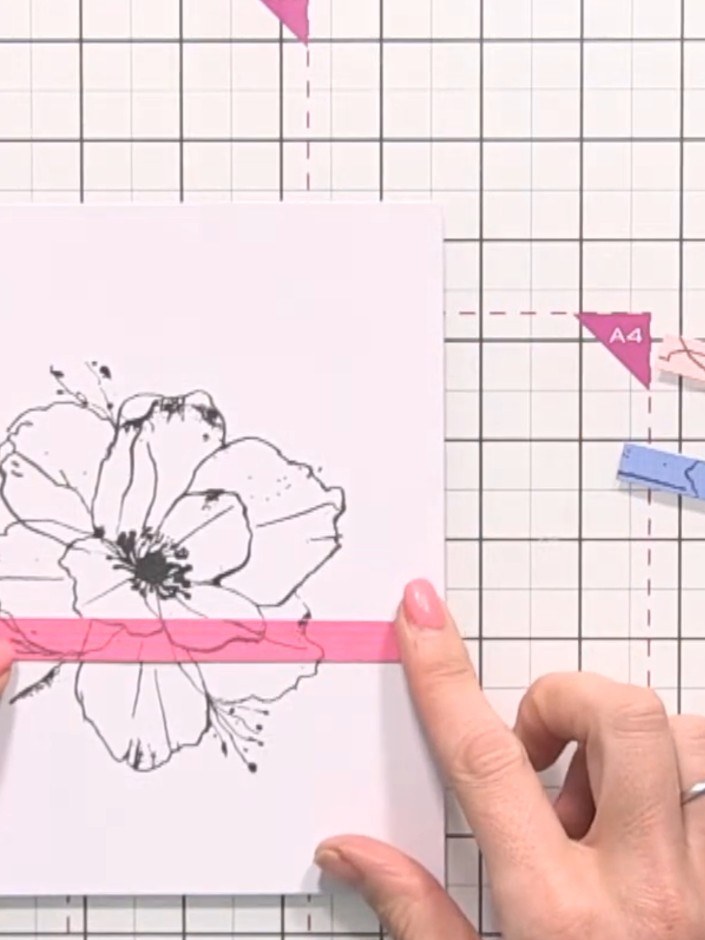
Position the pink strip horizontally across the centre of the flower design on your card base, ensuring the design aligns properly. The strip should sit slightly short of centre to accommodate the design placement.
▶ watch this step (25:30)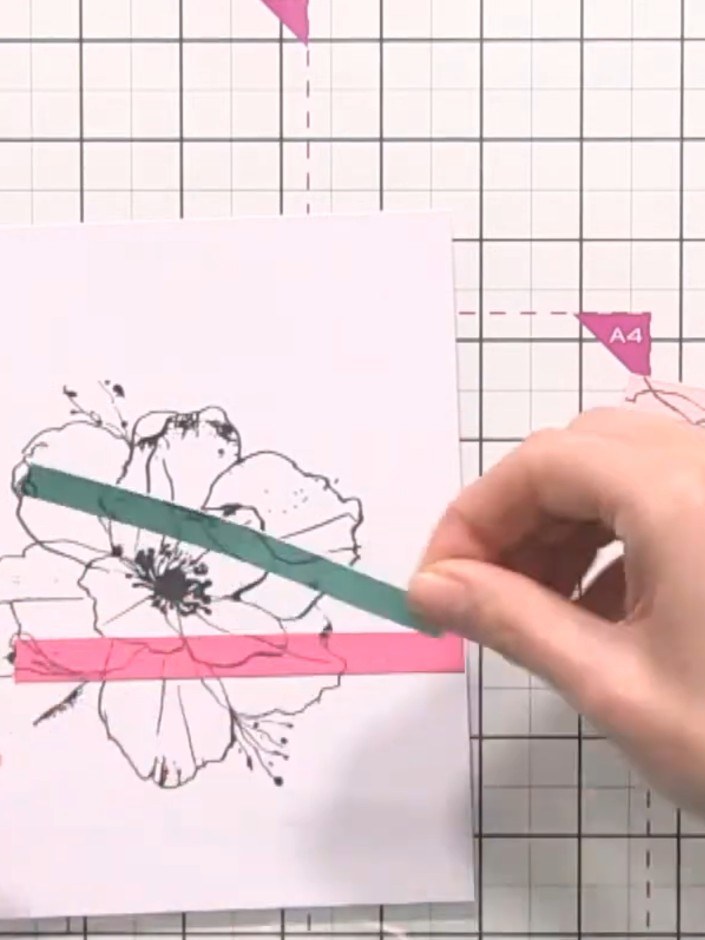
Adhere each coloured strip carefully across the flower image, matching the design across the segments. Position the mint green strip first, followed by the pink strip below it, ensuring the flower outline aligns properly.
▶ watch this step (26:00)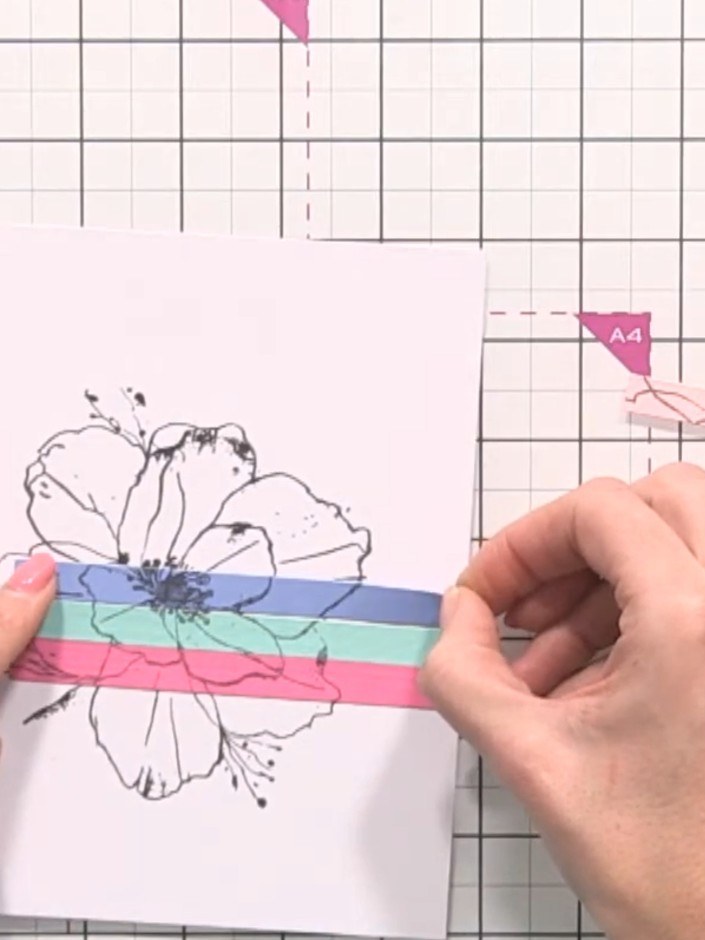
Trim the assembled card to create clean edges using a paper trimmer or scissors. Remove any excess paper from the sides to ensure all layers are even and aligned.
▶ watch this step (26:30)Written up from the show itself. See every guide from our shows · free how-to guides · watch live on My Telly