Give your friends €10 off their first order!
Refer a FRIEND








Prices change straight away. Every language is our own translation, not Google.
A project from our live show MIGHTY MONDAY - Join Toni for her detailed papercrafting sessions - Broadcast 3rd Feb 2025 · 03/02/2025
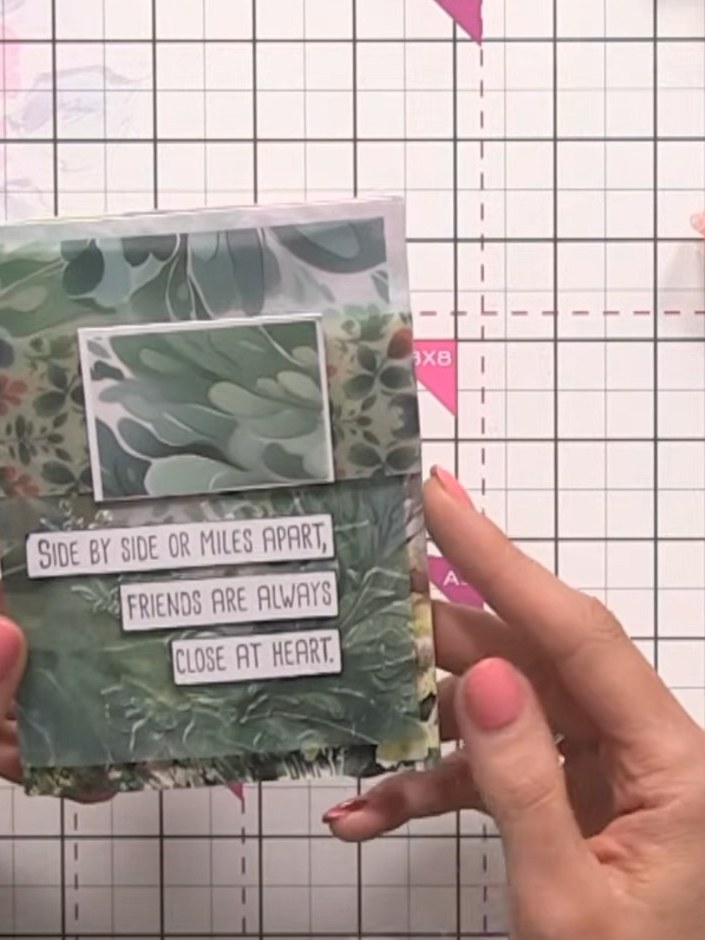
Create an elegant card featuring a scenic background wrapped in translucent vellum with embossed corner details. The vellum overlay creates a sophisticated see-through effect in soft greens and natural tones, allowing the beautiful landscape underneath to show through. This project uses simple wrapping and embossing techniques to achieve a professional, layered finish.
 1
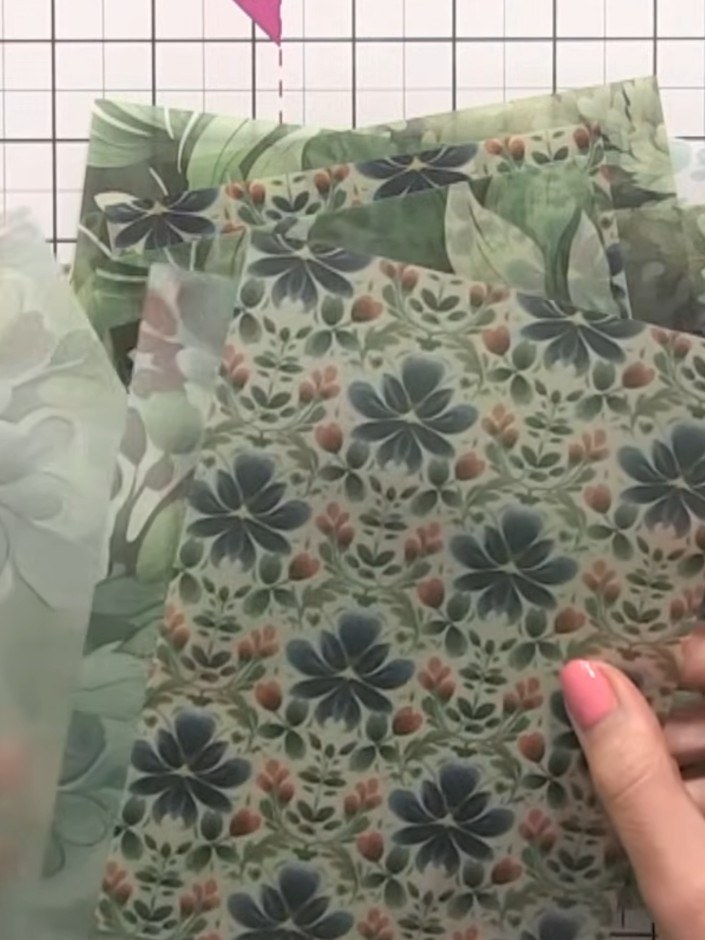
Select a piece of patterned vellum from your collection. Choose one with a light area so you can see detail underneath when layering.
 2
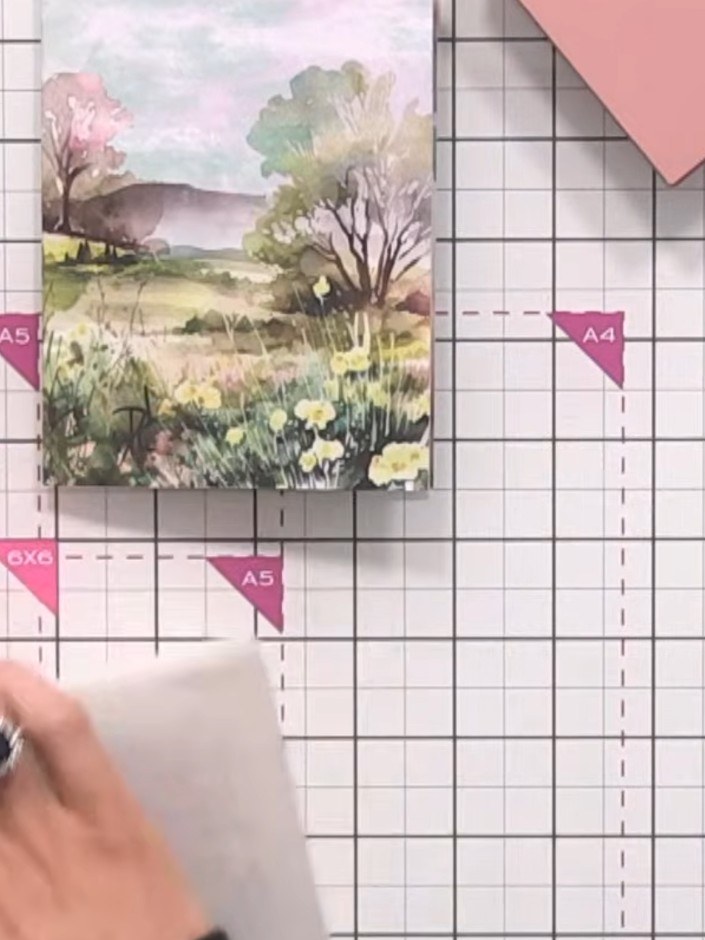
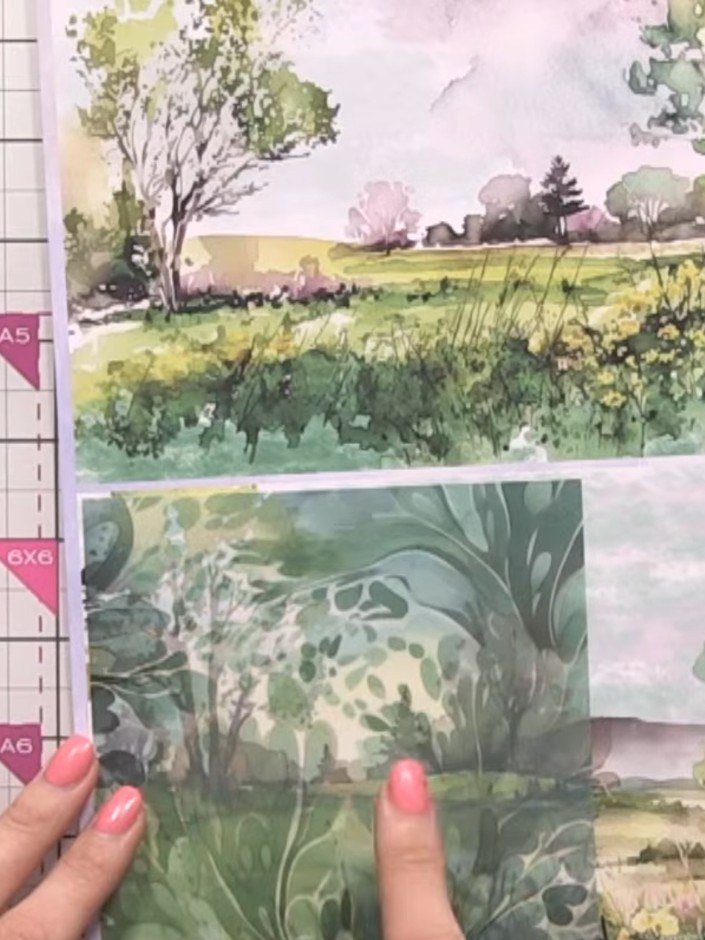
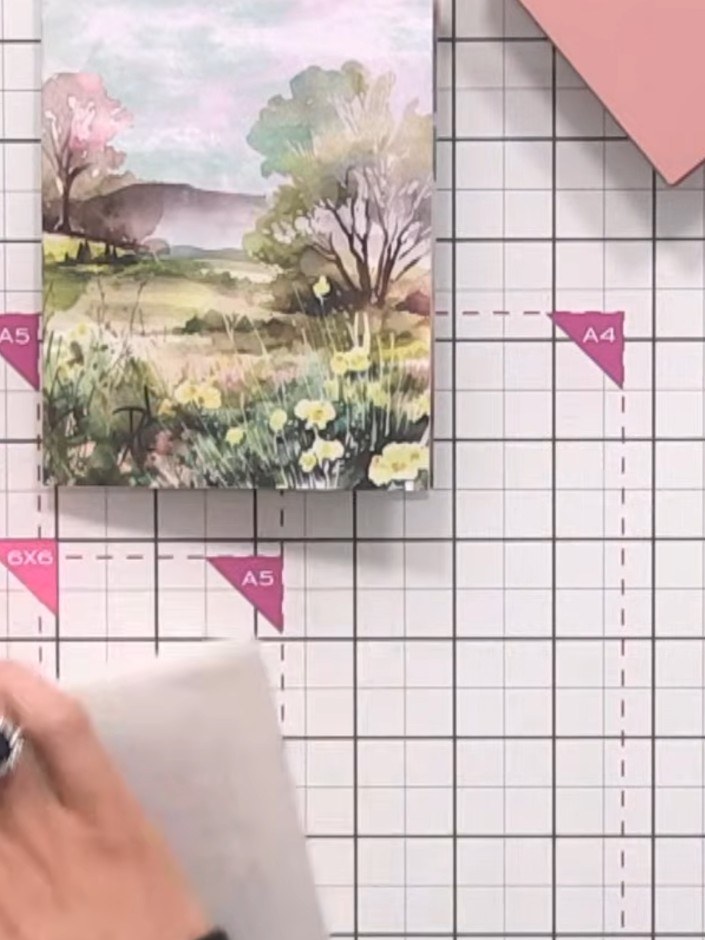
Select a piece of patterned paper from your collection to use as your card base. The paper shown features a peaceful landscape scene with greenery and foliage.
 3
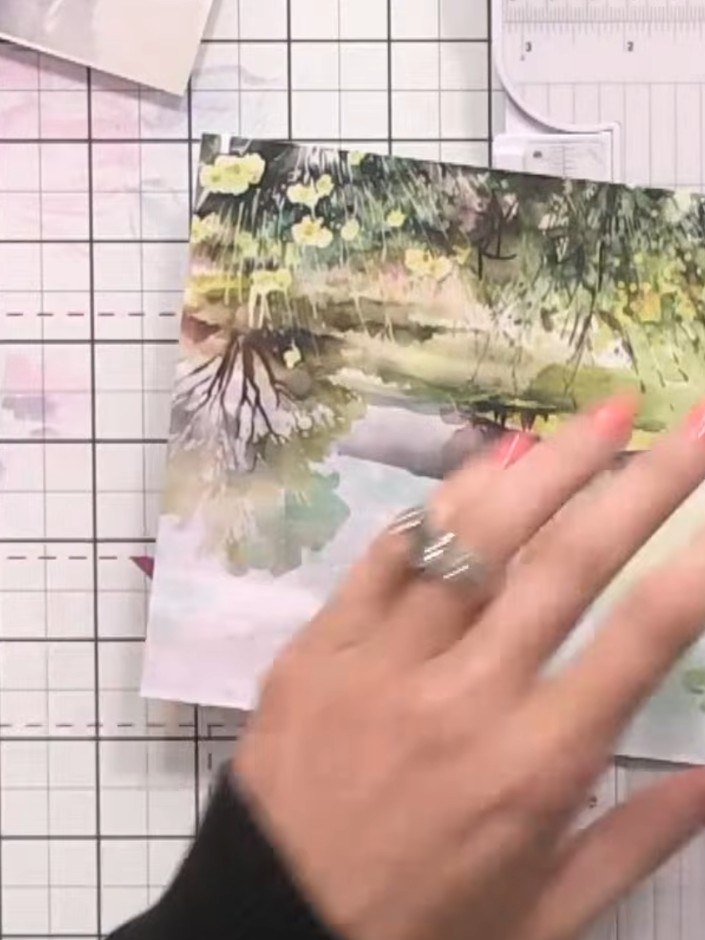
Cut your vellum to the same size as your card base using a mini trimmer for precision. Align the vellum carefully and trim to create a neat edge.
 4
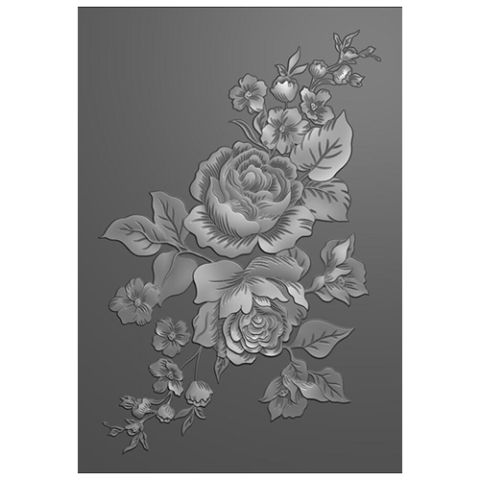
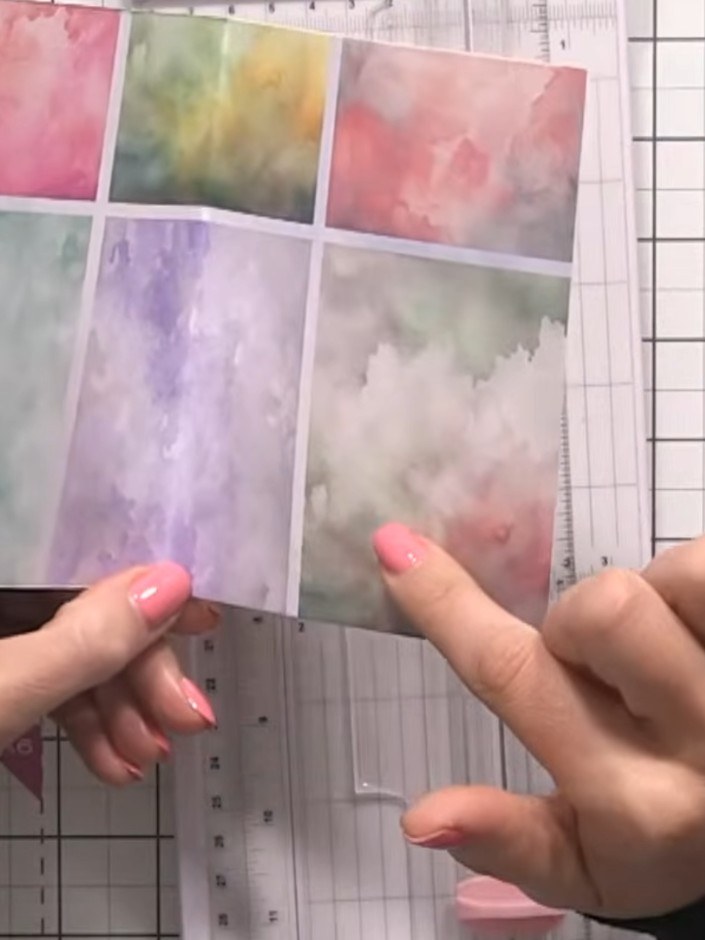
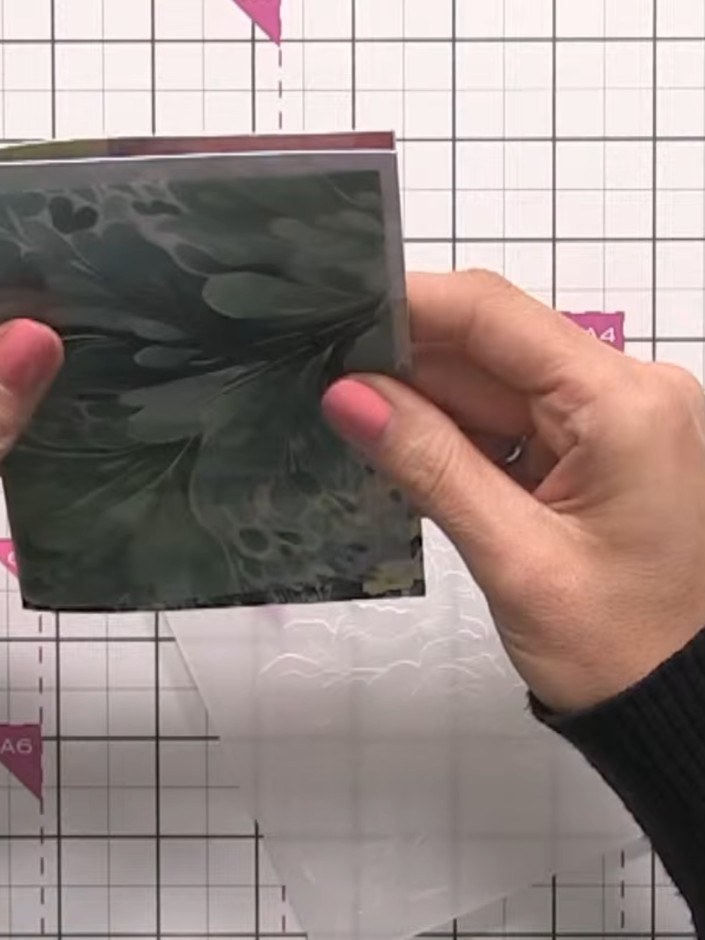
Take one of the remaining vellum pieces and fold it in half to create a small decorative card from the offcut. The embossed White Rose design should be visible on the front.
 5
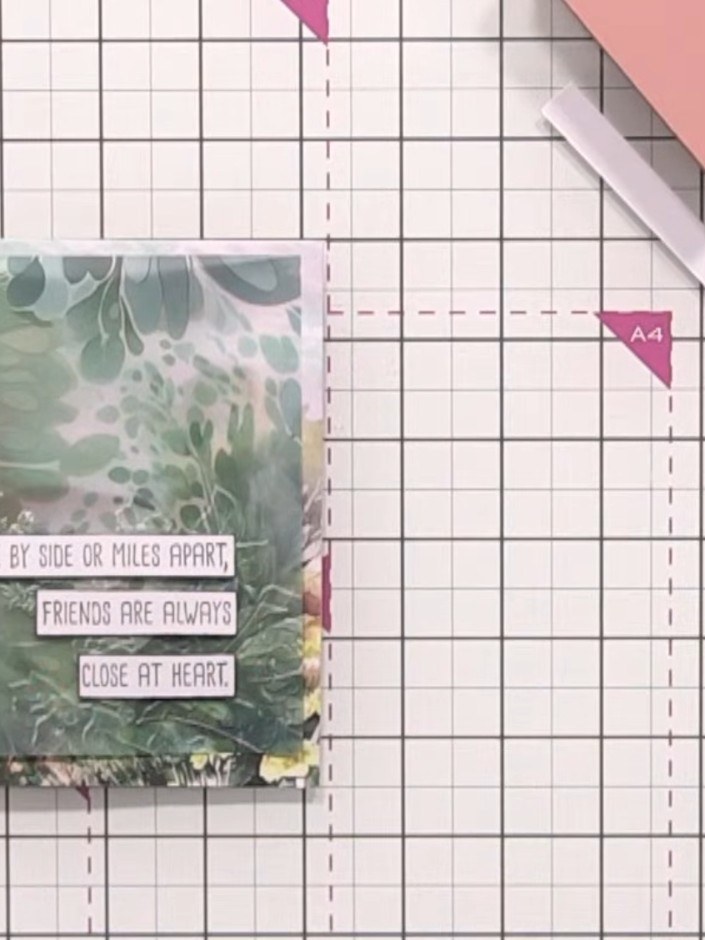
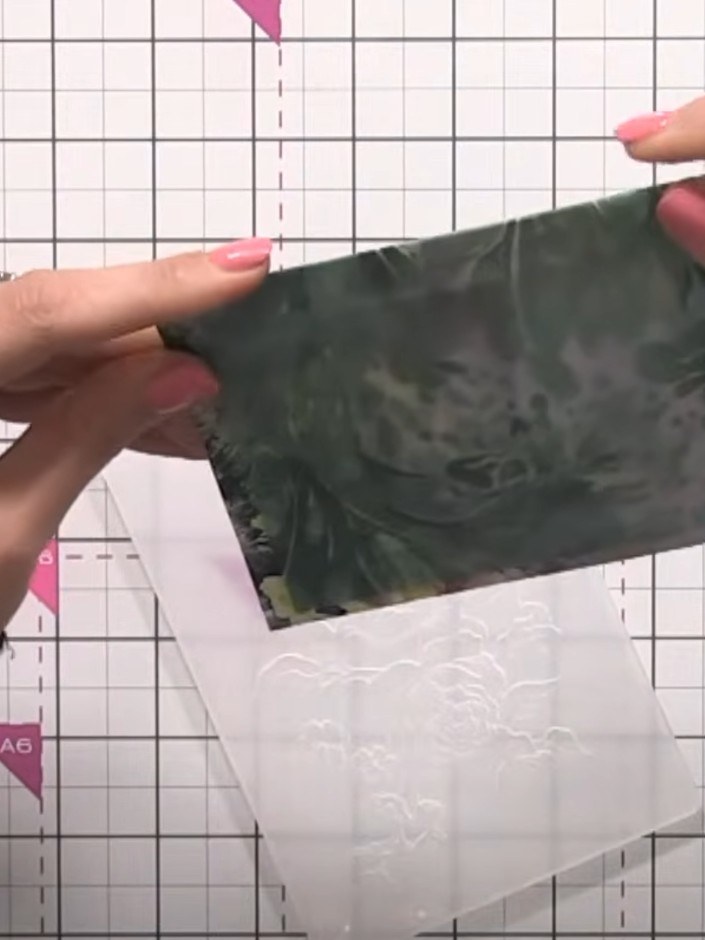
Position your vellum piece as a wrap around the front of the card base. Allow the vellum to extend slightly around the back edge to secure it in place.
 6
Trim the vellum on the back of the card to approximately one inch depth. This creates an intentional wrapped look rather than appearing accidental.
 7
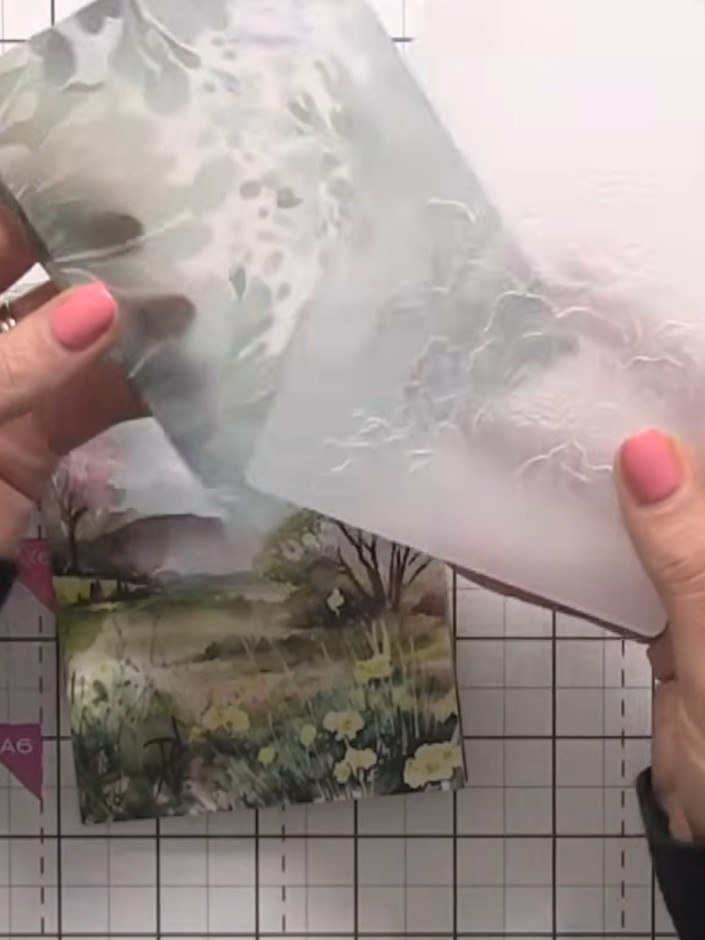
Run the corner of the vellum through an embossing folder to add a delicate embossed detail, such as a rose, to the corner.
 8
Secure the vellum wrap to the back of the card using double-sided tape. Position the tape along the hinge area where the vellum overlaps the card base.
 9
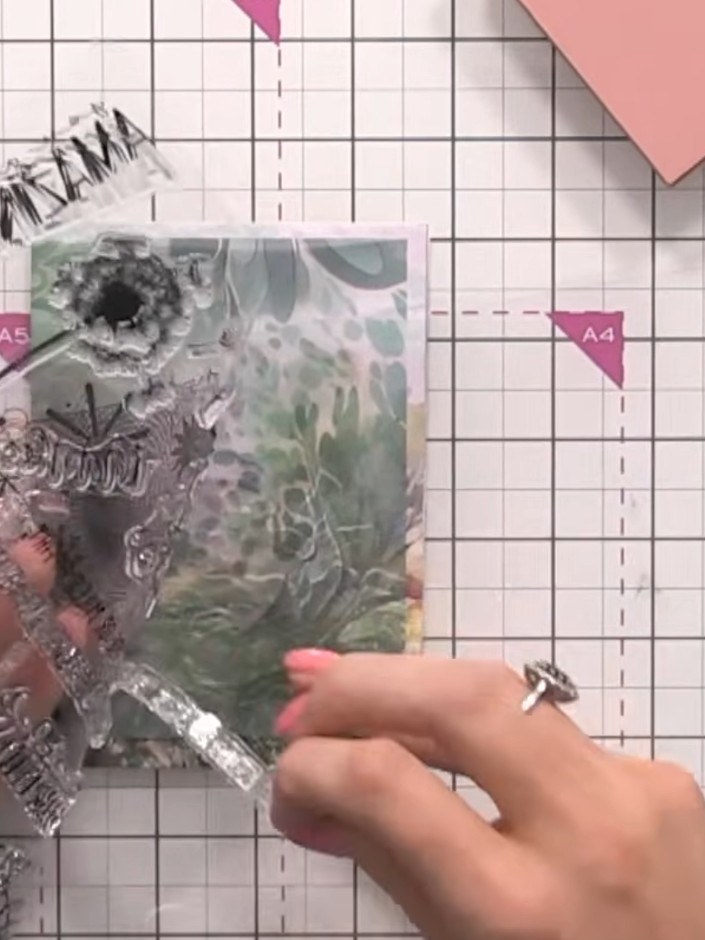
Stamp a sentiment onto white card stock. Trim the stamped sentiment to size using your paper trimmer.
 10
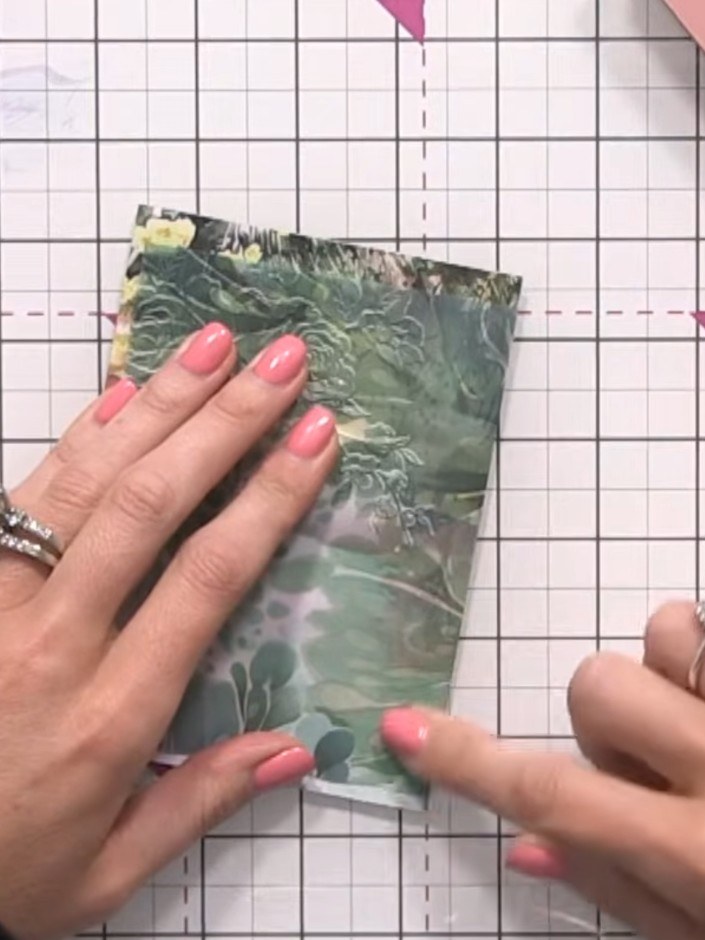
Adhere your sentiment panel to the front of the card, positioning it so it shows through the vellum overlay. Press firmly to ensure a good crease and secure adhesion.
Share your make with the Stamps By Me community - and keep this guide for next time.
Written up from the show itself. See every guide from our shows · free how-to guides · watch live on My Telly · the previous layout