Give your friends €10 off their first order!
Refer a FRIEND








A project from our live show MIGHTY MONDAY - Join Toni for her detailed papercrafting sessions - Broadcast 3rd Feb 2025 · 03/02/2025 · watch it from 24:30
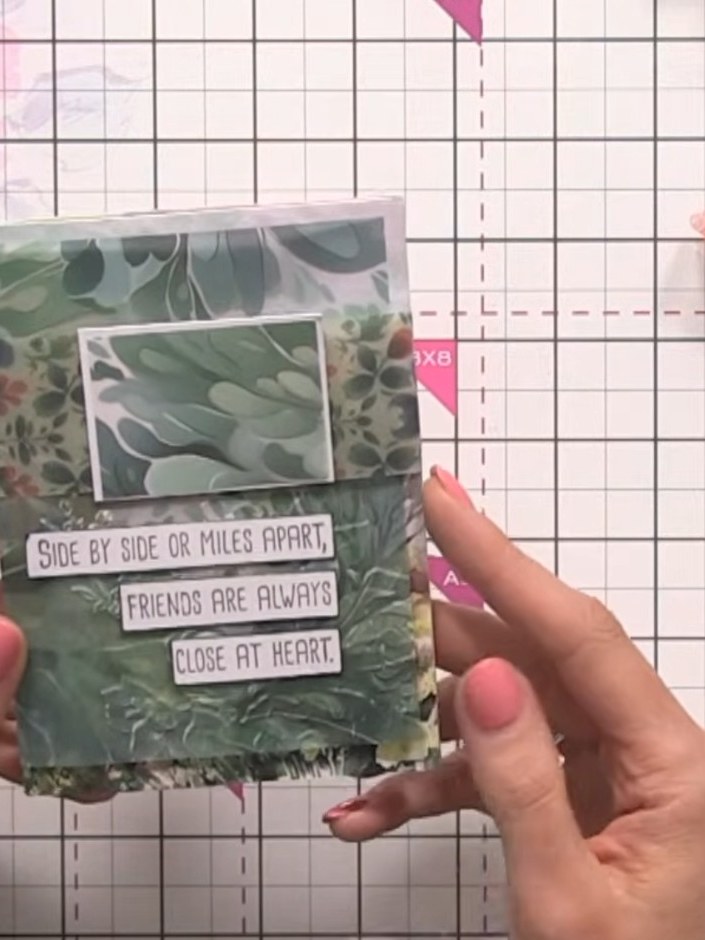
Create an elegant card featuring a beautiful vellum belly band wrapped around a botanical-themed design. The card showcases soft green foliage patterns with sentiment strips reading 'Side by side or miles apart, friends are always close at heart', all enhanced by a translucent vellum band that adds a sophisticated finishing touch. This project combines layering techniques with vellum wrapping to achieve a polished, professional look.
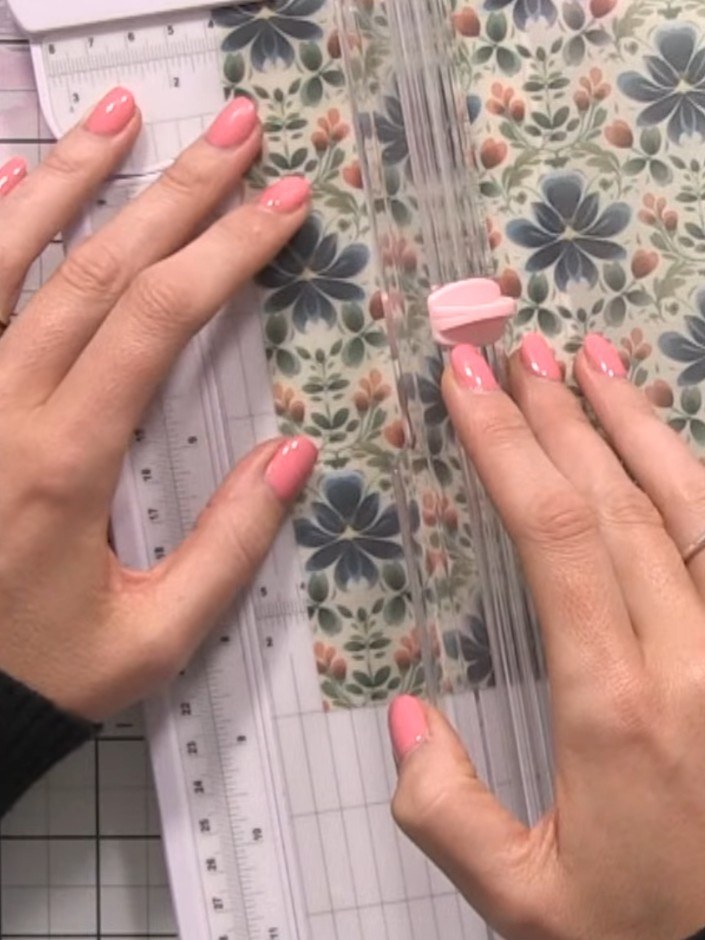
Cut a strip of vellum approximately 1.5 inches (4 cm) wide using your paper trimmer to create the belly band for your card.
▶ watch this step (24:30)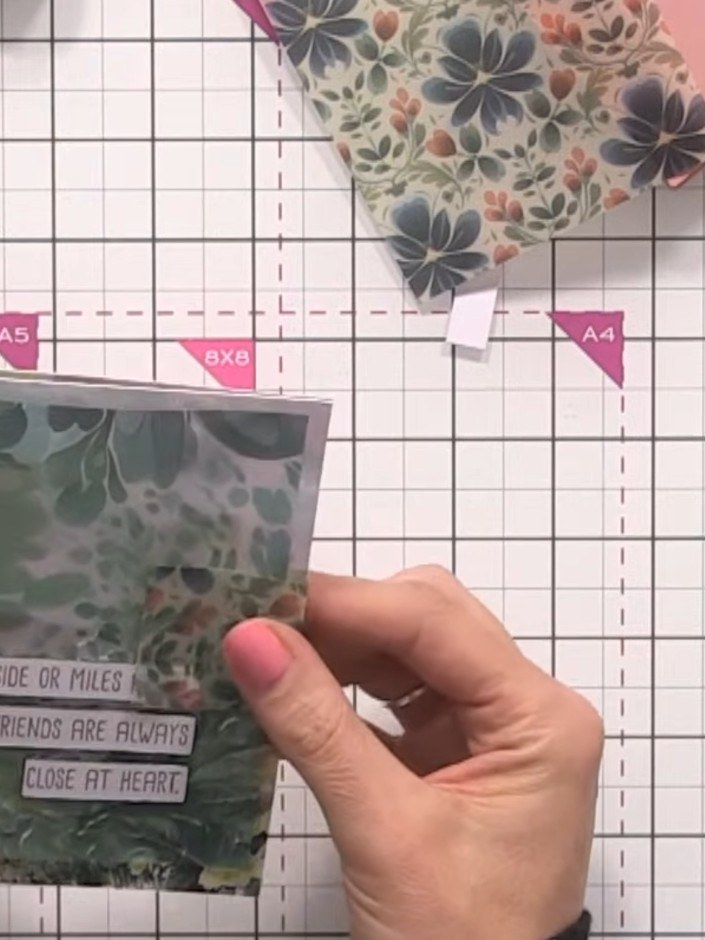
Take the vellum strip and pinch it with your hands to create score lines where the band will wrap around the card. This creates natural fold marks for the belly band without using a scoring tool.
▶ watch this step (24:45)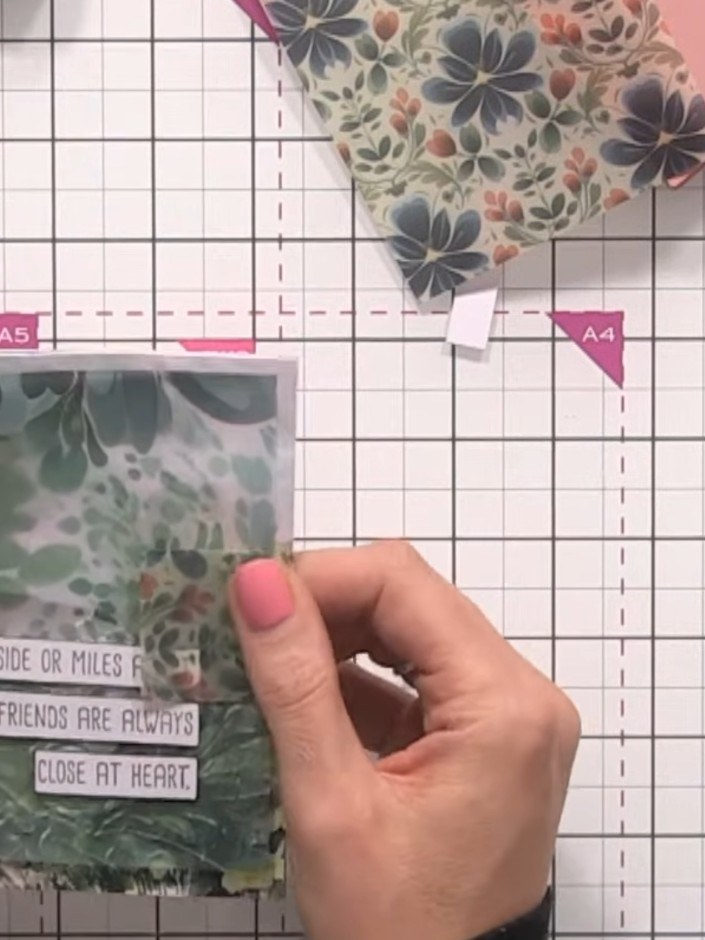
Remove the vellum from the card base and fold it along the score lines. Pinch the folds with your fingers to create sharp creases for a neat belly band wrap.
▶ watch this step (25:00)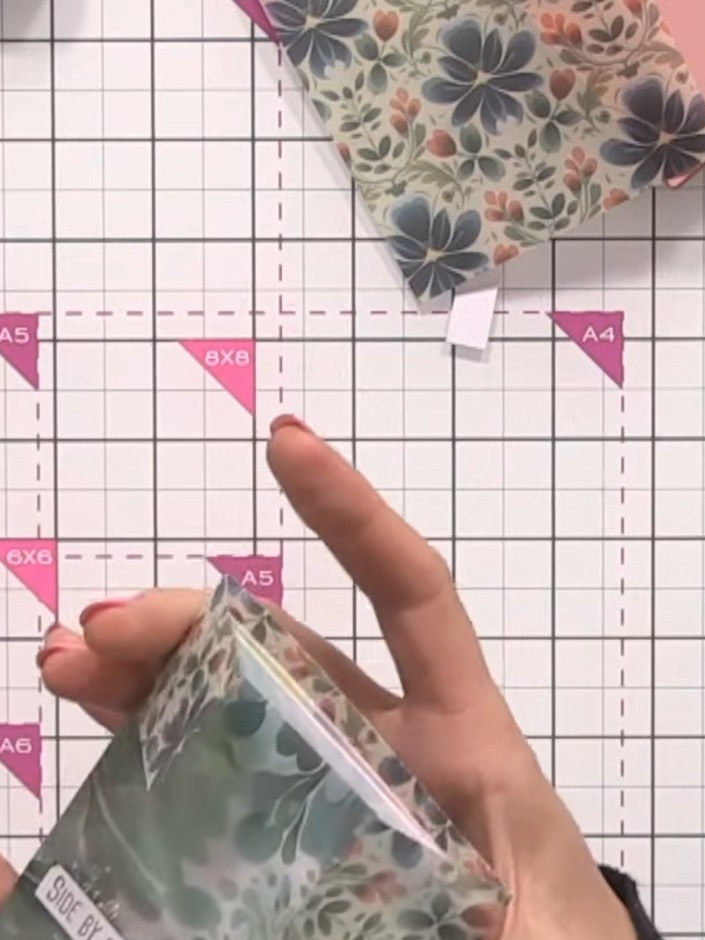
Cut a rectangle from white or coordinating card stock to fit within the belly band area using your paper trimmer.
▶ watch this step (25:30)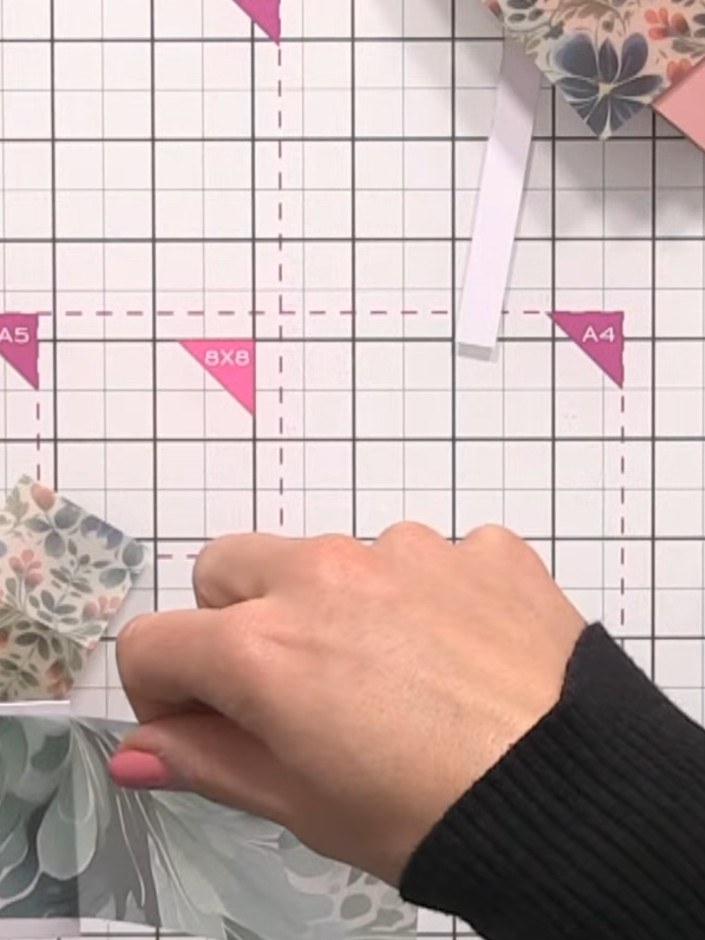
Hold the vellum rectangle and mark the centre point with your finger to guide placement of embellishments.
▶ watch this step (26:00)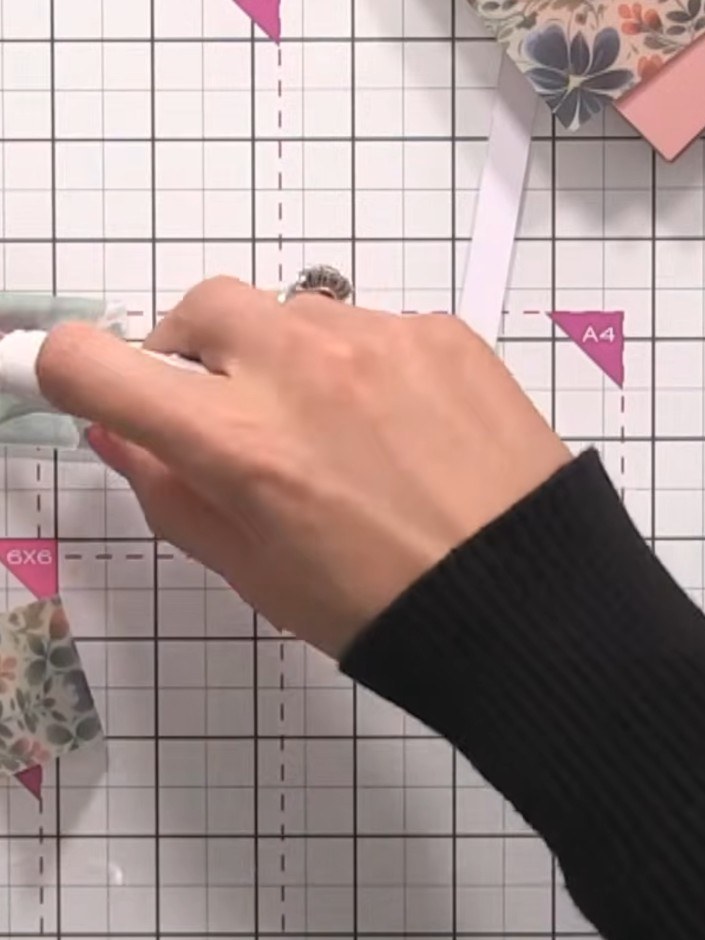
Apply double-sided tape to the left and right edges of the vellum belly band. Position the tape along both vertical edges to secure the band when wrapped around the card.
▶ watch this step (26:15)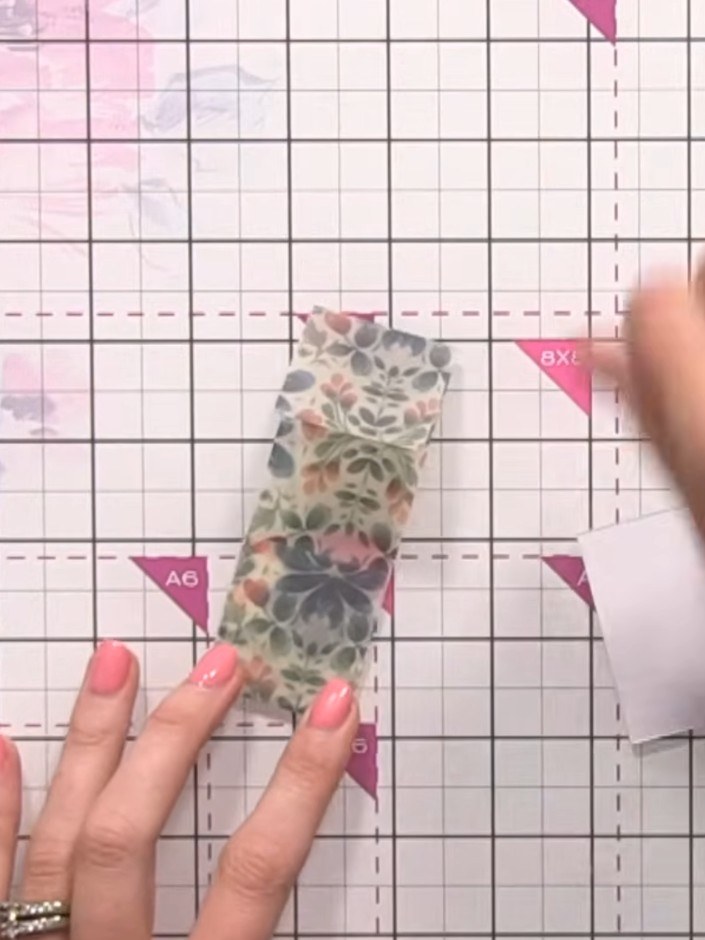
Wrap the vellum belly band around your finished card, holding it in place with your finger whilst positioning it correctly.
▶ watch this step (26:45)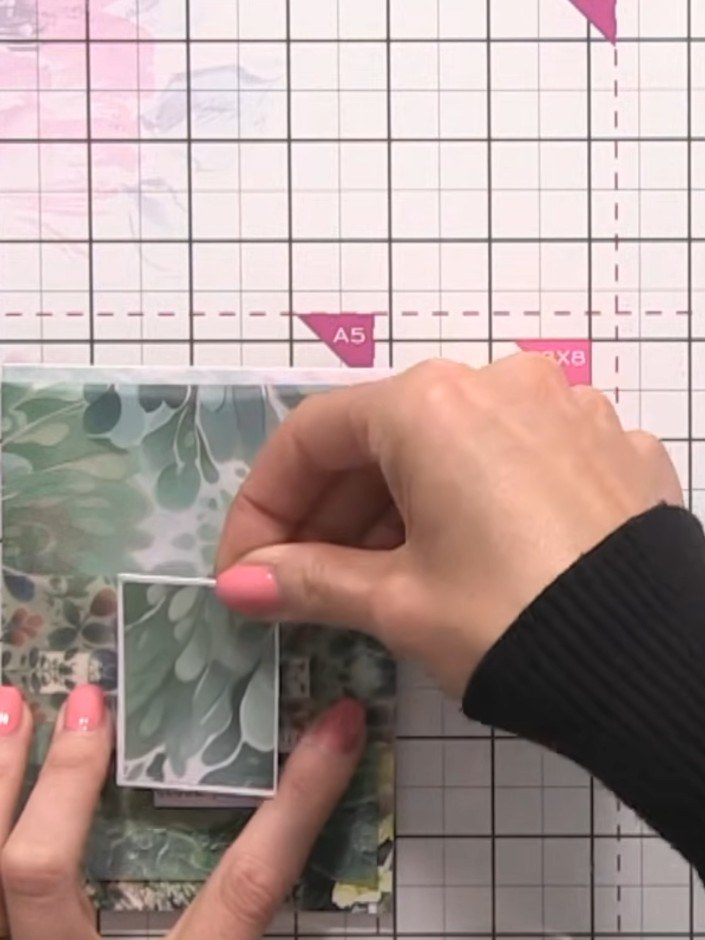
Adhere the white card rectangle to the centre of the vellum belly band using double-sided tape. Position it centrally over the decorative vellum panel.
▶ watch this step (27:15)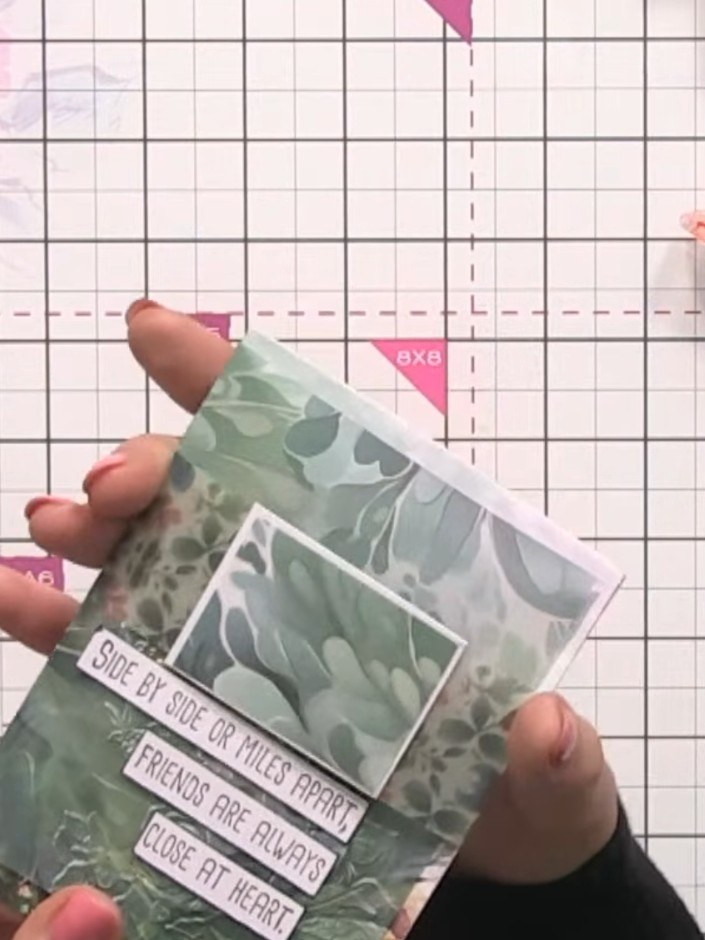
Add a fussy-cut element or sentiment to the centre of the vellum belly band. Position it within the white frame aperture so it shows through when wrapped around the card.
▶ watch this step (27:45)Written up from the show itself. See every guide from our shows · free how-to guides · watch live on My Telly
