Give your friends €10 off their first order!
Refer a FRIEND








A project from our live show MIGHTY MONDAY - Join Toni for her detailed papercrafting sessions - Broadcast 3rd Feb 2025 · 03/02/2025 · watch it from 17:30
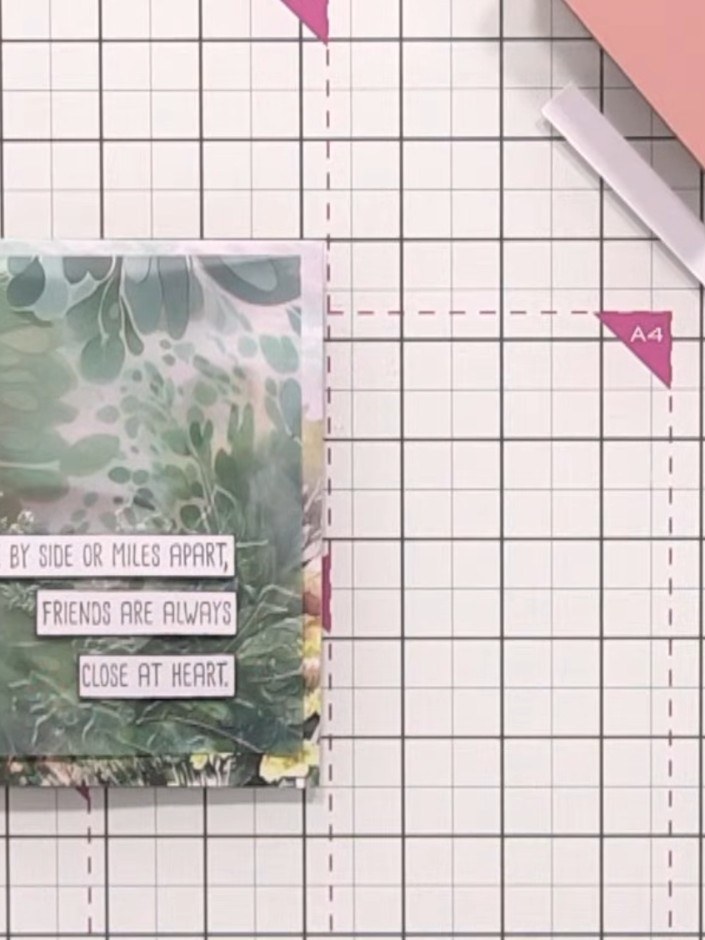
Make a sophisticated friendship card with a soft green botanical design and three heartfelt sentiment strips. This project demonstrates how to use vellum overlay to create an elegant layered look whilst keeping the card flat for posting, with stamped sentiments on white strips arranged down the front of the card.
Stamp your chosen sentiments onto white card stock using your Midnight hybrid ink pad. Position the stamps clearly so they can be cut into strips later.
▶ watch this step (17:30)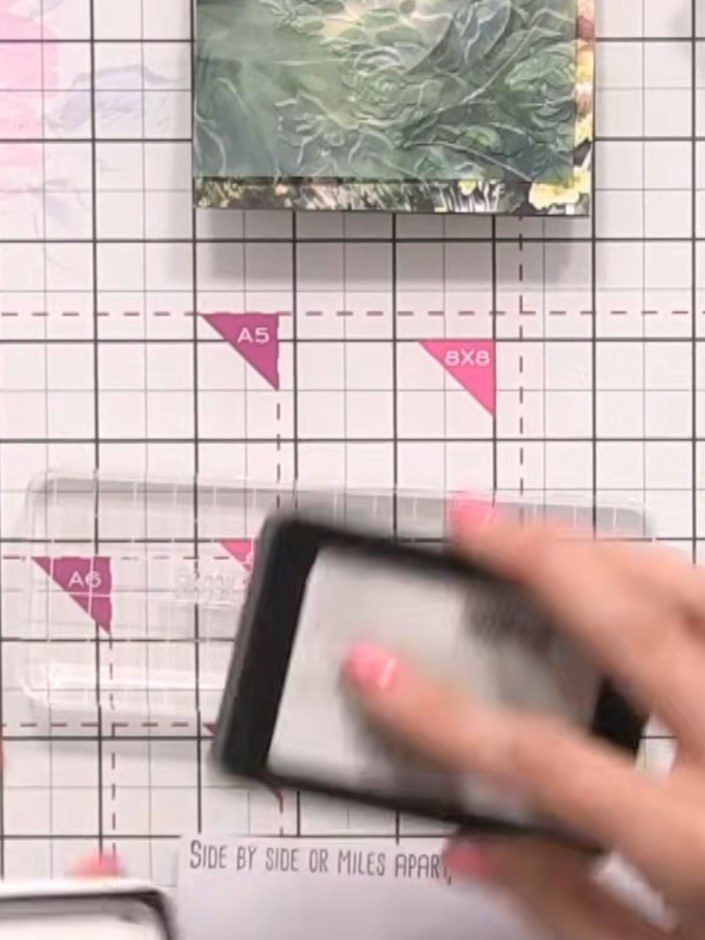
Trim each sentiment into separate strips using your mini trimmer for clean, straight edges. Cut them apart so they can be arranged individually on your card.
▶ watch this step (18:00)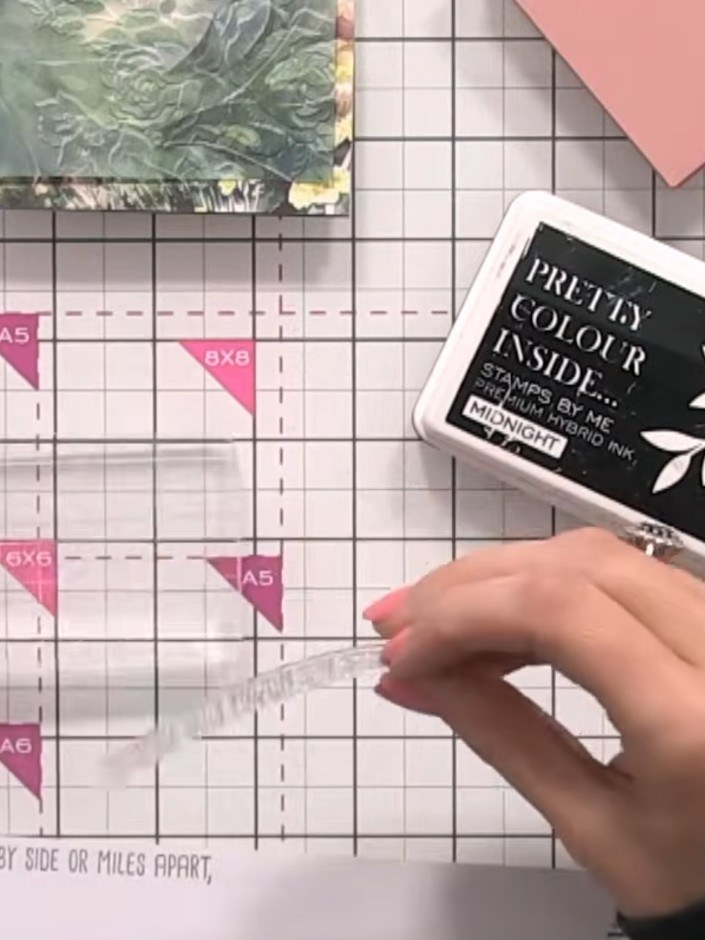
Take your ink pad and run it along the edges of your sentiment strips to create a faux layered effect with colour. Allow the ink to settle briefly, then pick up the strips with your acrylic block.
▶ watch this step (19:00)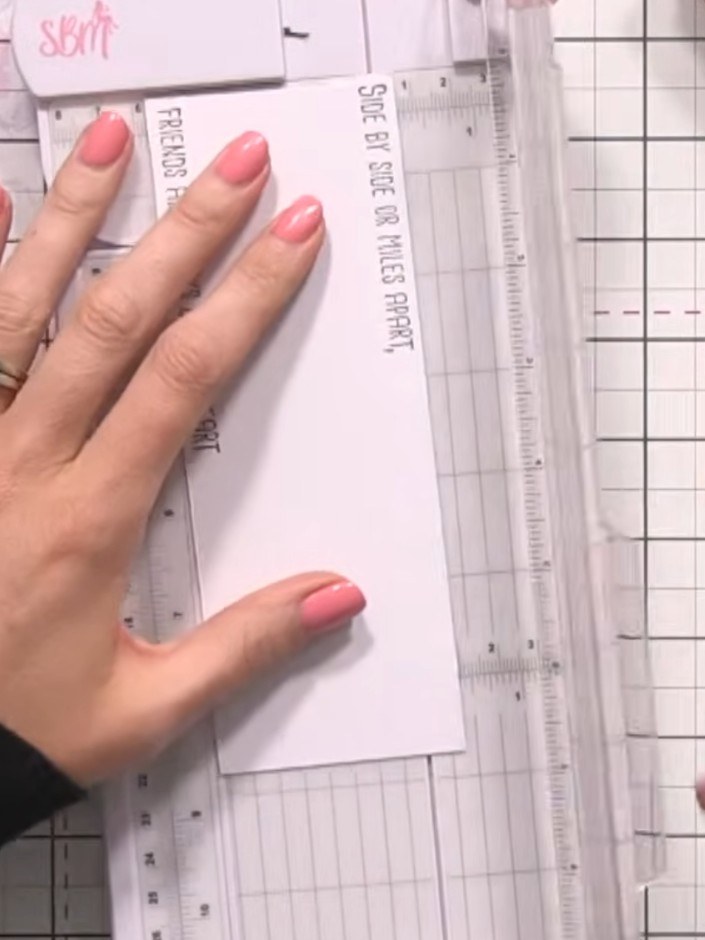
Cut a piece of vellum to overlay on your card base. You can adjust the length to suit your preference - it doesn't need to be as long as the card base.
▶ watch this step (20:00)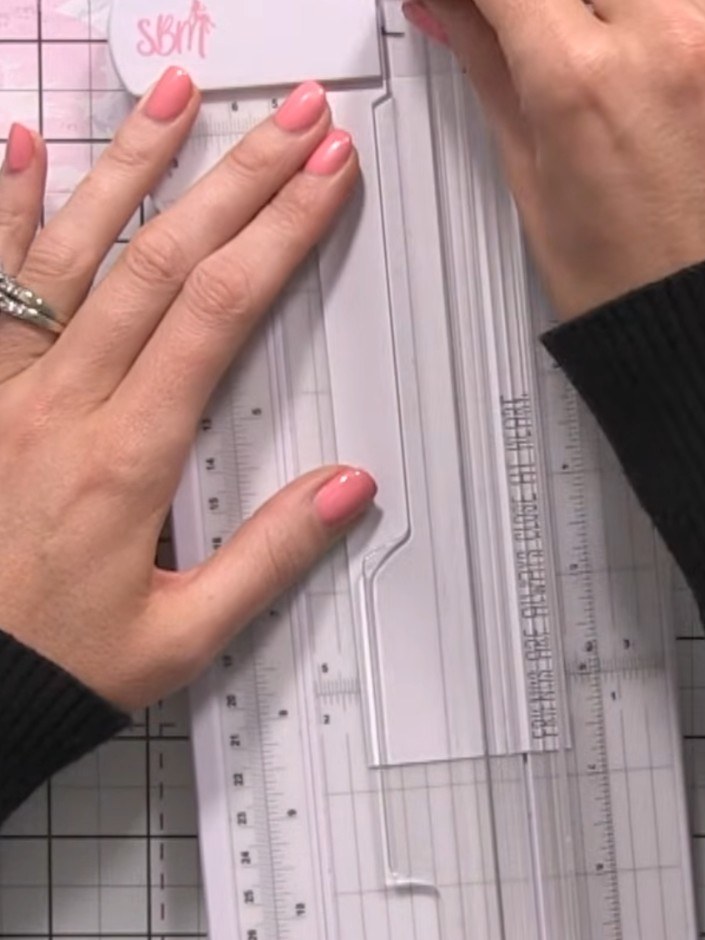
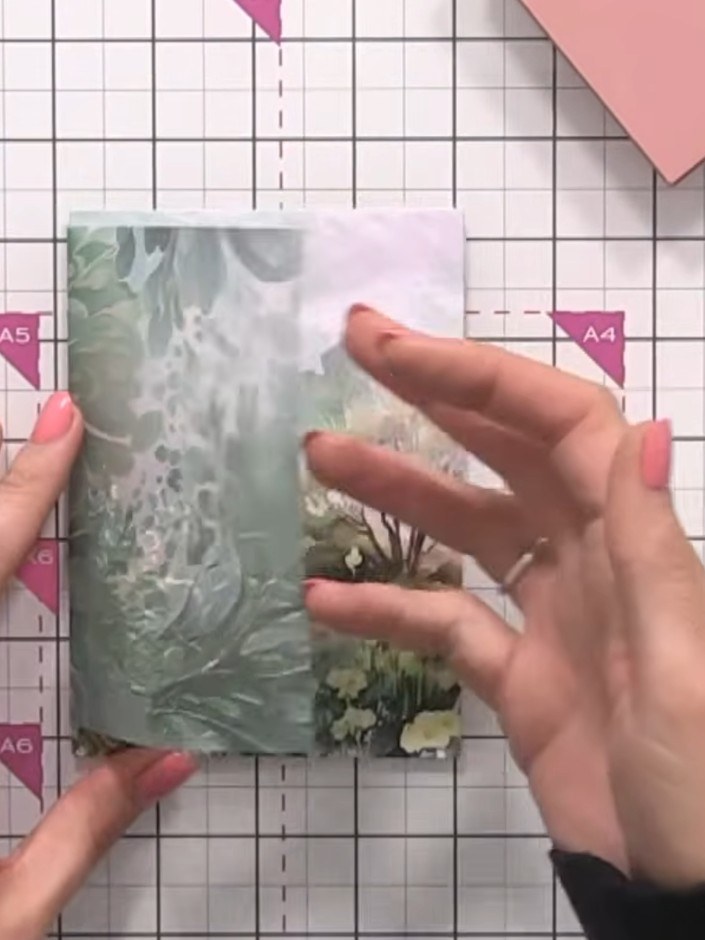
Position your vellum overlay on top of the card base. Secure it in place using double-sided tape at the edges.
▶ watch this step (20:30)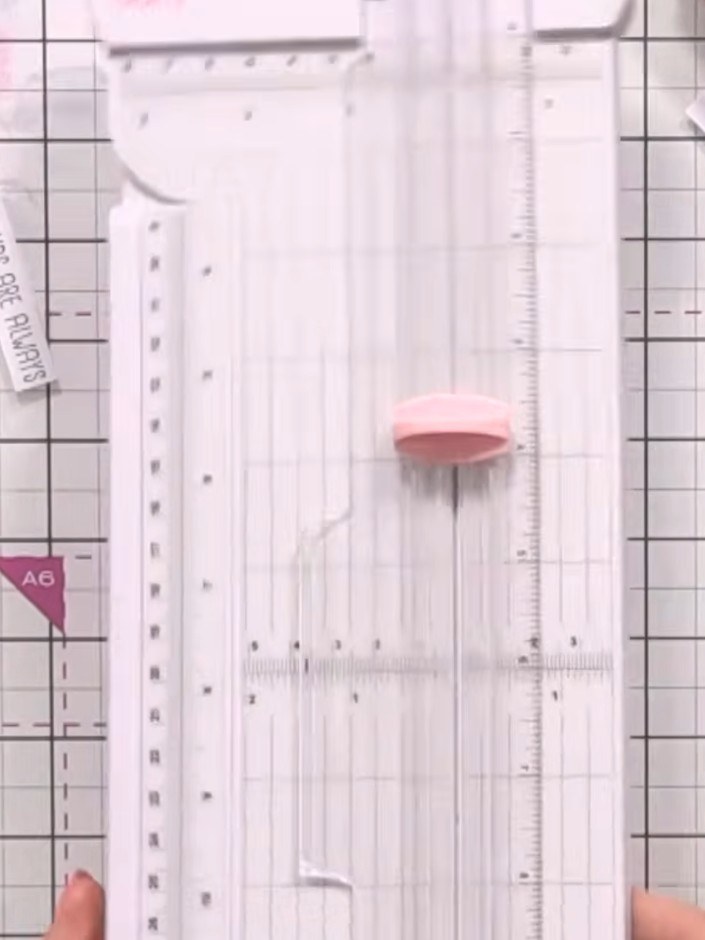
Arrange your sentiment strips on top of the vellum overlay, positioning them at varying heights for visual interest. Place the strips so they create a pleasing composition across the vellum panel.
▶ watch this step (21:00)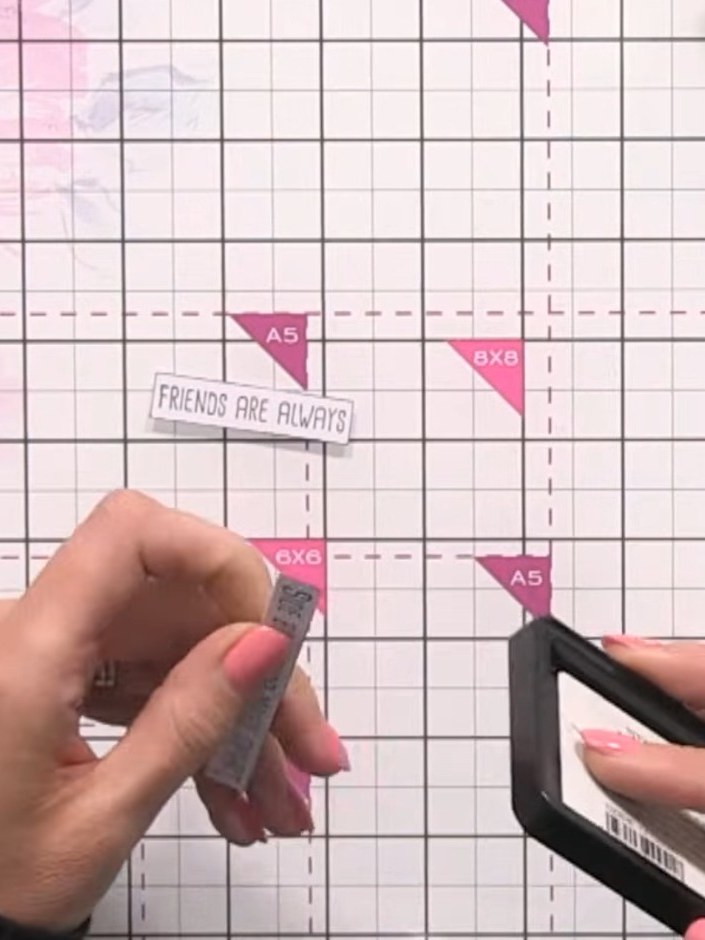
Secure each sentiment strip to the card using double-sided tape, keeping them as straight as possible. Position the strips evenly across the vellum overlay.
▶ watch this step (21:30)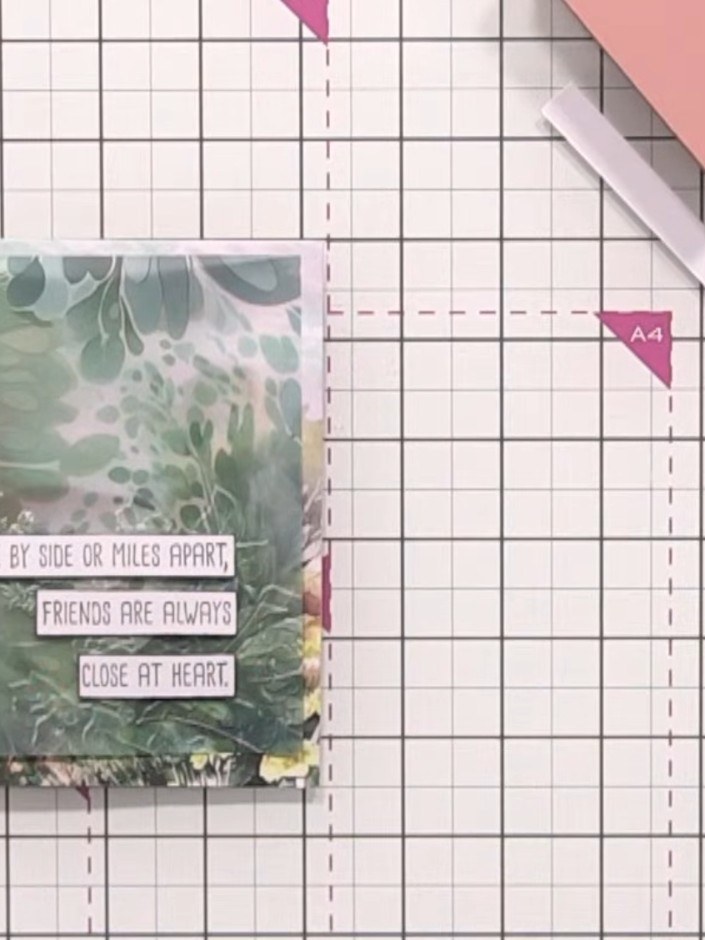
Step back and assess the card, ensuring the lines of the card base, vellum overlay, and sentiment strips align neatly. Check that all three sentiment strips are positioned horizontally and evenly spaced on the green floral vellum panel.
▶ watch this step (22:30)Written up from the show itself. See every guide from our shows · free how-to guides · watch live on My Telly
