Give your friends €10 off their first order!
Refer a FRIEND








A project from our live show HSN JANUARY PRODUCT PREVIEW - Join me for my Sneak Peek - Broadcast 23rd January 25 · 23/01/2025 · watch it from 20:15
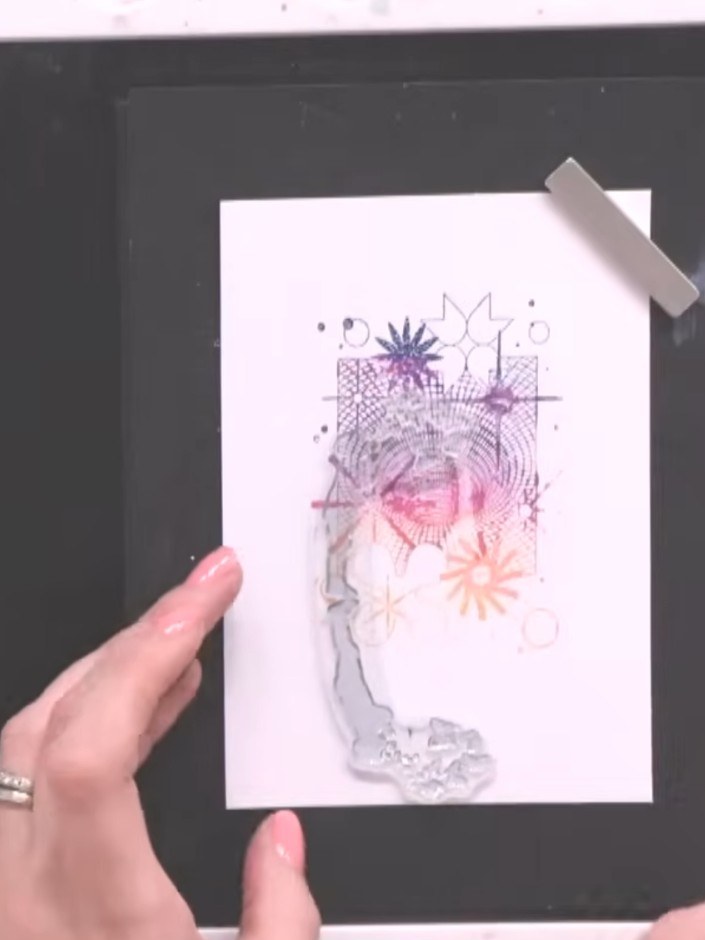
Make this elegant card featuring an ombre butterfly with a striking reflection design. Using layering stencils, you'll create a beautiful gradient effect that transitions from teal through pink to orange, adding depth and visual interest. The reflection technique gives your butterfly card a sophisticated finish that's perfect for any occasion.
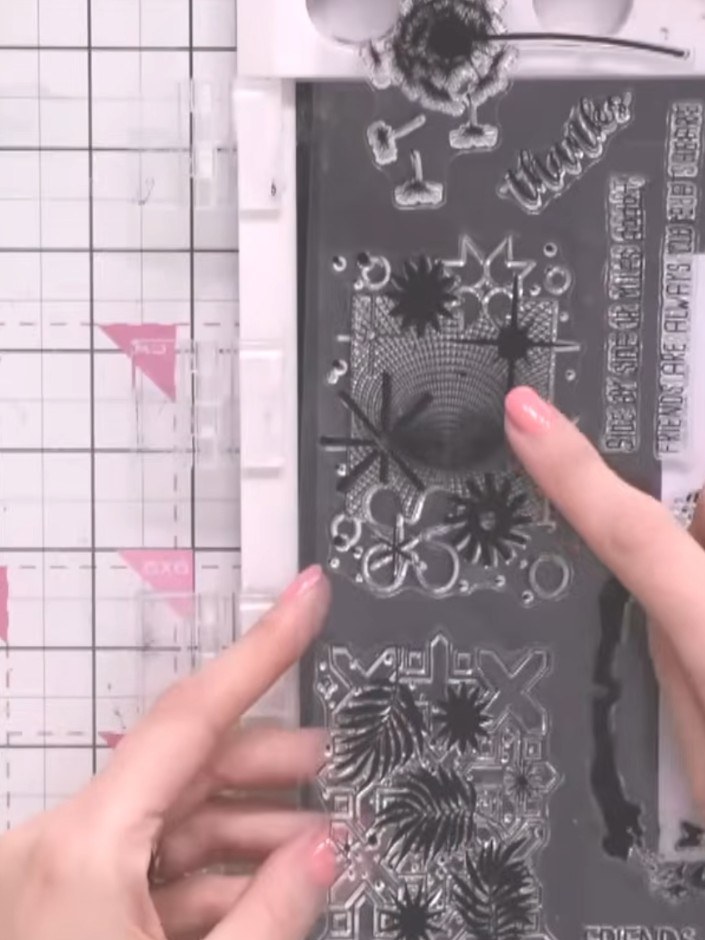
Place a piece of white card stock into your Eureka cutting machine, ready for cutting.
▶ watch this step (20:45)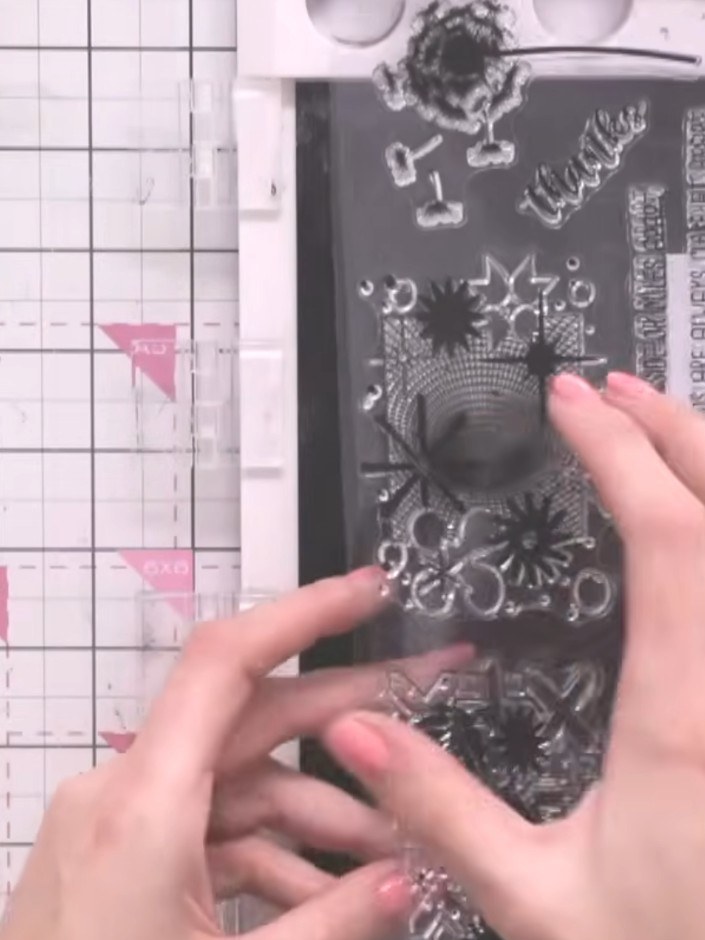
Select a background panel stamp from the collection. Choose a stamp design that will work well for your card background.
▶ watch this step (21:00)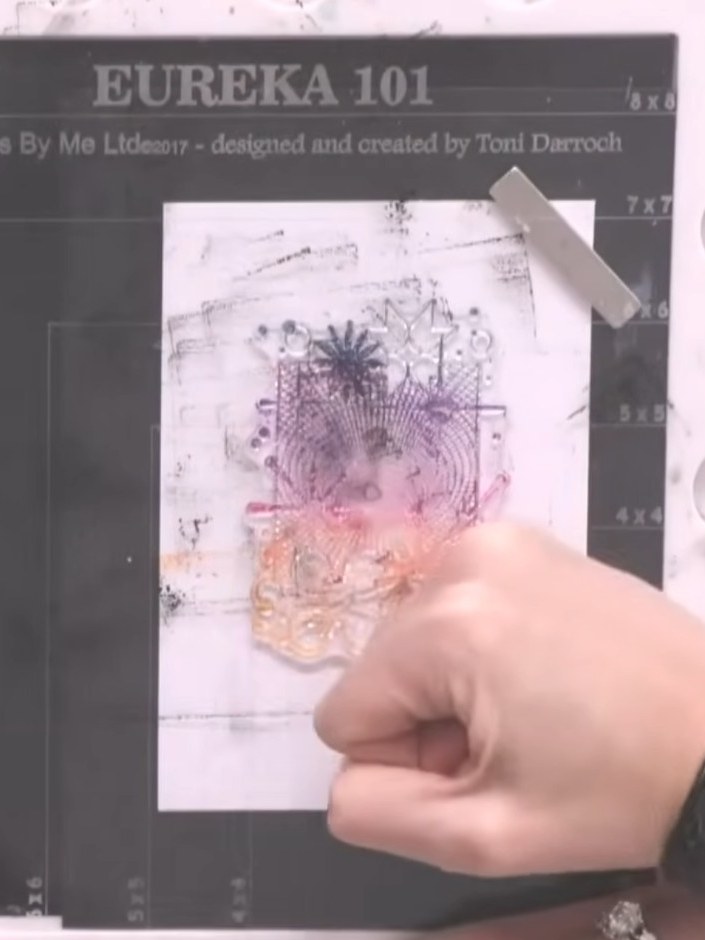
Ink up the top of the stamp with teal ink, the middle with pink ink, and the bottom with orange ink to create an ombre effect.
▶ watch this step (22:30)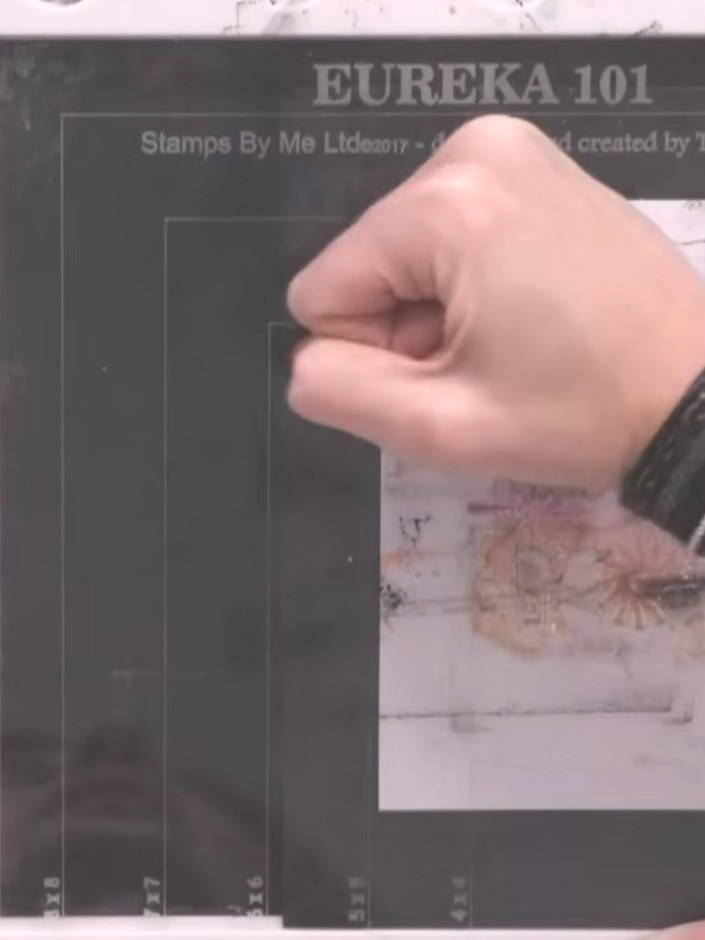
Blend the colours together with your finger where they meet. Work the teal, pink and orange together to create smooth transitions between each colour.
▶ watch this step (23:00)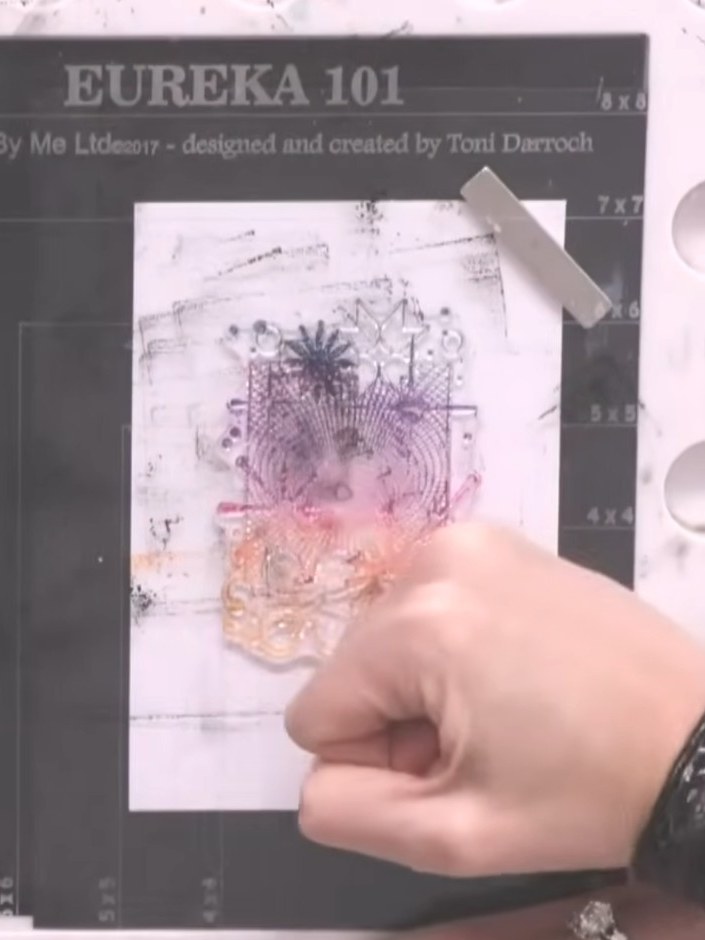
Stamp the blended stamp onto your white card panel. Press firmly to transfer the inked image, ensuring all the colours are visible on the white cardstock.
▶ watch this step (23:15)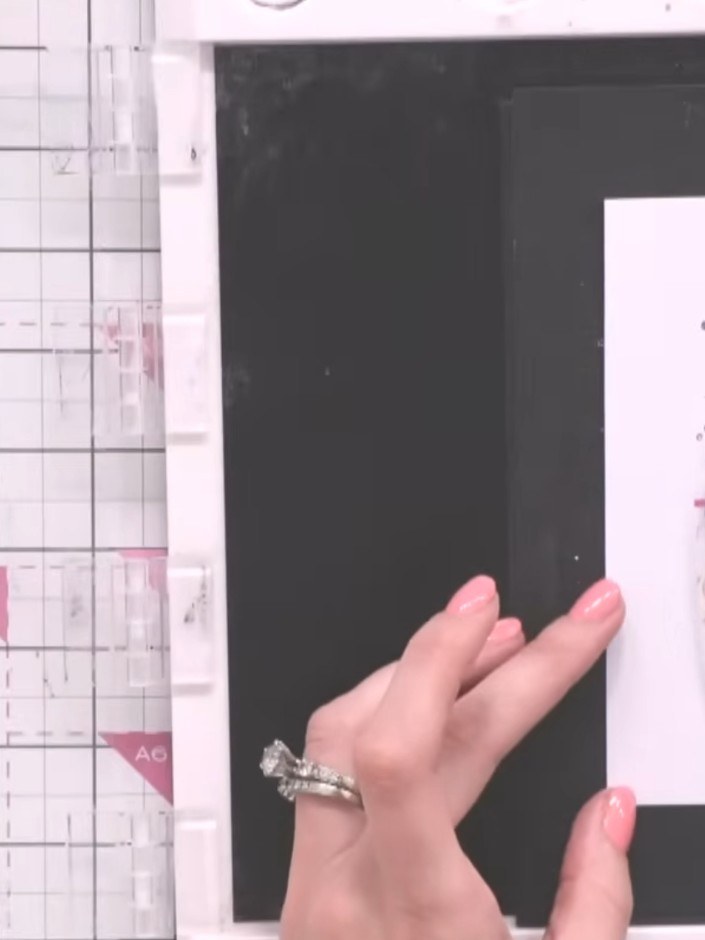
Ink up the reflection stamp completely using black ink, ensuring even coverage across the entire stamp surface.
▶ watch this step (24:15)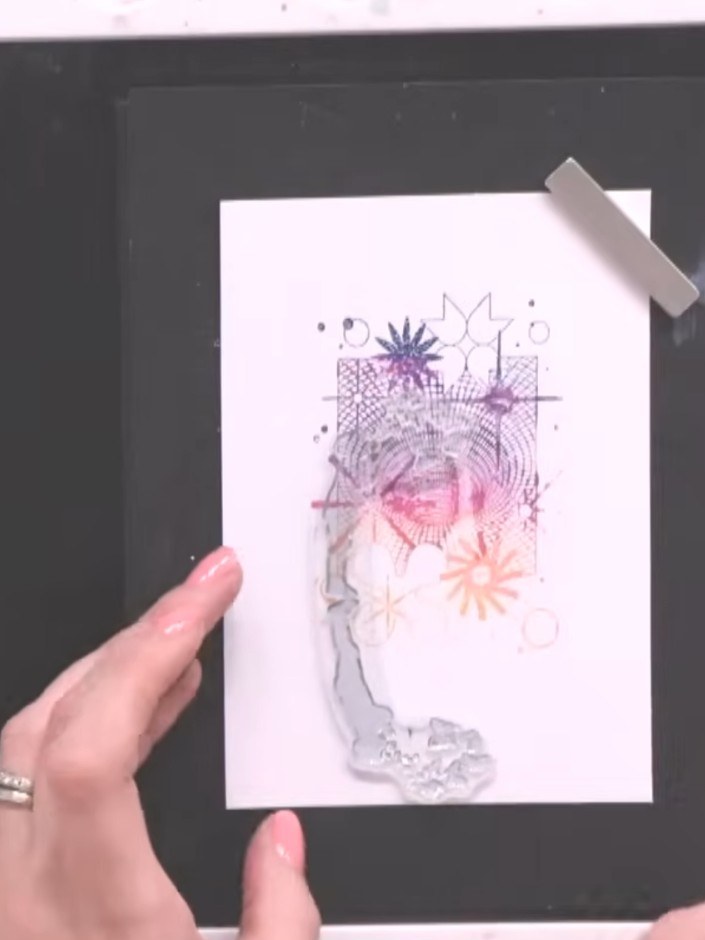
Stamp the reflection stamp in the centre of your white card panel to create the butterfly image. The stamp will mirror the design to form the complete butterfly.
▶ watch this step (24:30)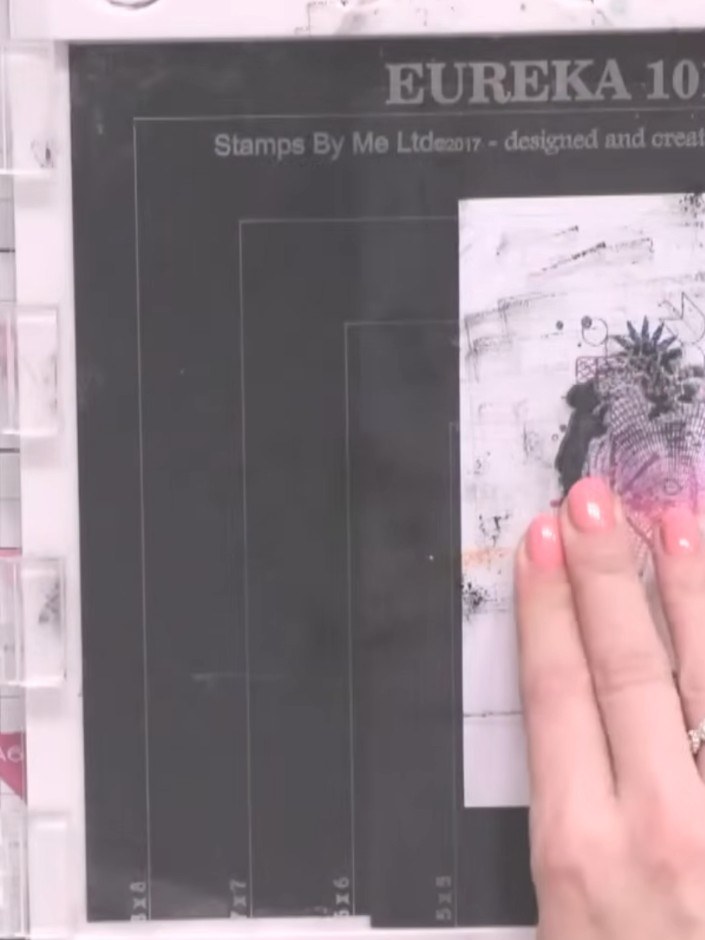
Ink up only the top portion of the reflection stamp using black ink to create a darker shadow effect at the top of the image.
▶ watch this step (25:15)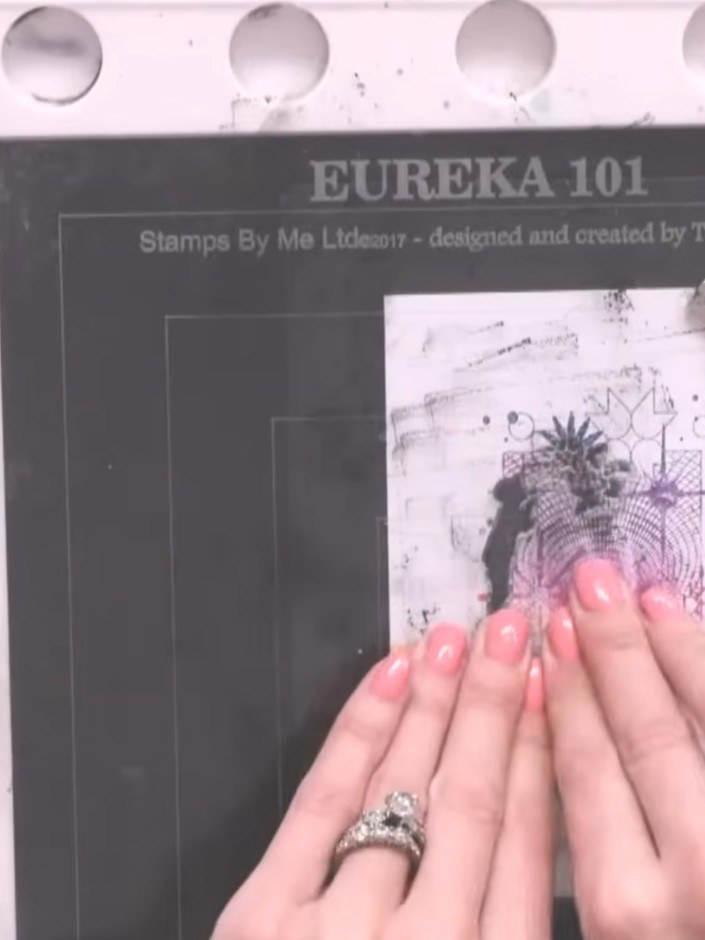
Stamp the top portion of the design again onto the card to enhance the reflection appearance and create depth. Press firmly to ensure a clear impression.
▶ watch this step (25:30)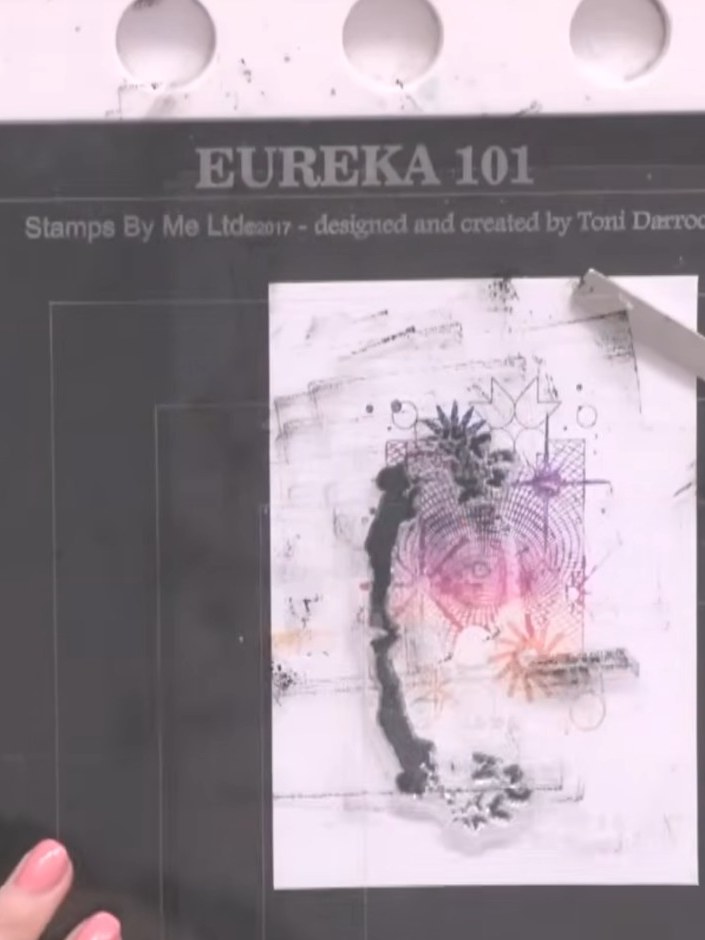
Add a sentiment stamp to your card. Position the 'with love' stamp from the Eureka 101 stamp set onto your card and stamp it in black ink to complete the design.
▶ watch this step (26:15)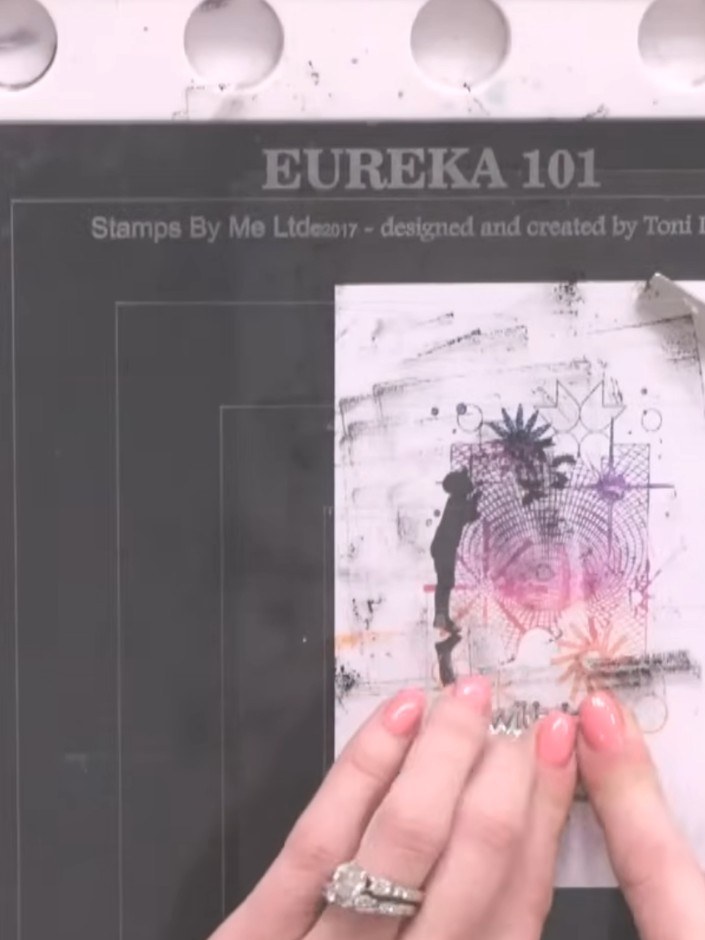
Mount the stamped panel onto a black matted layer, positioning it centrally to create an even border around all edges.
▶ watch this step (27:00)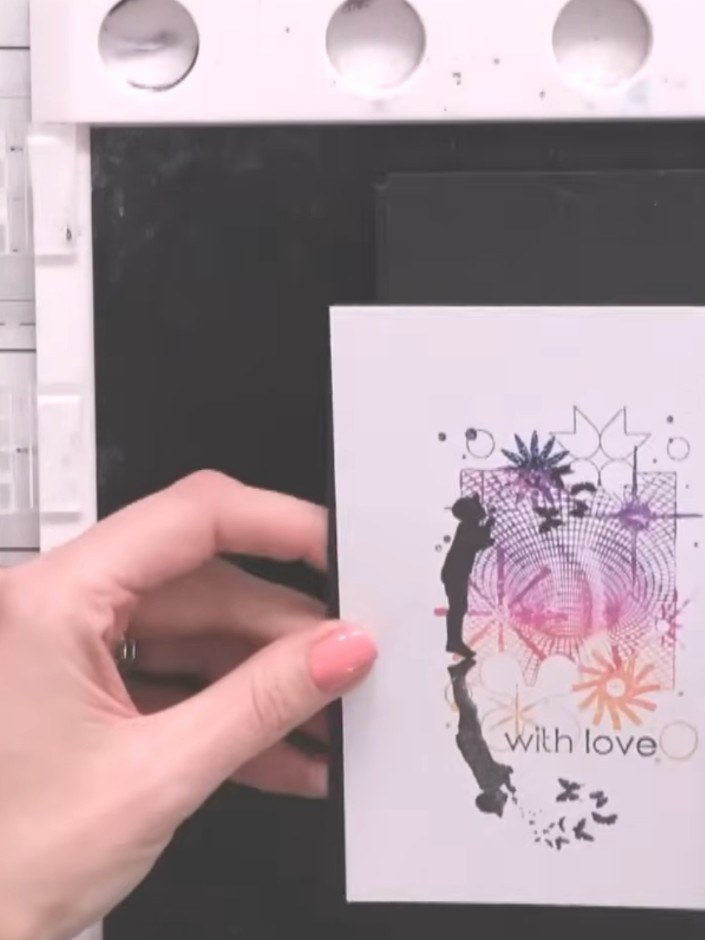
Attach the completed layered panel to a white card blank using adhesive. Add extra sparkle or embellishments if desired for additional shine and dimension.
▶ watch this step (27:30)Written up from the show itself. See every guide from our shows · free how-to guides · watch live on My Telly