Give your friends €10 off their first order!
Refer a FRIEND








A project from our live show HSN JANUARY PRODUCT PREVIEW - Join me for my Sneak Peek - Broadcast 23rd January 25 · 23/01/2025 · watch it from 39:00
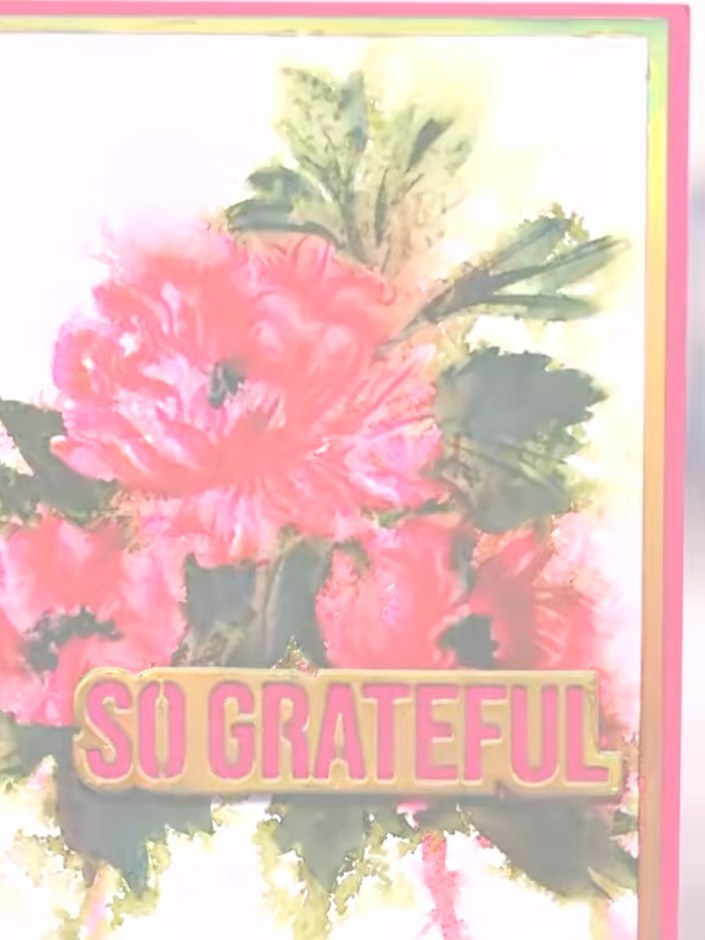
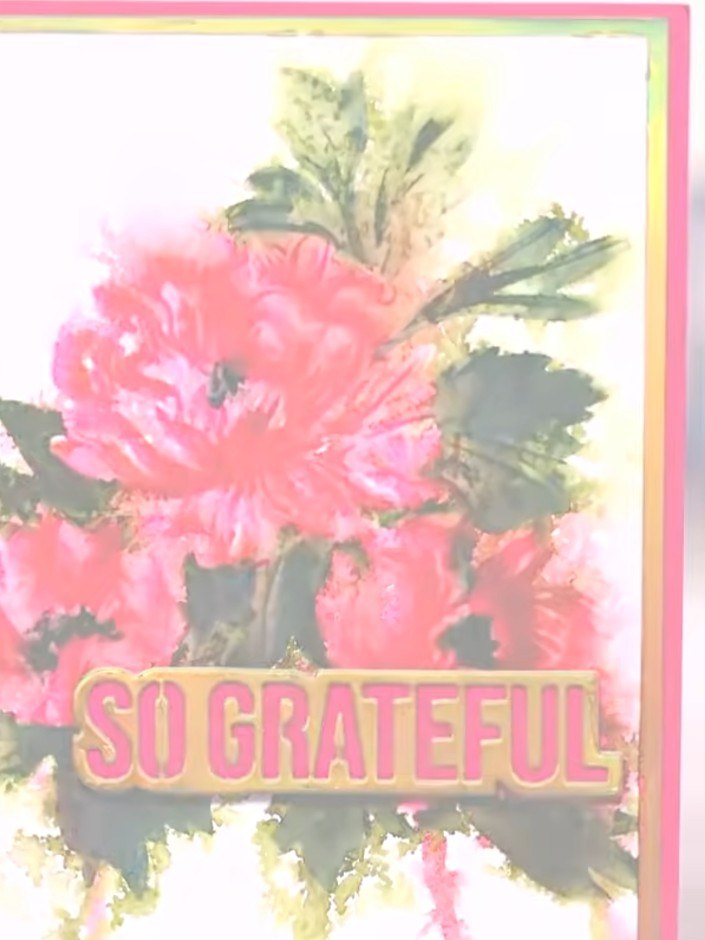
Create an elegant greeting card featuring beautiful layered floral designs using the Grateful for You stencil collection. This project uses a numbered stencil system to build up realistic flowers in pink, blue and yellow tones, creating artwork that looks professionally printed. The main technique involves layering colours through sequential stencils to achieve depth and dimension in your floral motifs.
Select a piece of paper from the elegant marble collection or use plain white card as your base.
▶ watch this step (44:30)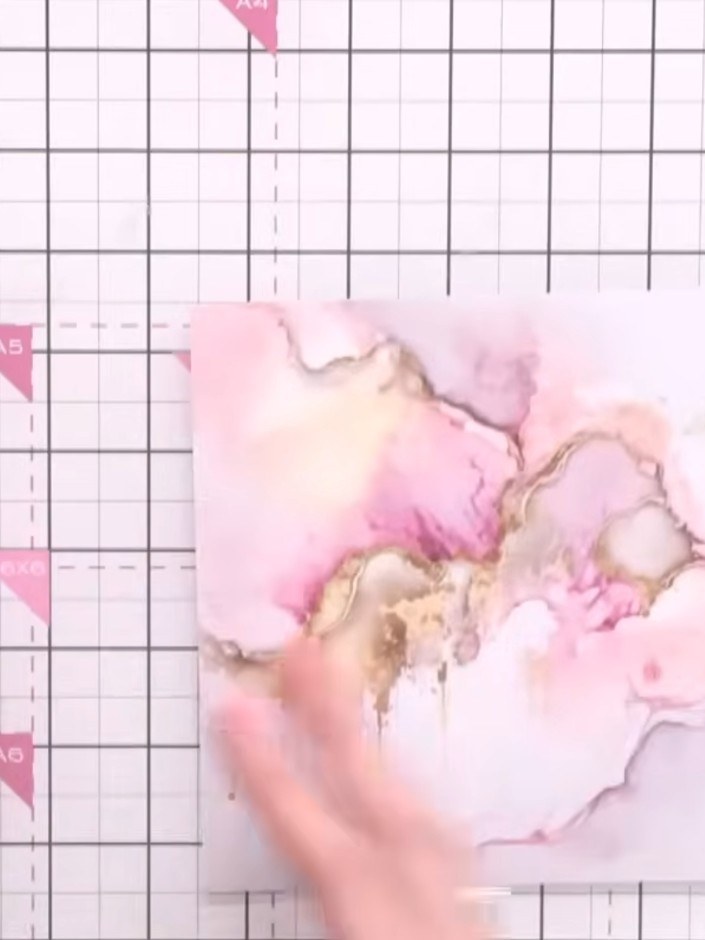
Locate stencil number one from your numbered stencil set. This will be the first layer you'll use to create your design on the watercolour paper.
▶ watch this step (45:00)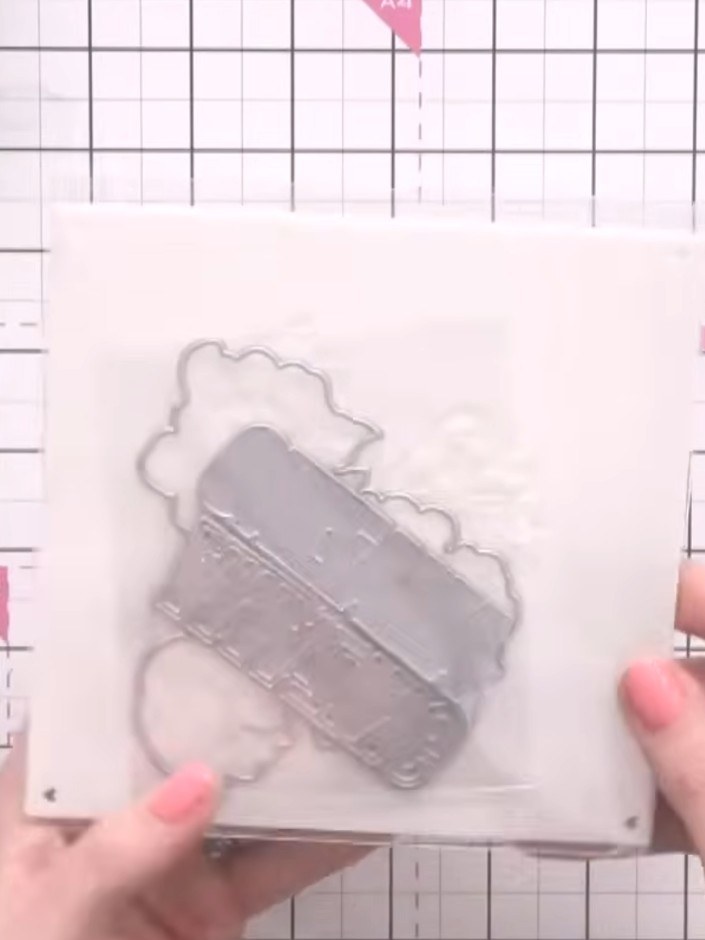
Position the stencil on your white card panel, aligning it with the edge of the paper or using the heart registration marks in the corner to ensure proper placement.
▶ watch this step (45:30)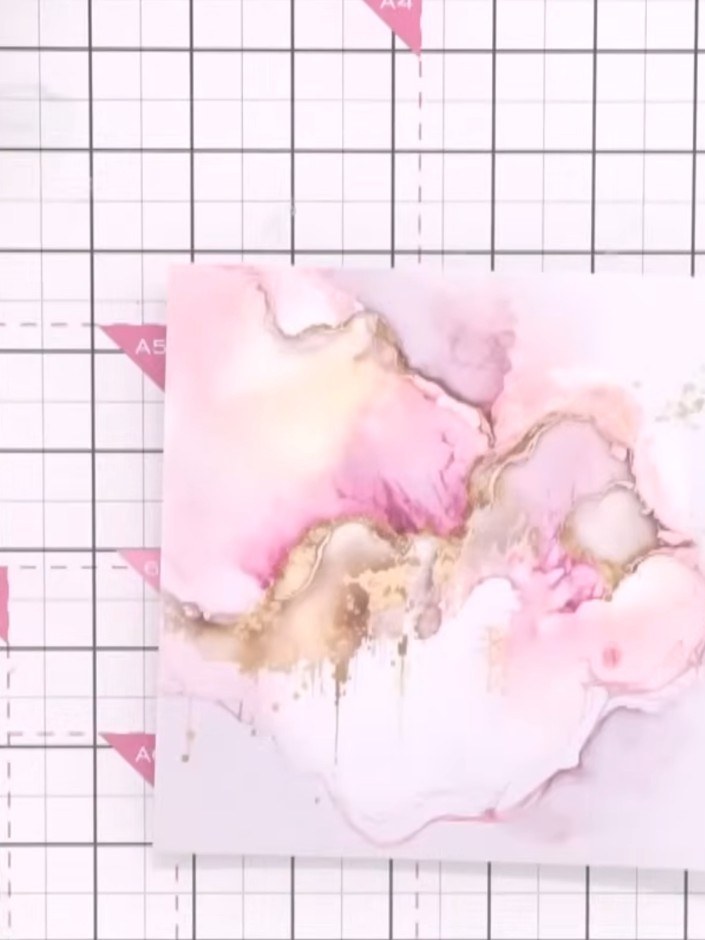
Ink through stencil number one using your chosen colour. Tap off excess ink from the applicator before applying to ensure even coverage. This creates a soft watercolour background with bright pink and gold tones.
▶ watch this step (46:00)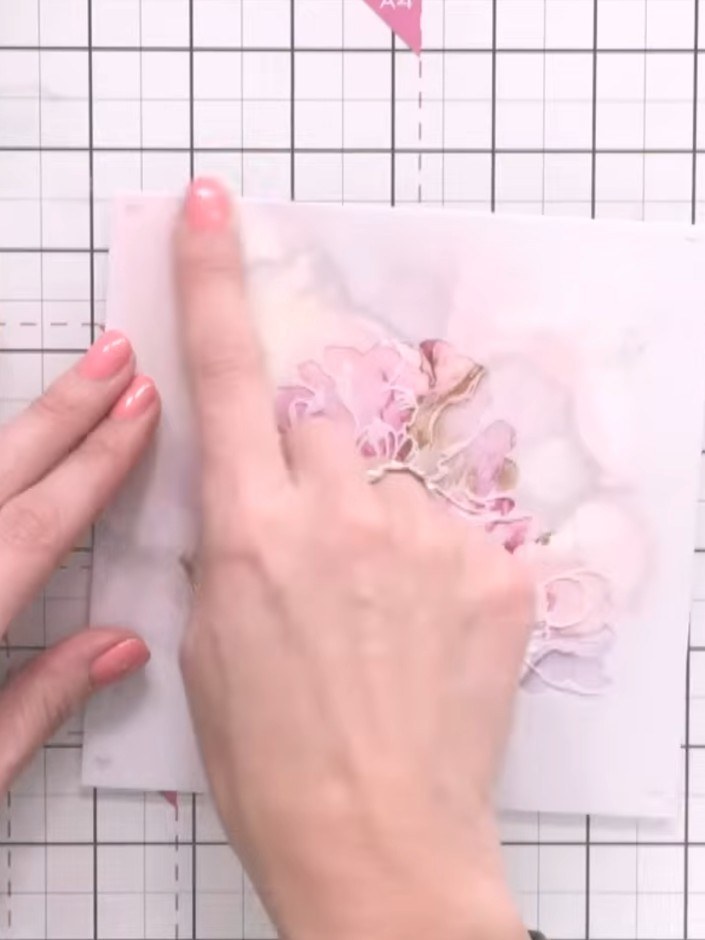
Position the second stencil over your paper, lining it up with the first stencilled design. You can choose to align it with the hearts or trim them down as desired.
▶ watch this step (46:30)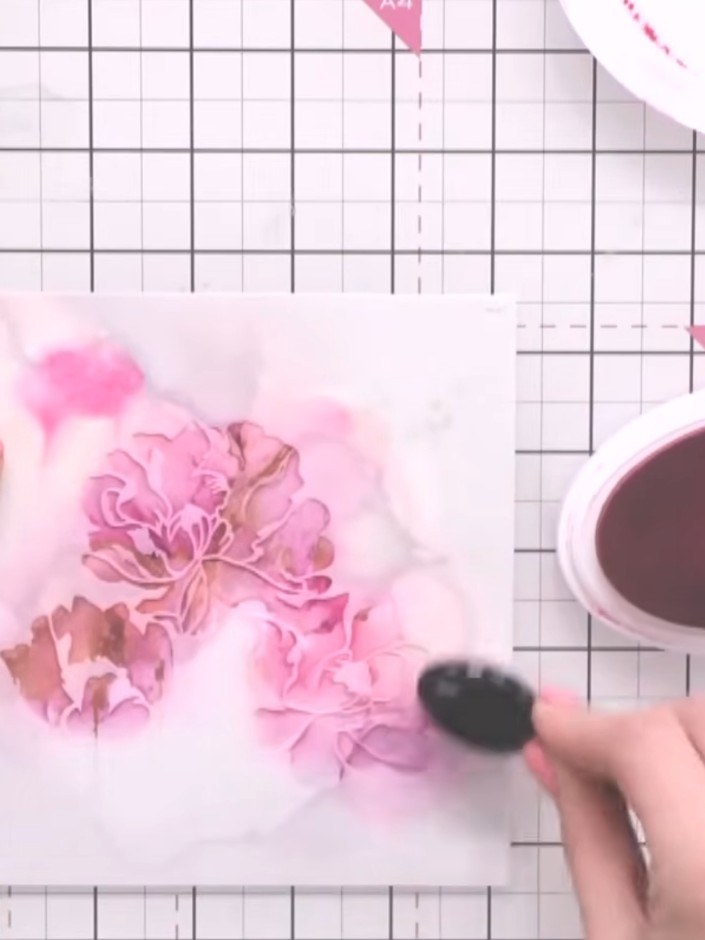
Ink through stencil number two using the same pink ink or a slightly darker shade. Apply the ink with a blending brush, working over the floral design to add depth and dimension to your stencilled image.
▶ watch this step (47:00)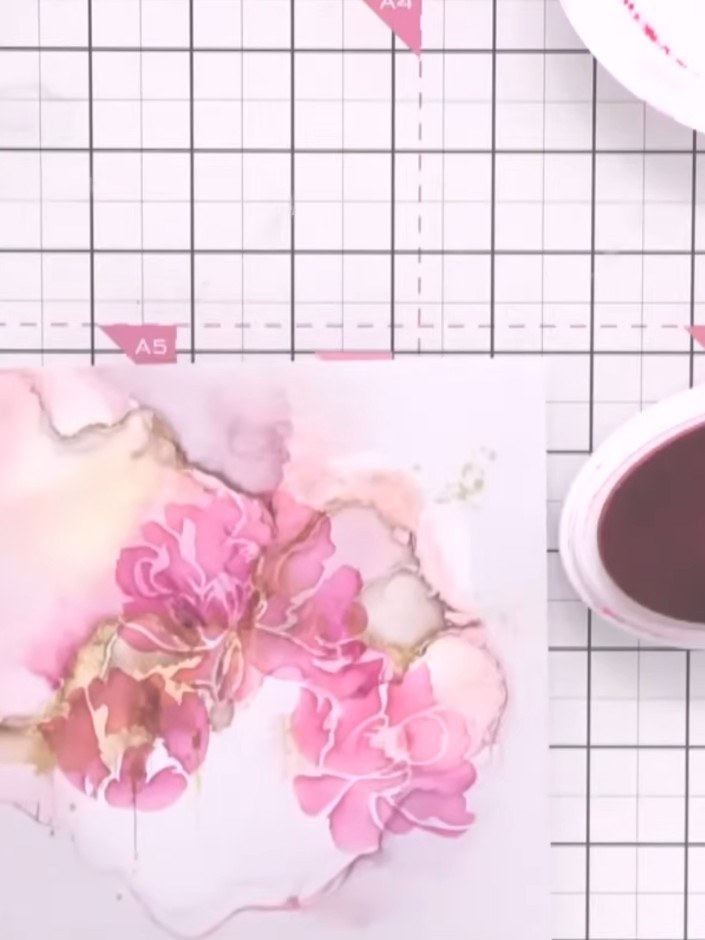
Continue layering with stencils three, four, five and six using the same pink ink. Gradually build up the depth and detail of the floral design, darkening the colour as you progress through each layer.
▶ watch this step (47:30)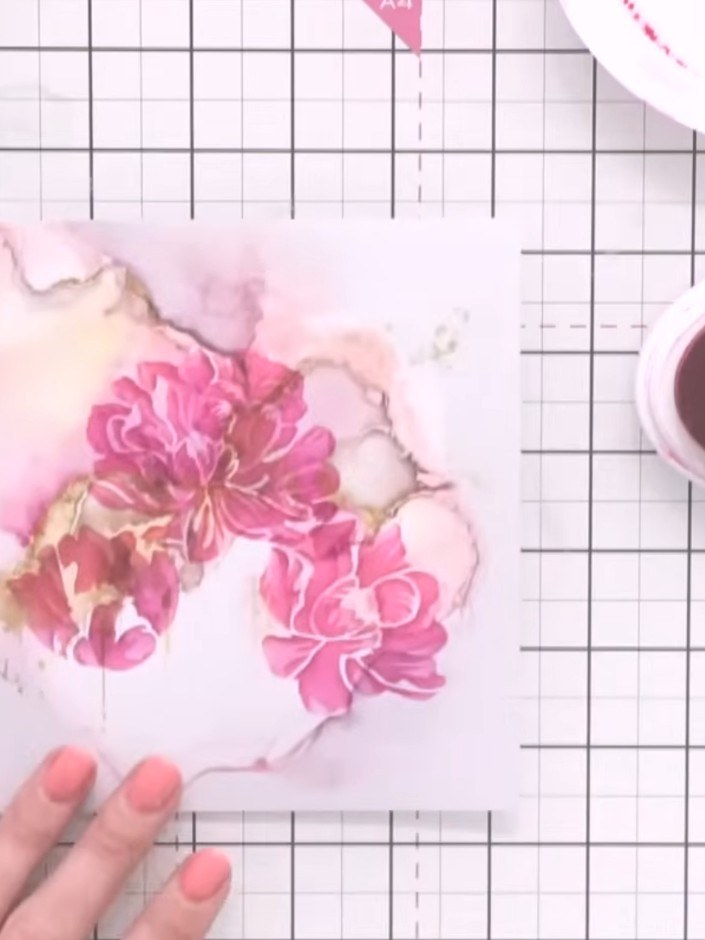
Carefully remove the stencil from your card to reveal the completed layered floral design. The pink flowers should now show depth and dimension from the multiple ink layers.
▶ watch this step (48:30)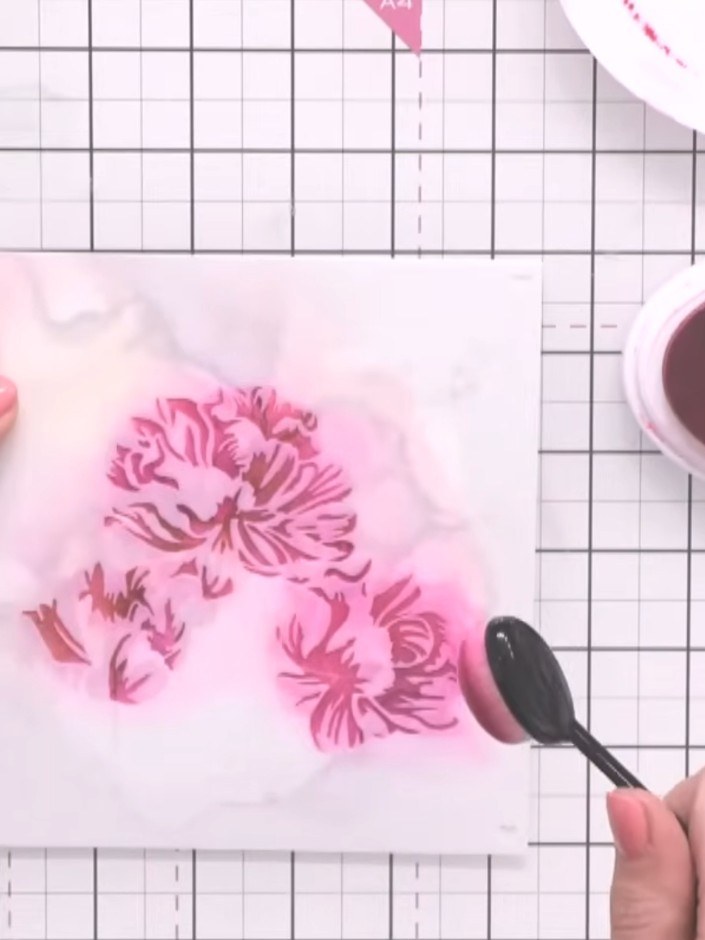
Optionally spray the finished stencilled design lightly with water using a spray bottle to create an artistic watercolour effect. Allow the water to blend the pink ink naturally across the paper.
▶ watch this step (49:00)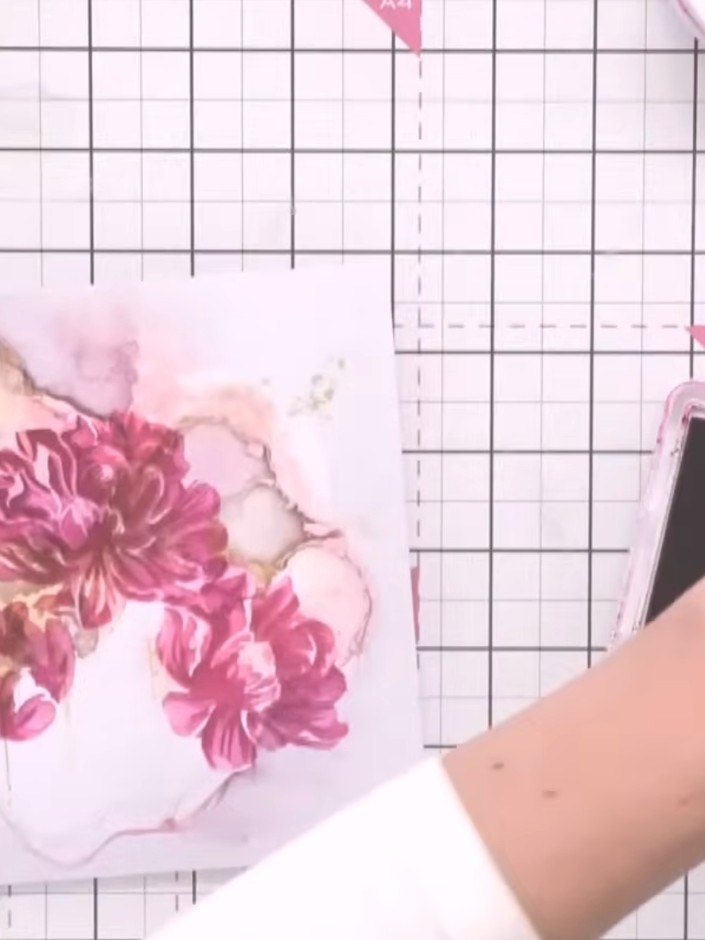
Mount your finished floral panel onto a card blank using adhesive to complete your Grateful for You card.
▶ watch this step (50:00)Written up from the show itself. See every guide from our shows · free how-to guides · watch live on My Telly