Give your friends €10 off their first order!
Refer a FRIEND








A project from our live show HSN JANUARY PRODUCT PREVIEW - Join me for my Sneak Peek - Broadcast 23rd January 25 · 23/01/2025 · watch it from 32:15
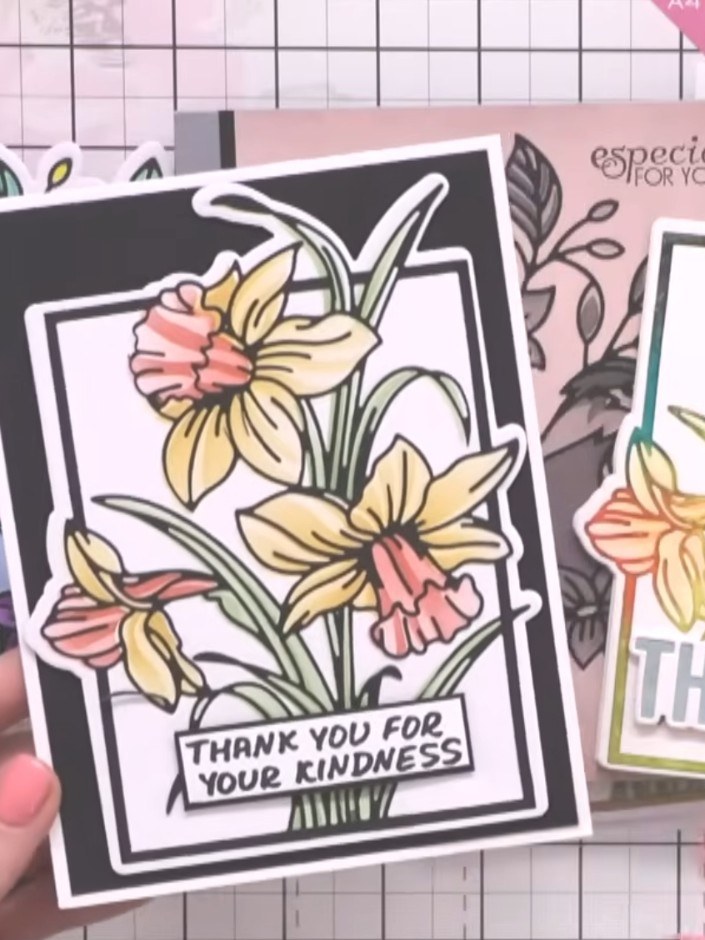
Create a stunning layered floral card featuring beautiful daffodils with dimensional depth. Using coordinating stencils and dies, you'll build up delicate yellow and coral blooms with soft watercolour washes and precise die-cutting. The finished card showcases elegant botanical artwork with a 'Gorgeous' sentiment, perfect for spring celebrations or special occasions.
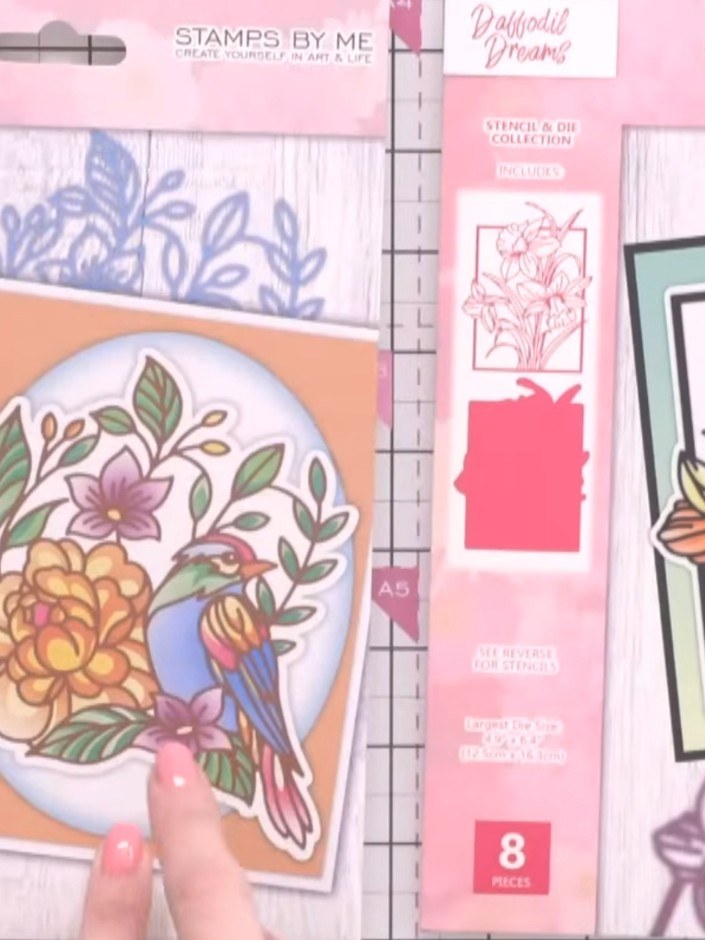
Select your layering stencil from the Perfect Petals Stencil & Die Collection. Choose the floral design you wish to use for your card.
▶ watch this step (33:00)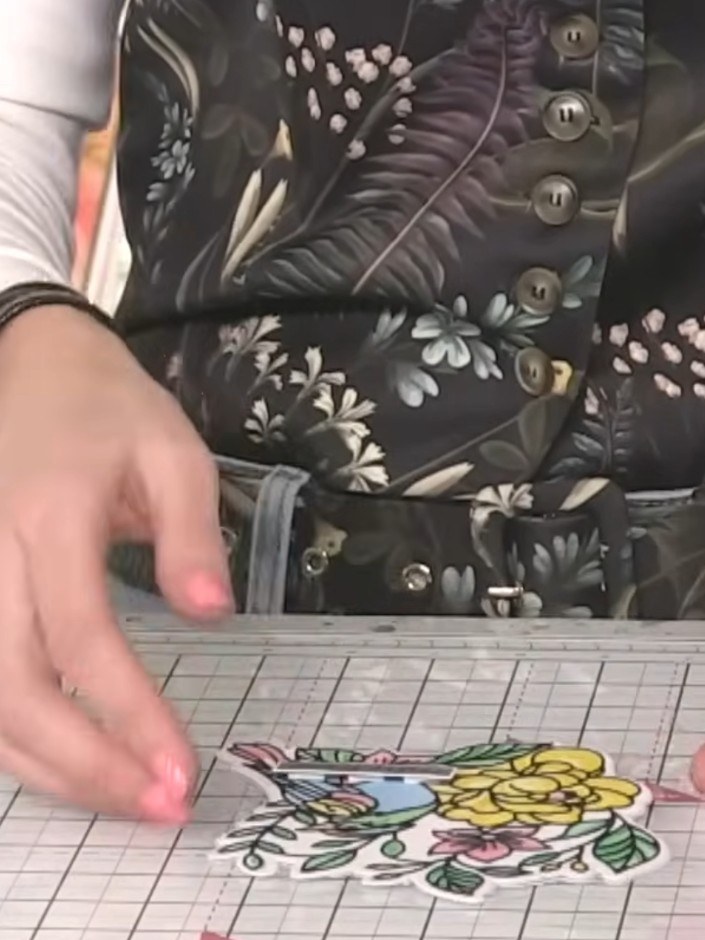
Ink through the layering stencil onto your card base using your chosen colours. Build up the design by applying different coloured inks through the stencil layers to create depth and dimension.
▶ watch this step (33:30)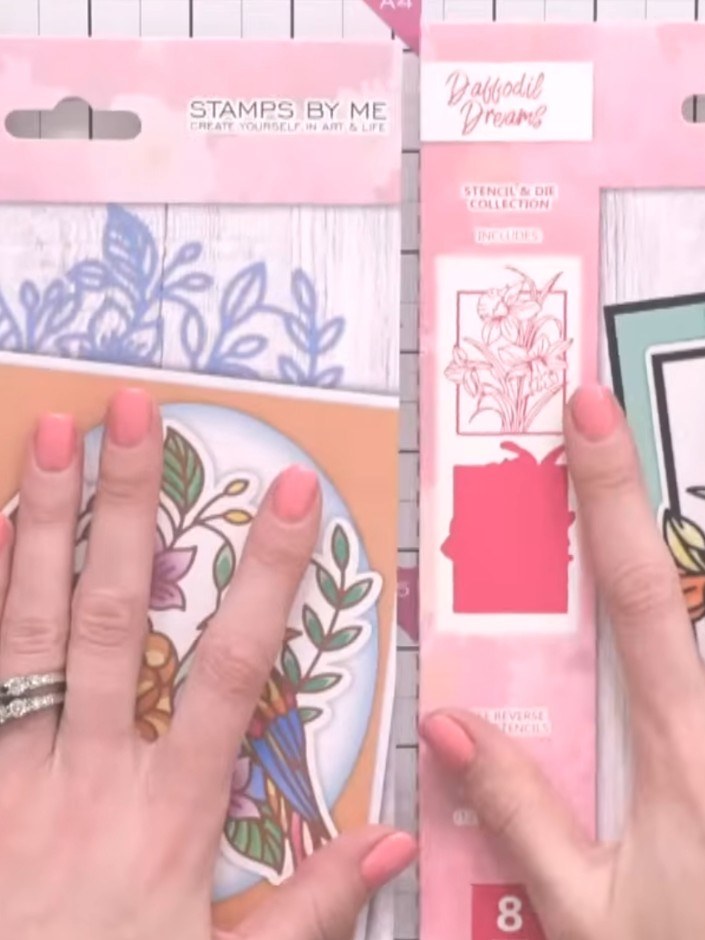
Build up the layers by inking through each layer of the stencil in sequence. Work through the stencil set, aligning each layer carefully to create depth and dimension in your floral design. Choose your preferred ink colours for each layer to create the desired effect.
▶ watch this step (34:00)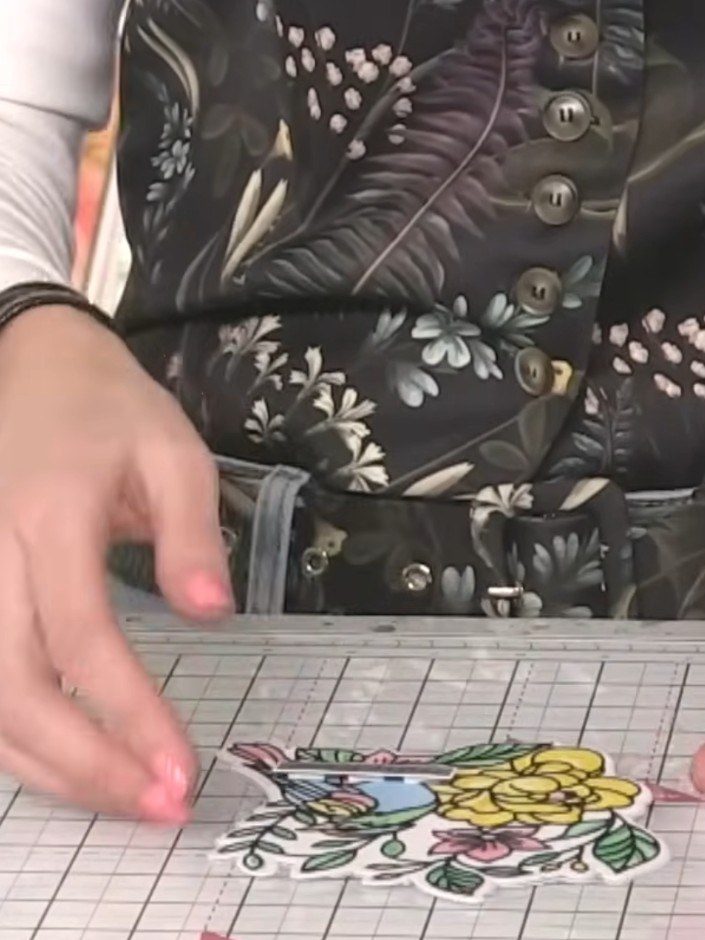
Select the coordinating outline die that matches your stamped image from the collection. The bundle includes both the stamp set and the matching die for precise cutting.
▶ watch this step (34:30)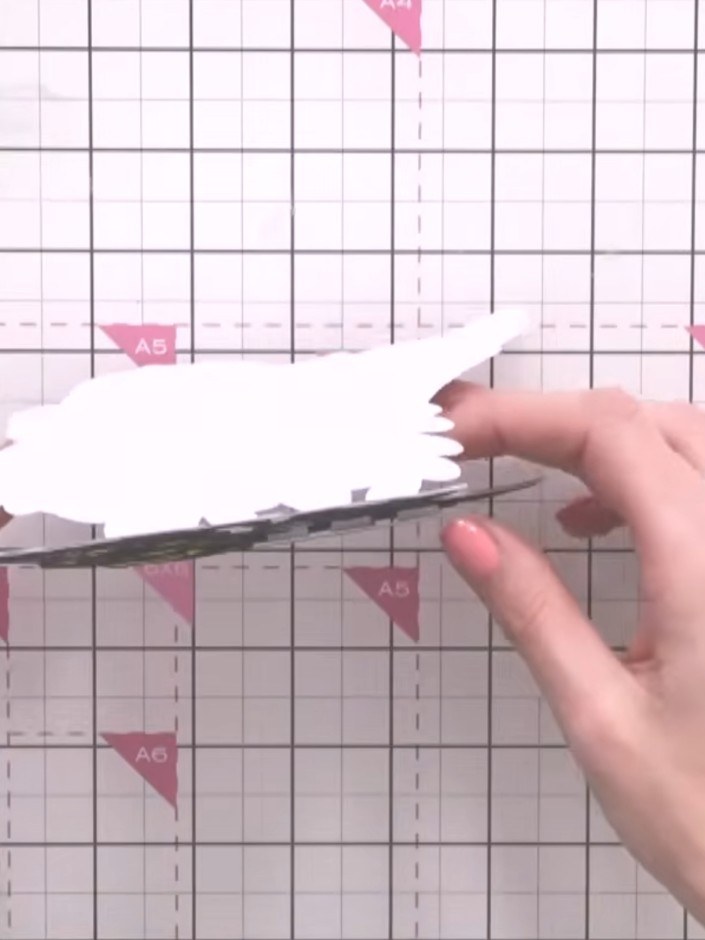
Cut the die shape from black cardstock using your die cutting machine. The die will cut out the decorative floral design with intricate details.
▶ watch this step (35:00)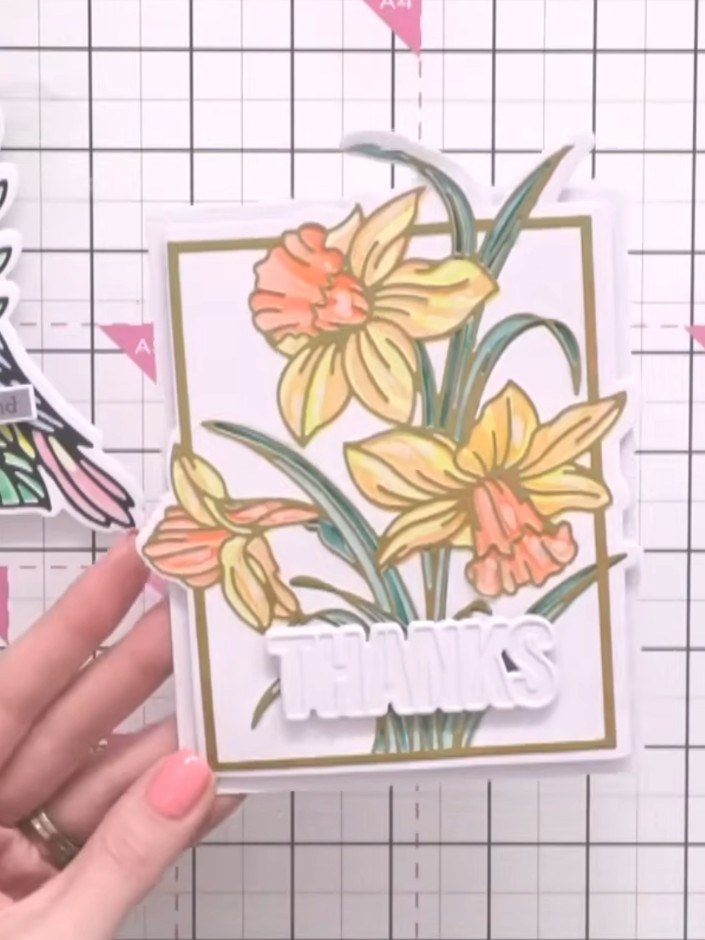
Layer your die-cut floral shape on top of the stencilled background card to create dimension. Position the die-cut element centrally over the background to complete the layered effect.
▶ watch this step (35:30)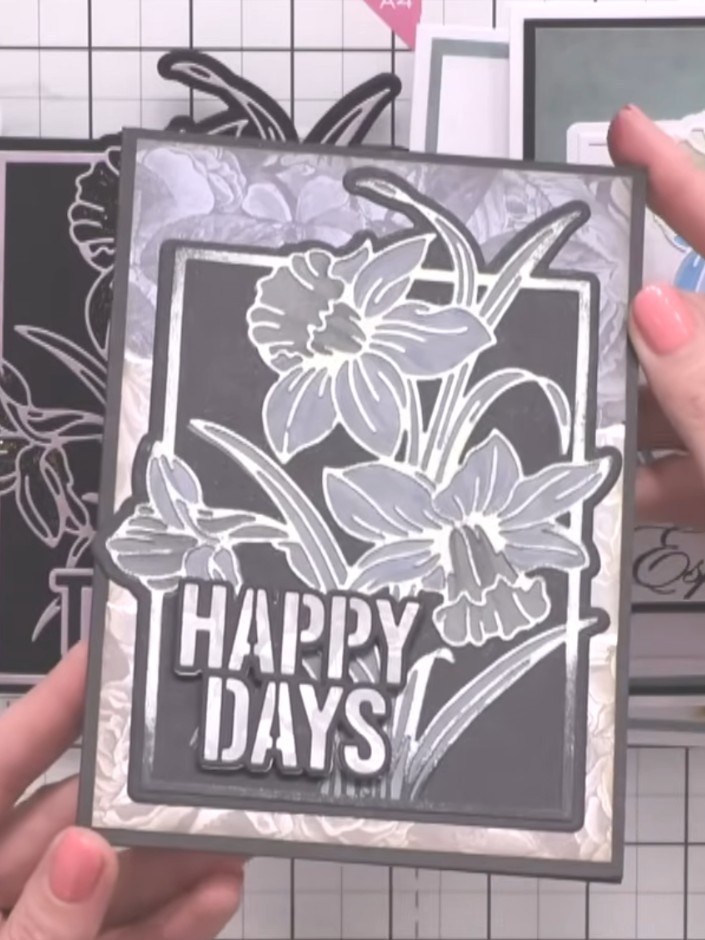
Use the outline die to cut your entire card into a shaped card format. This creates a decorative edge around the whole card with the floral design and 'Happy Days' sentiment.
▶ watch this step (36:00)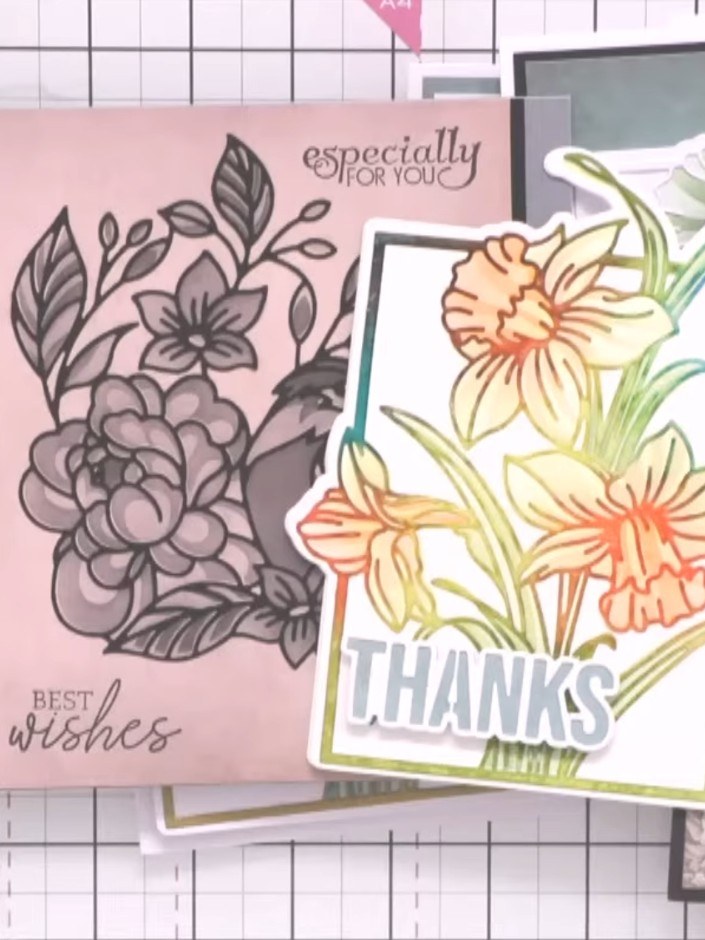
Display your completed cards together to show the variety of designs created using the same stencil and die set with different colour combinations and sentiments.
▶ watch this step (36:30)Written up from the show itself. See every guide from our shows · free how-to guides · watch live on My Telly