Give your friends €10 off their first order!
Refer a FRIEND








A project from our live show Create and Craft TV - IMALA LAUNCH - Join Carley Duff - Broadcast 15TH Jan 24 · 15/01/2024 · watch it from 14:45
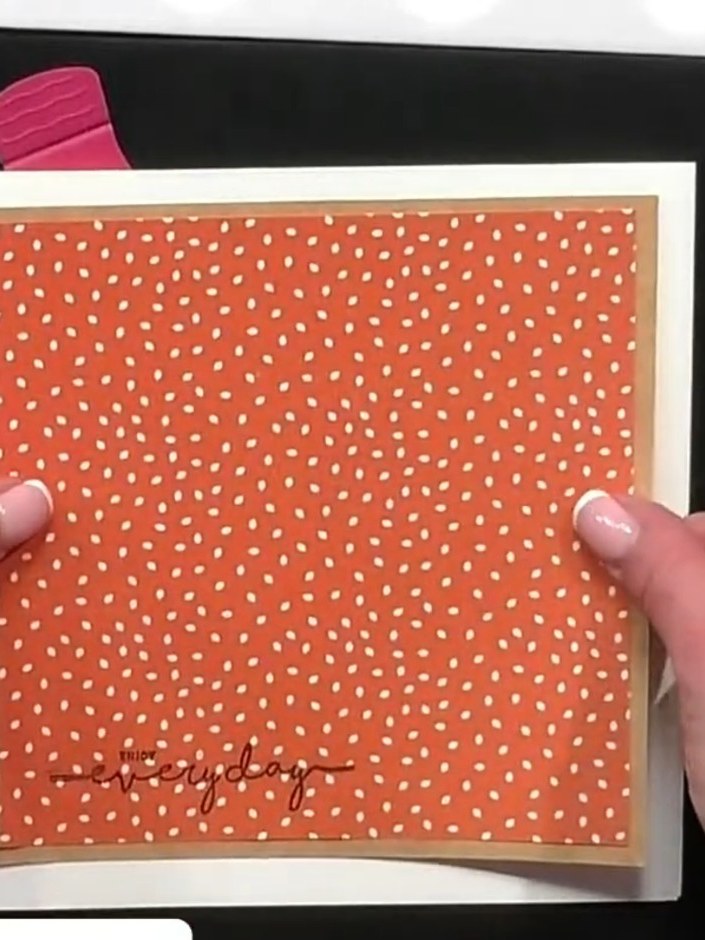
Make a stunning card with a bold watercolour background in sunset shades of orange, coral and yellow, decorated with white painted dots. Layer scenic stamped images over the colourful wash, then add a pre-coloured focal stamp to create a vibrant, summery design that captures the warmth and joy of a sunny day.
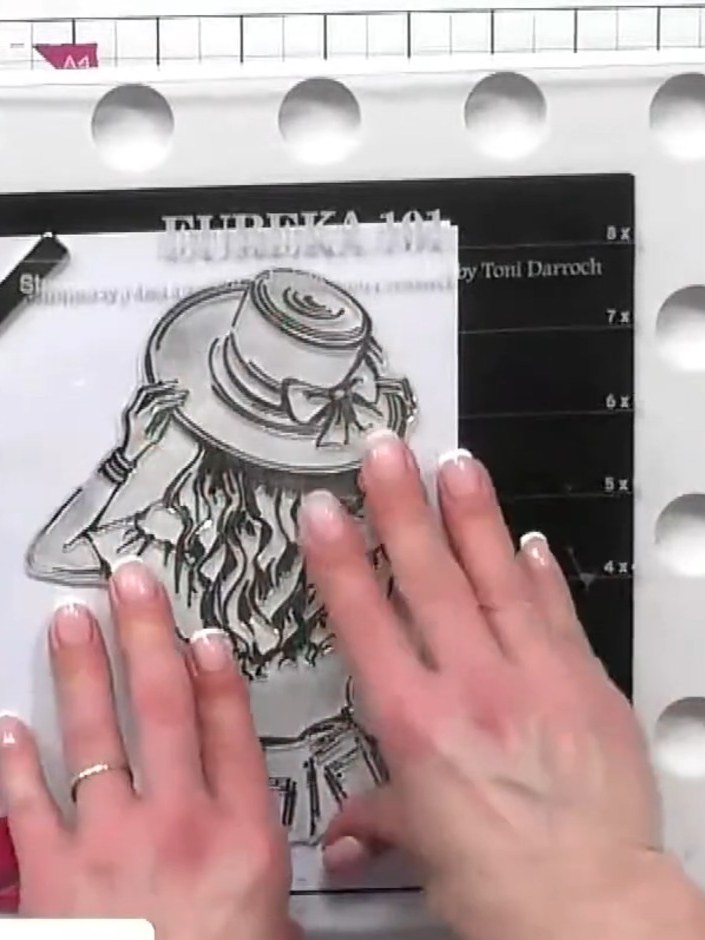
Stamp the My Sunshine girl image onto white card using black ink. Use the IMALA stamping platform to ensure crisp, even pressure for a clear impression.
▶ watch this step (15:00)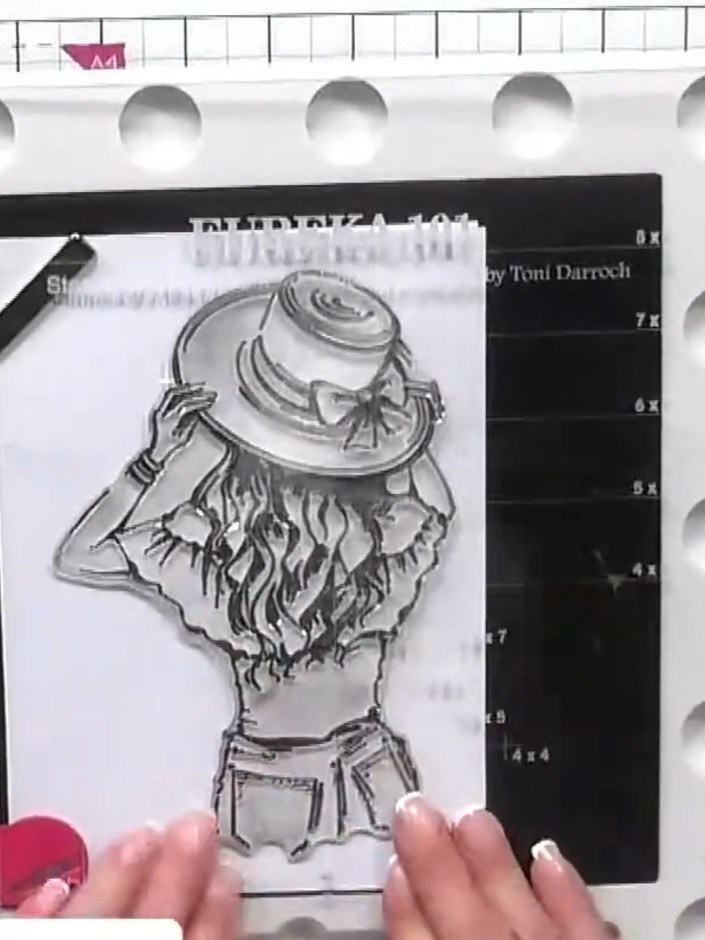
Pre-cut the girl image from the My Sunshine stamp set and colour her using alcohol markers. Focus on creating depth and dimension in the hair, clothing, and skin tones to bring the design together.
▶ watch this step (15:30)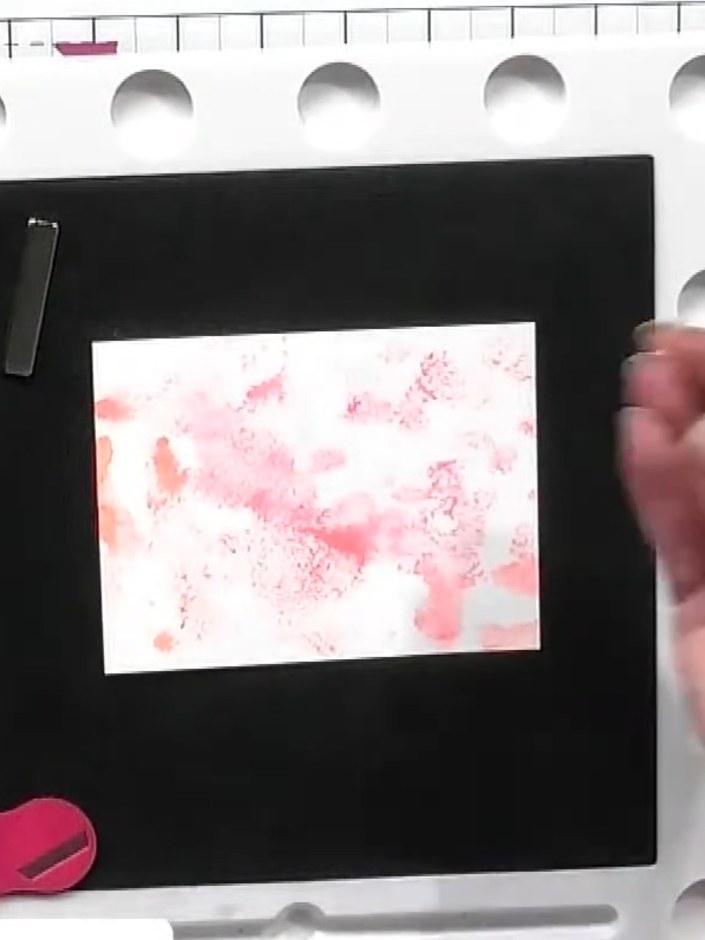
Take a piece of watercolour card and apply concentrated watercolour pigment in pink shades. Dab and squish the pigment to create a grungy, textured background.
▶ watch this step (17:45)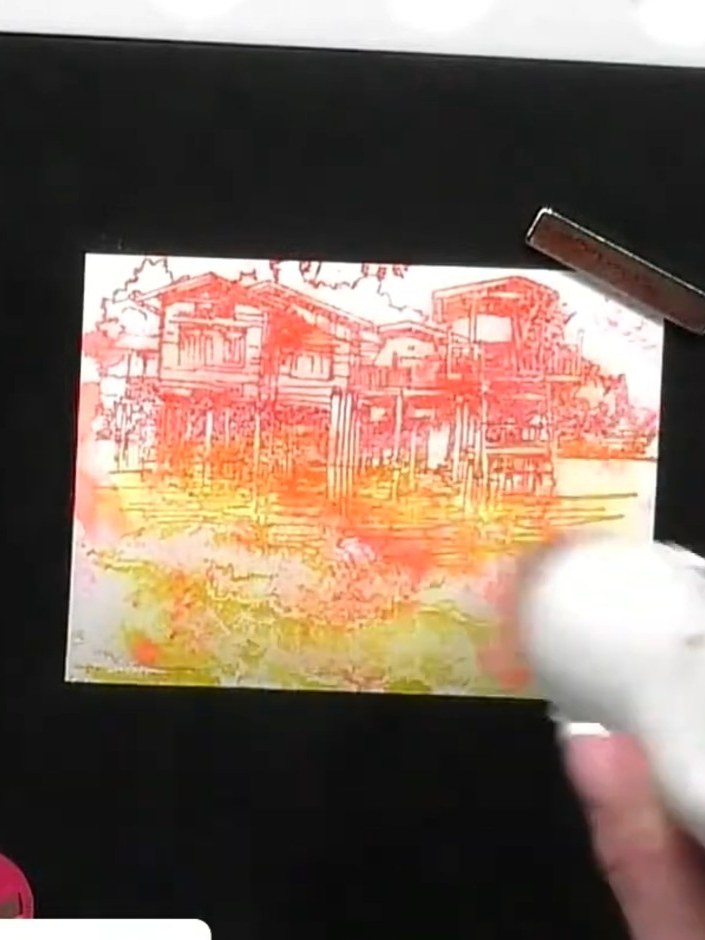
Hold the Scenery Escape stamp over the watercolour base. Ink the stamp with orange at the top, pink in the middle, and yellow at the bottom.
▶ watch this step (18:15)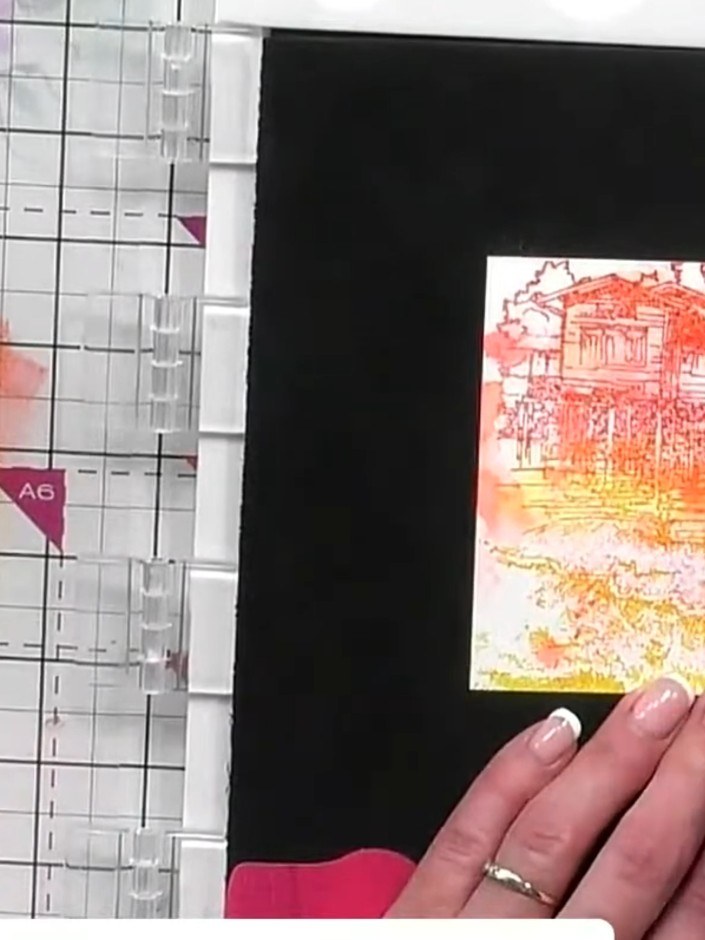
Add a little water to the stamped image and use a brush to drag and blend the ink colours together, working the orange at the bottom into the pink and red areas above to create a seamless watercolour effect.
▶ watch this step (18:30)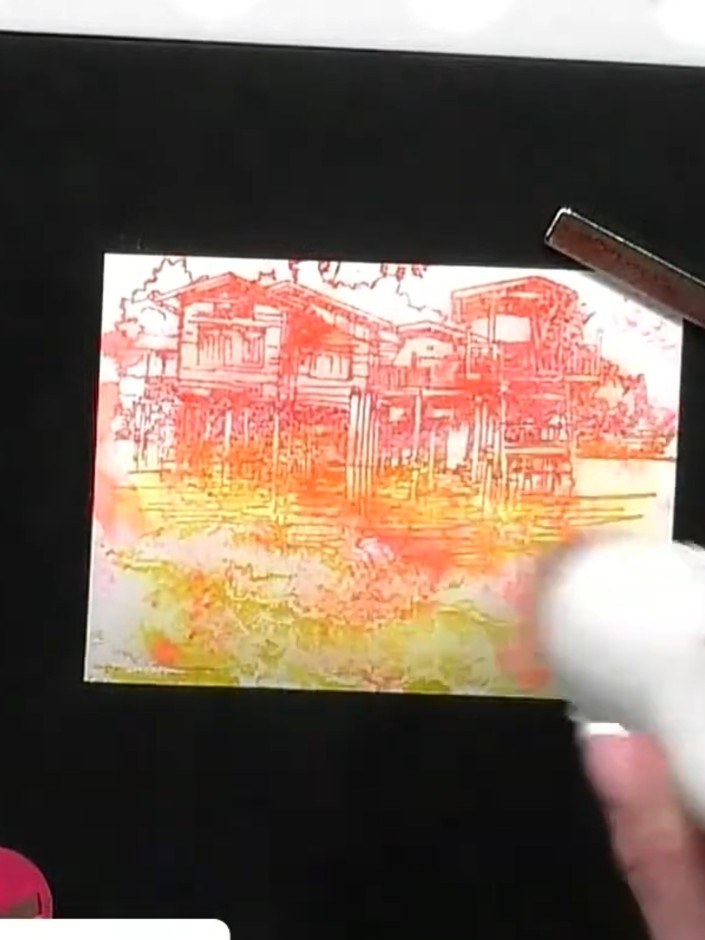
Stamp a sentiment onto decorative backing paper using black ink.
▶ watch this step (19:30)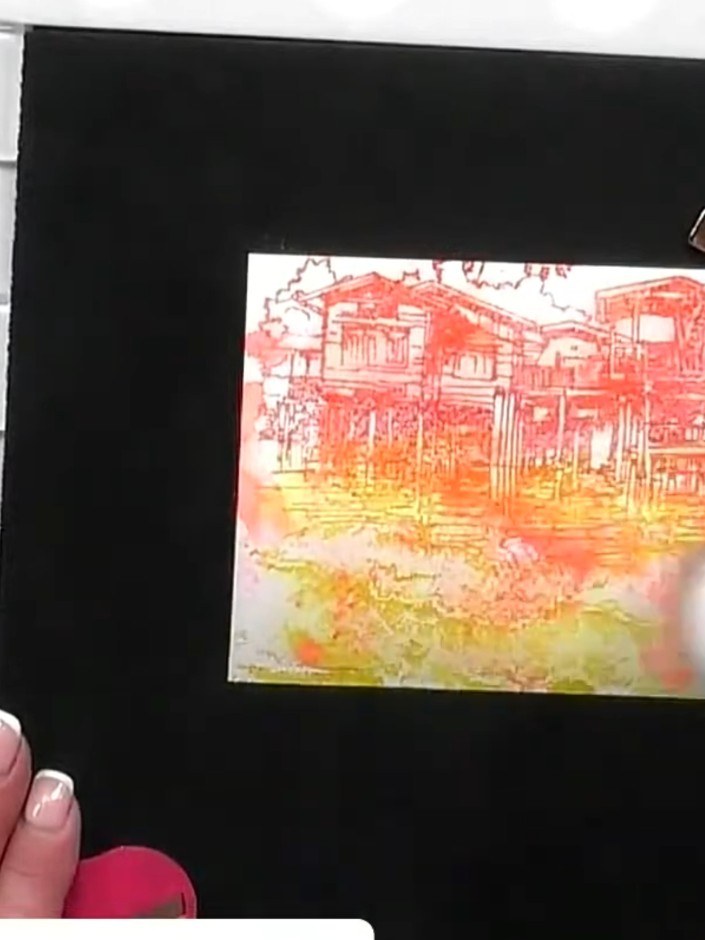
Layer the watercolour scenic background onto the black card base. Add the decorative backing paper with the sentiment on top. Finally, attach the pre-coloured girl image to complete the card.
▶ watch this step (20:00)Written up from the show itself. See every guide from our shows · free how-to guides · watch live on My Telly

