QUICK LINKS

info@howtocraftnetwork.com
We just got smarter - shop and watch with the SBM appGET THE APPWatch us live on your smart TVSEE HOWDiscover our dedicated IPTV channel - go to my-telly.comWATCHCollect loyalty points on every orderFIND OUT MORE
Welcome to the How to Craft Network
 
SBM SHOP
FOLLOW US
GIVE YOUR FRIENDS €10 OFF REFER A FRIEND › DISCOVER MY-TELLY.COM › WE JUST GOT SMARTER GET THE APP › AWARD WINNING CHANNEL ON YOUR TV › JOIN THE CLUB FOR SAVINGS ›
 

Get Ready with Me Glam Background Card with Dressed Dolly

A project from our live show Create and Craft TV - IMALA LAUNCH - Join Carley Duff - Broadcast 15TH Jan 24 · 15/01/2024 · watch it from 30:15
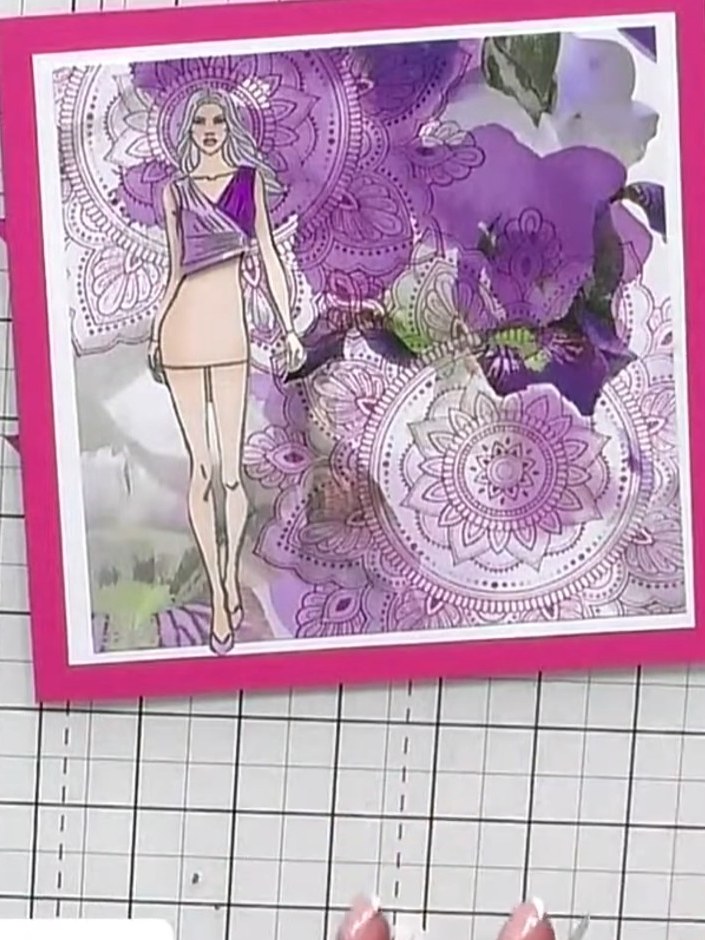
Get Ready with Me Glam Background Card with Dressed Dolly - the finished project
The finished project

Create a glamorous card featuring a beautifully dressed girl layered over an intricate stamped background in shades of purple and pink. This project demonstrates paper-piecing techniques and how to build depth by combining multiple stamp elements. The finished card showcases a sophisticated design with interchangeable outfit pieces and decorative mandala patterns.
You will need

Imala - A5 Stamp - Get Ready with Me - 291123JImala - A5 Stamp - Get Ready with Me - 291123JSEE IT Imala - A5 Stamp - Movie Star - 291123IImala - A5 Stamp - Movie Star - 291123ISEE IT

DOWNLOAD THIS GUIDE (PDF)

Step by step

  1. Step 1: Create an ombre background on white cardstock using watercolour or ink washes in pink and blue tones. Blend th

    Create an ombre background on white cardstock using watercolour or ink washes in pink and blue tones. Blend the colours from light to dark to create a graduated effect across the panel.

    ▶ watch this step (31:15)
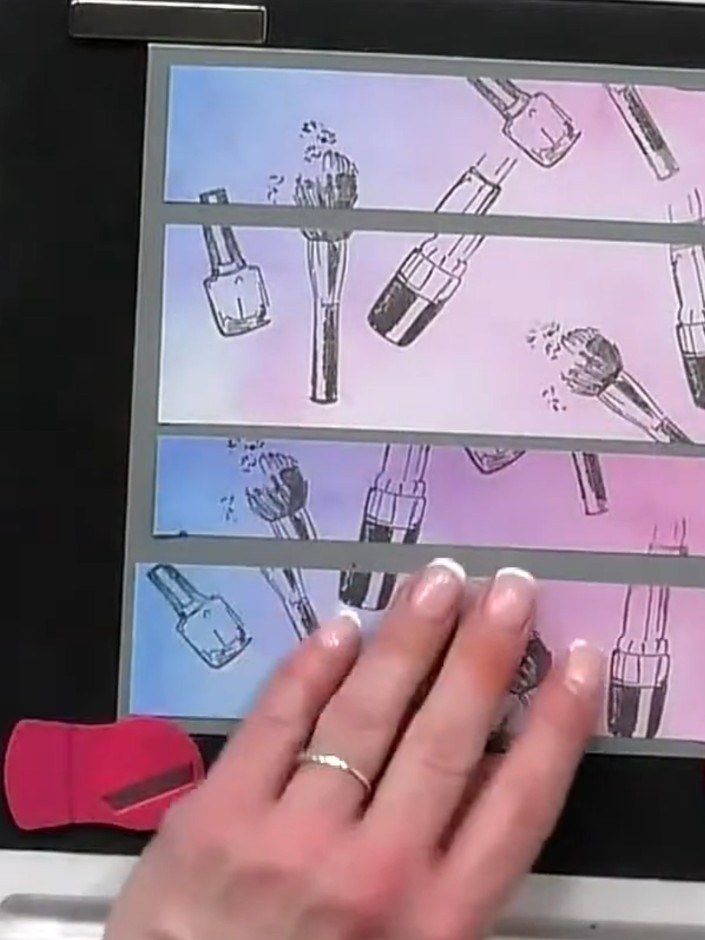
  2. Stamp elements from the Get Ready with Me stamp set all over the background panel, layering different makeup and beauty elements such as nail polish bottles, lipsticks, and compacts to create a scattered pattern. ▶ watch 31:30
  3. Step 3: Using the Movie Star stamp set, add splats and circles to the background panels. Position these elements to cr

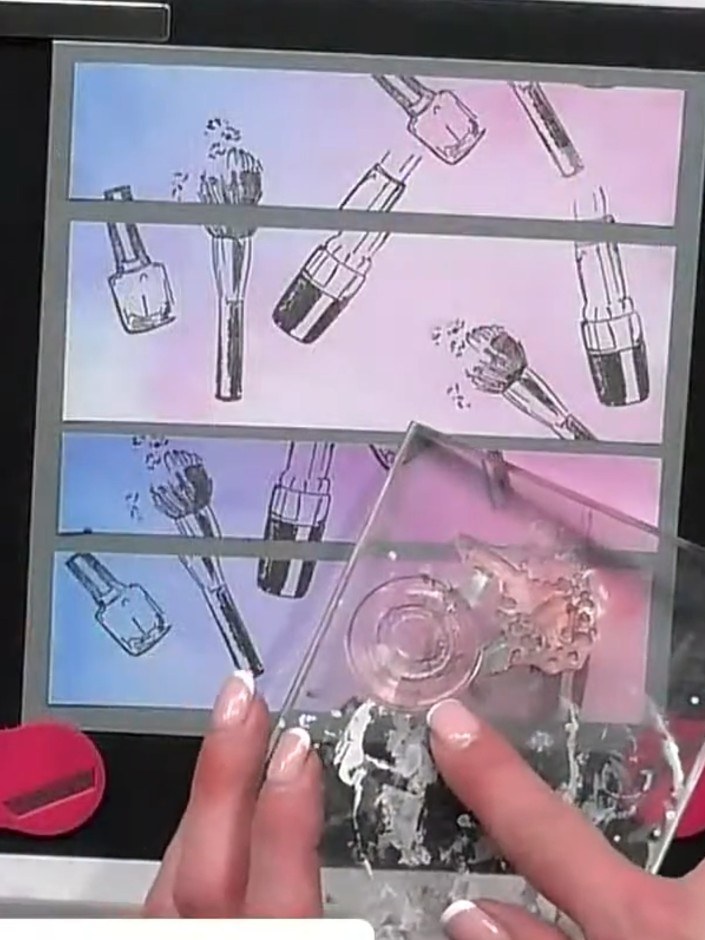
    Using the Movie Star stamp set, add splats and circles to the background panels. Position these elements to create visual interest and balance the composition with opposite symmetry across the different panels.

    ▶ watch this step (32:00)
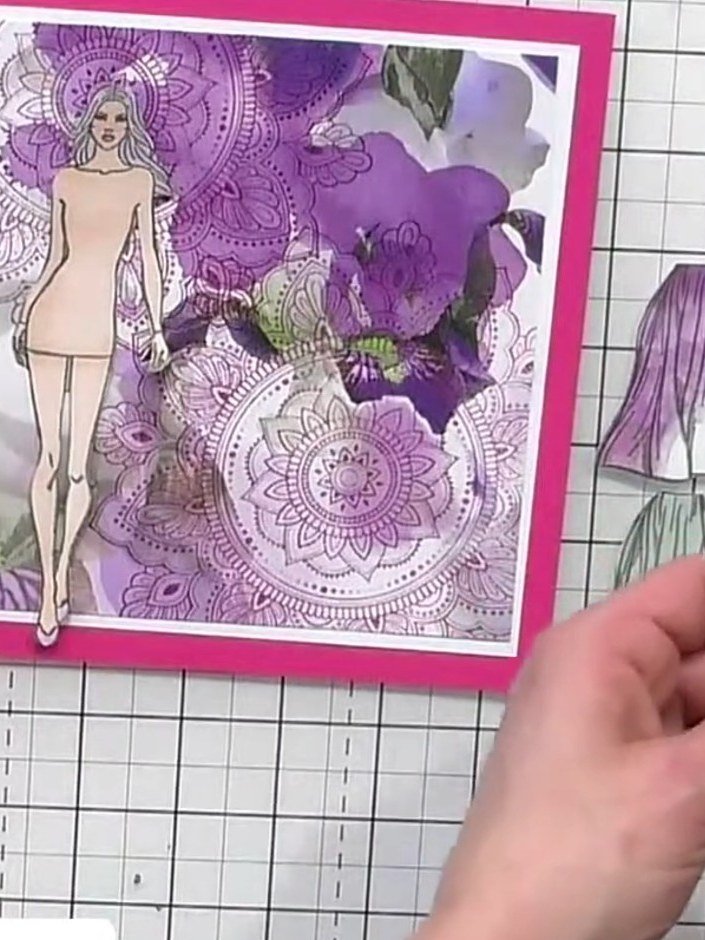
  4. Mount the stamped background panel onto bright pink card stock to create a colourful frame around the design. ▶ watch 33:00
  5. Stamp the girl figure from the Get Ready with Me stamp set onto white card using black ink. Colour the stamped image lightly with alcohol markers in your chosen colours. ▶ watch 33:15
  6. Step 6: Stamp the clothing pieces (tops, skirts, and dresses) from the Get Ready with Me stamp set onto your chosen de

    Stamp the clothing pieces (tops, skirts, and dresses) from the Get Ready with Me stamp set onto your chosen decorative patterned paper. Use purple-toned patterned papers to coordinate with the background.

    ▶ watch this step (39:45)
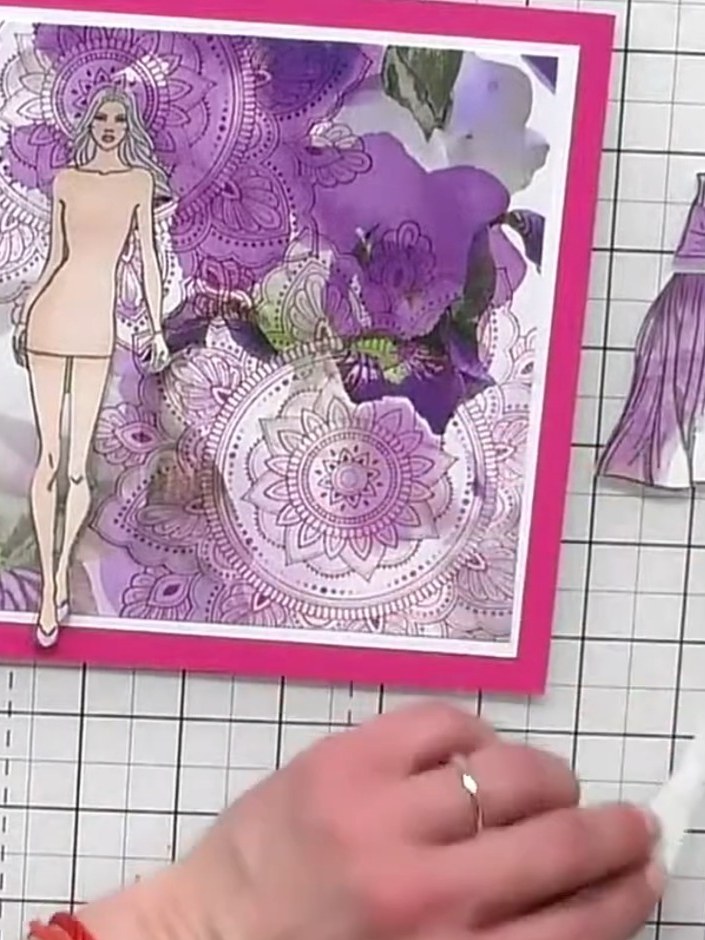
  7. Step 7: Cut out the clothing elements from the stamps. Mix and match the purple dress pieces, accessories and other ga

    Cut out the clothing elements from the stamps. Mix and match the purple dress pieces, accessories and other garments to create a unique outfit for the girl figure.

    ▶ watch this step (40:00)
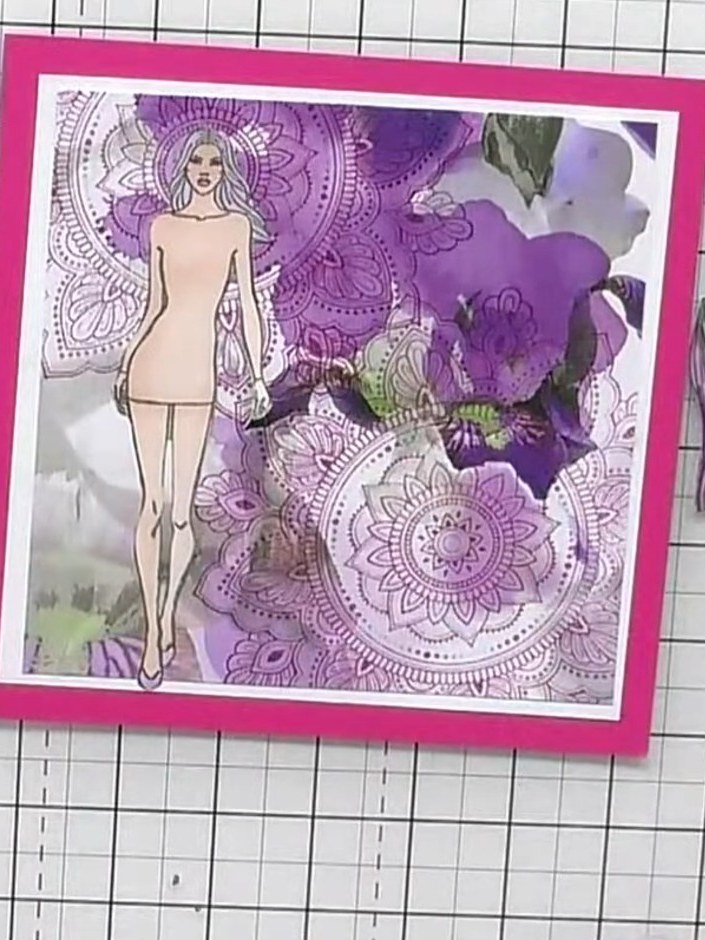
  8. Step 8: Paper piece the girl figure together by layering the flesh-toned body piece over the stamped outline. Position

    Paper piece the girl figure together by layering the flesh-toned body piece over the stamped outline. Position the figure on the left side of the card front, creating a dimensional effect against the purple floral background.

    ▶ watch this step (40:30)
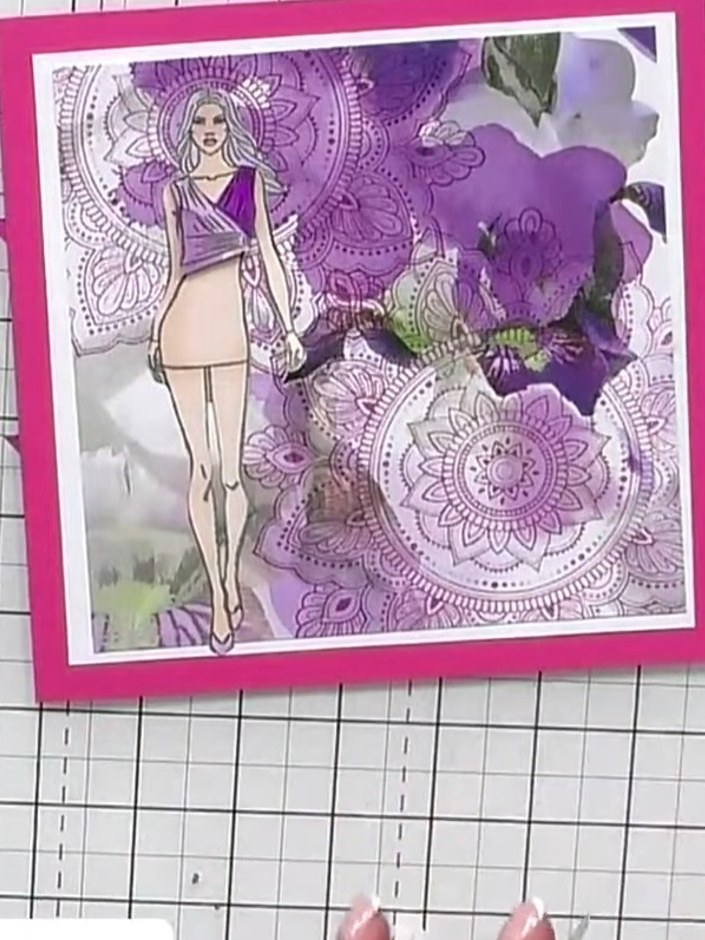
  9. Step 9: Adhere the complete paper-pieced girl figure to the purple background card using foam pads to add dimension an

    Adhere the complete paper-pieced girl figure to the purple background card using foam pads to add dimension and lift.

    ▶ watch this step (41:00)
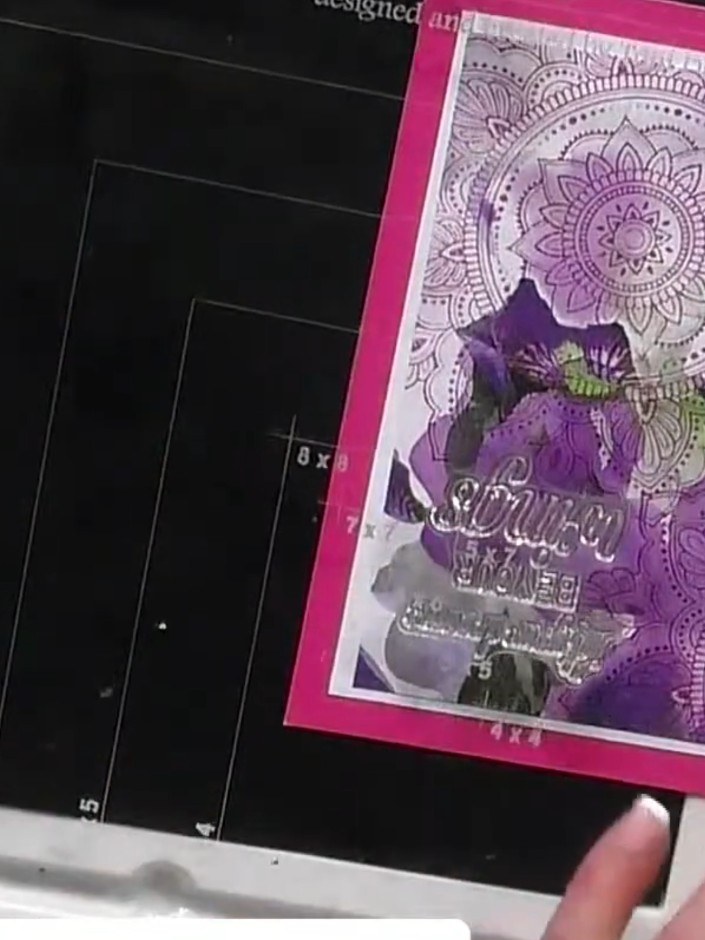
  10. Step 10: Stamp a sentiment from your chosen stamp set in black ink in the corner of the card. This will tie the design

    Stamp a sentiment from your chosen stamp set in black ink in the corner of the card. This will tie the design together and bring focus to the foreground elements.

    ▶ watch this step (41:45)

Tips from the show

More from this show

Written up from the show itself. See every guide from our shows · free how-to guides · watch live on My Telly







