Give your friends €10 off their first order!
Refer a FRIEND








Prices change straight away. Every language is our own translation, not Google.
A project from our live show MY PODCAST - Catch my latest updates broadcast 8th December 2025 · 08/12/2025
Create a beautiful chrysanthemum floral card featuring layered die-cut flowers in soft pinks and purples on a rustic wood-effect background. This elegant design uses pre-coloured double-sided paper with connected die-cut flowers that are easy to assemble and layer. The finished card showcases dimensional blooms with delicate petals and foliage, perfect for any occasion.
 1
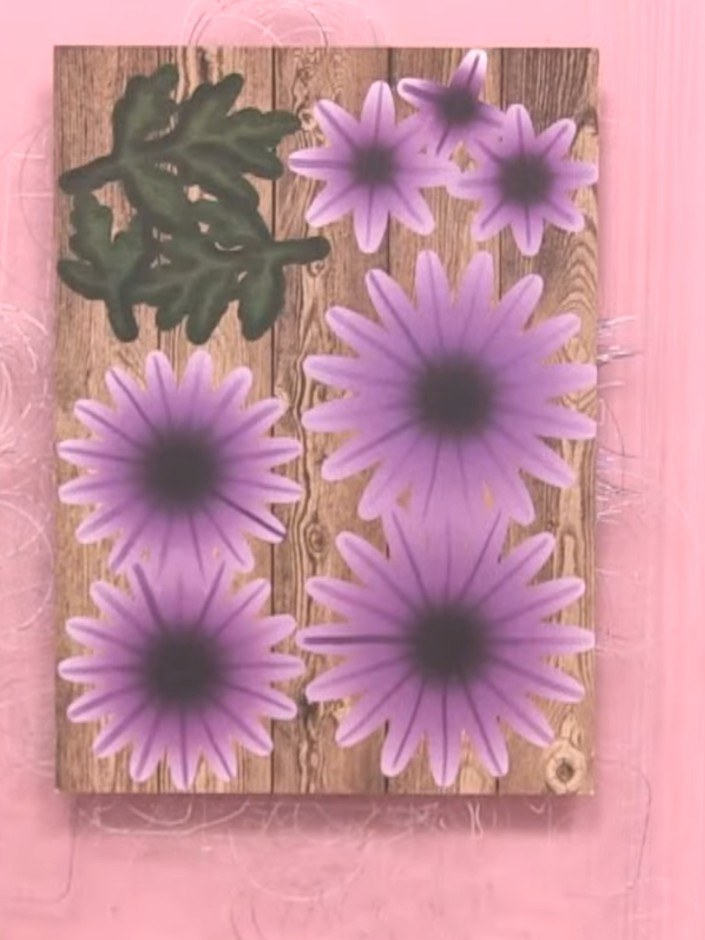
Select your purple coordinating paper from the Chrysanthemum pad and place it on your cutting mat.
 2
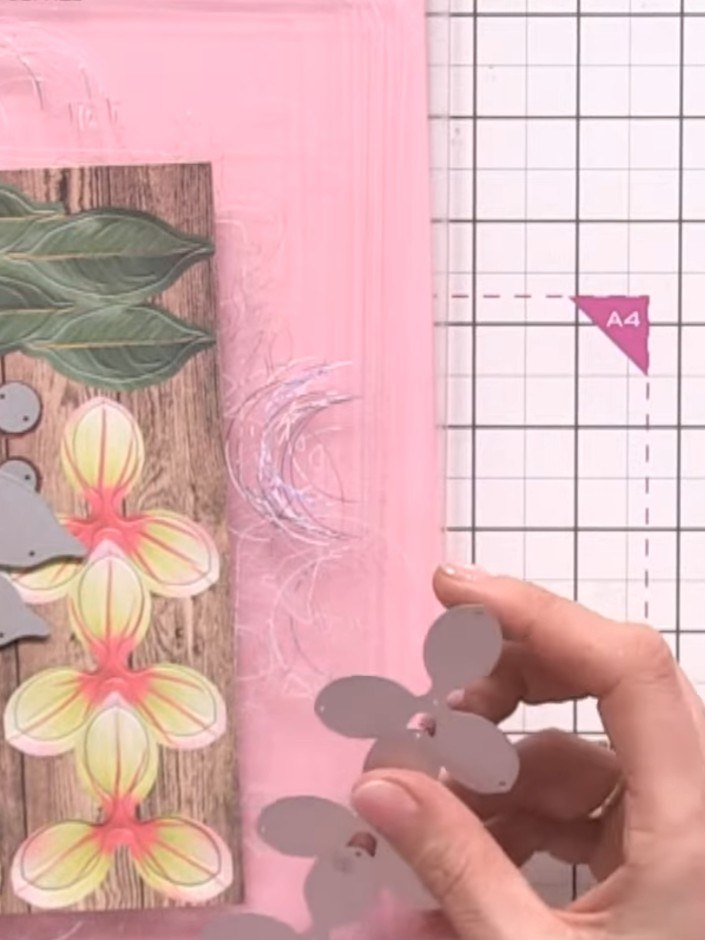
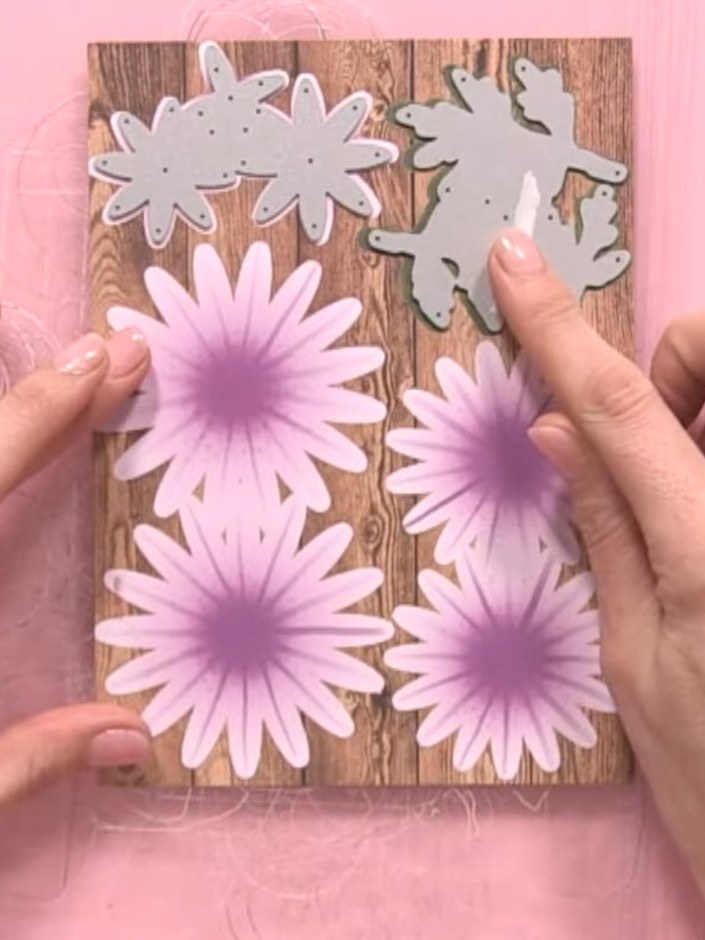
Position the connected chrysanthemum die plate onto the double-sided cardstock, ensuring proper alignment. Place the die carefully to make the most of your paper.
 3
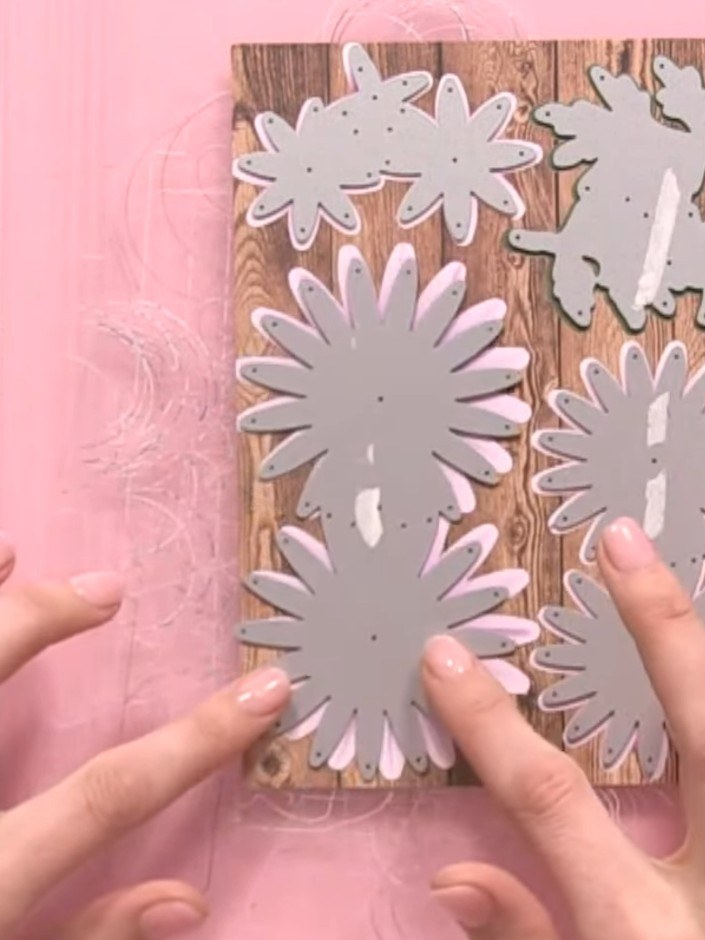
If the die-cut flowers don't align properly with the white outlines on one side of the pink cardstock, flip the cardstock over to use the reverse colour side for better alignment.
 4
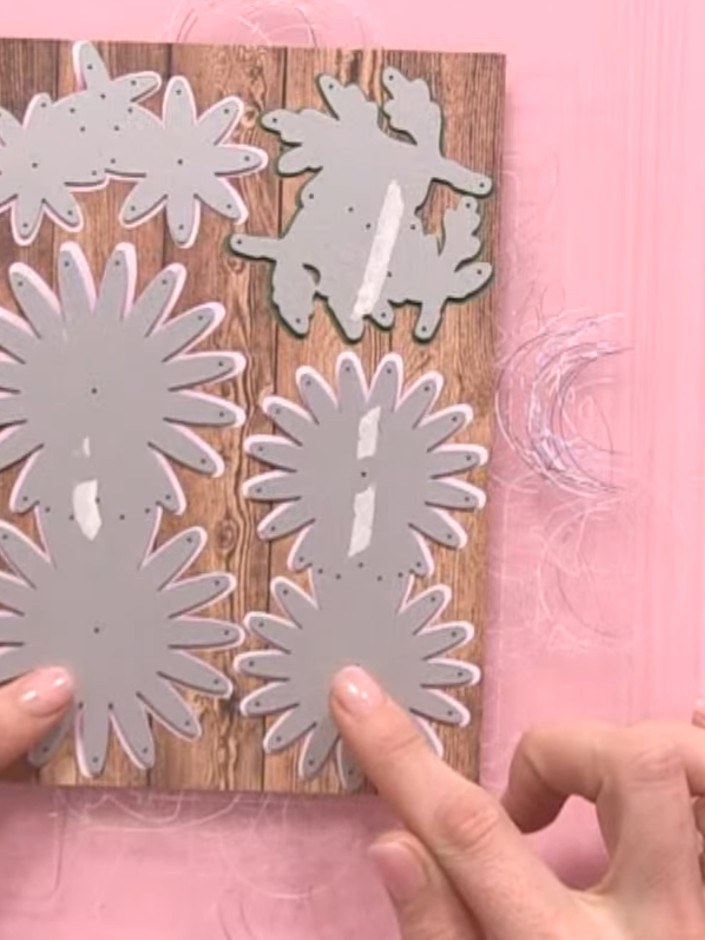
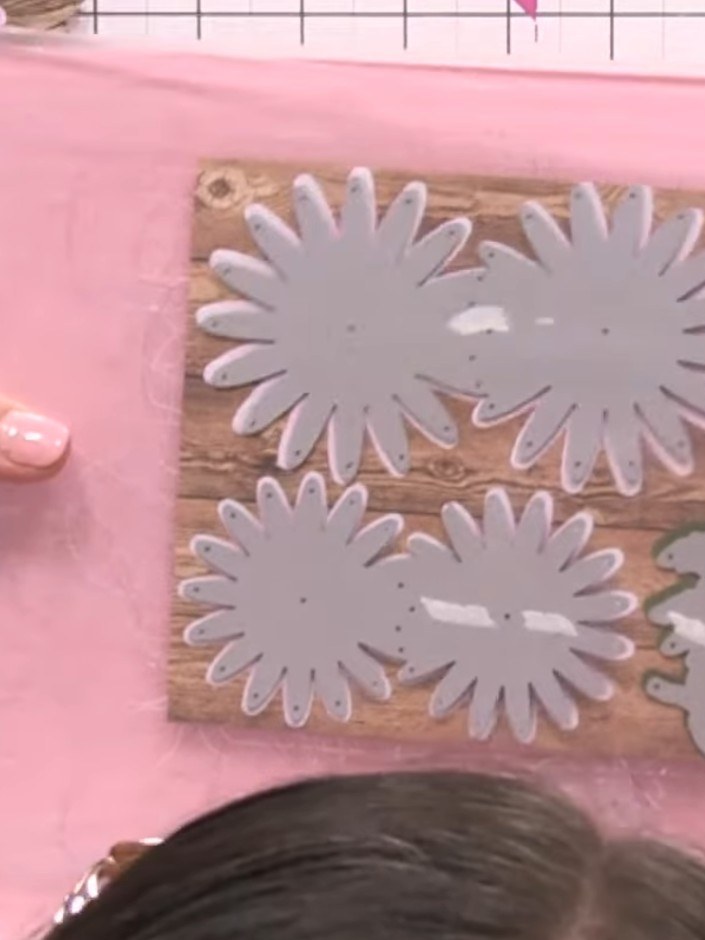
Position the die plate with the chrysanthemum flower shapes onto your chosen cardstock. Secure the die plate firmly in place using tape or hold it down with your hand to prevent it from shifting during cutting.
 5
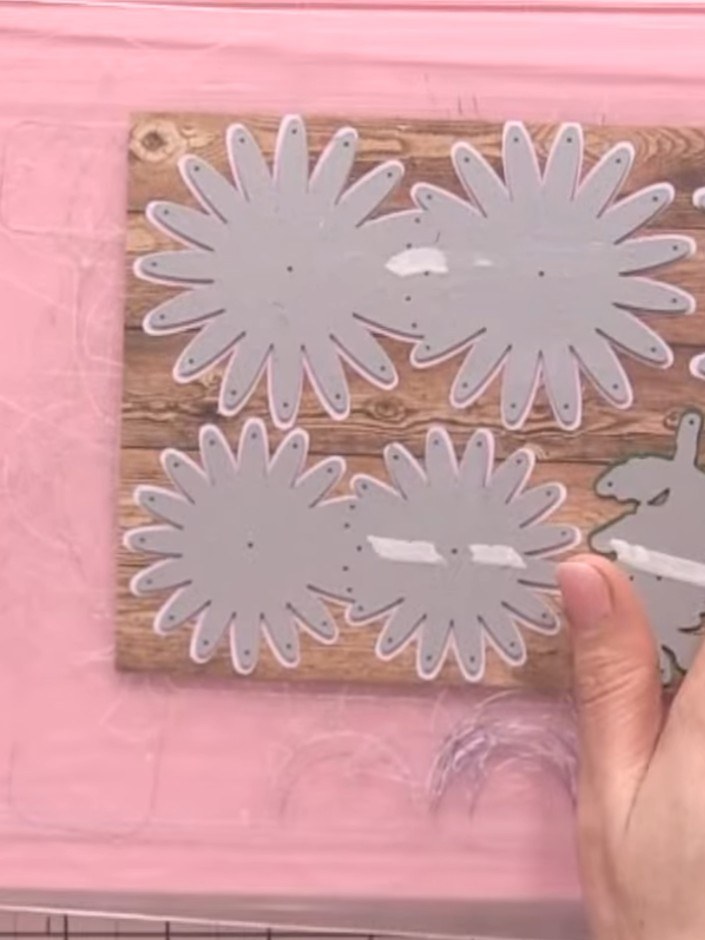
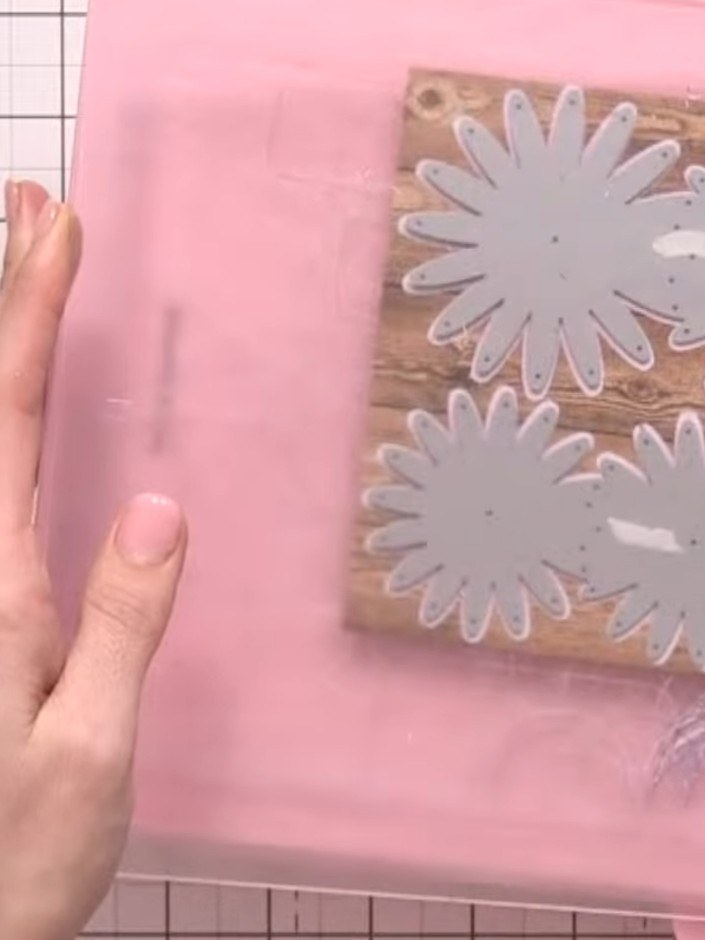
Place the die-cut plate with your paper onto the pink cutting platform. Run the paper and die plate through your die-cutting machine to cut out the chrysanthemum shapes.
 6
Remove the die-cut flower pieces from the pink cardstock. Observe the embossed detail created by the die on the petals of the chrysanthemum flowers.
 7
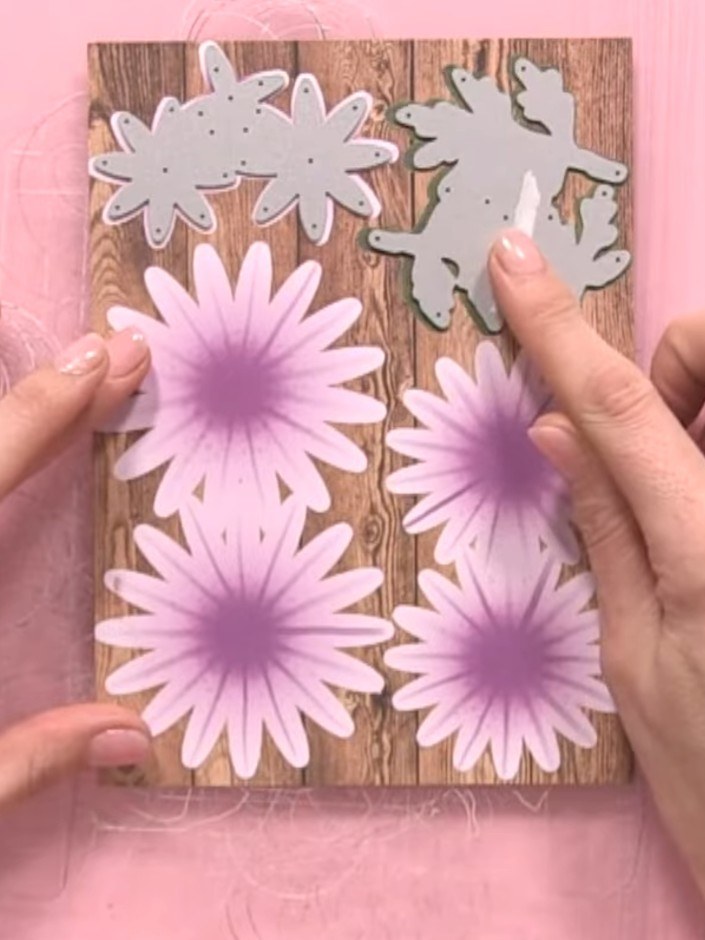
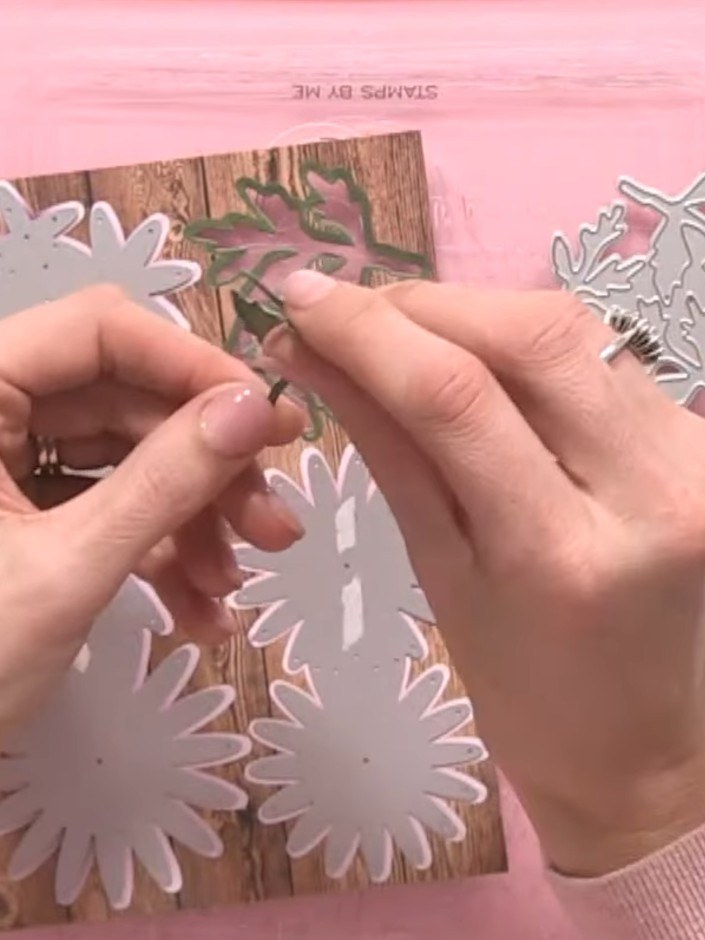
Pop out all the individual flower and leaf pieces from the die-cut sheet. Carefully remove each chrysanthemum flower and foliage element from the pink die-cut cardstock, ensuring clean edges.
 8
Layer the die-cut chrysanthemum flowers onto your card base, offsetting them slightly to create depth and dimension. Position the white flowers over the wood-effect background pieces and add the green foliage elements between them.
 9
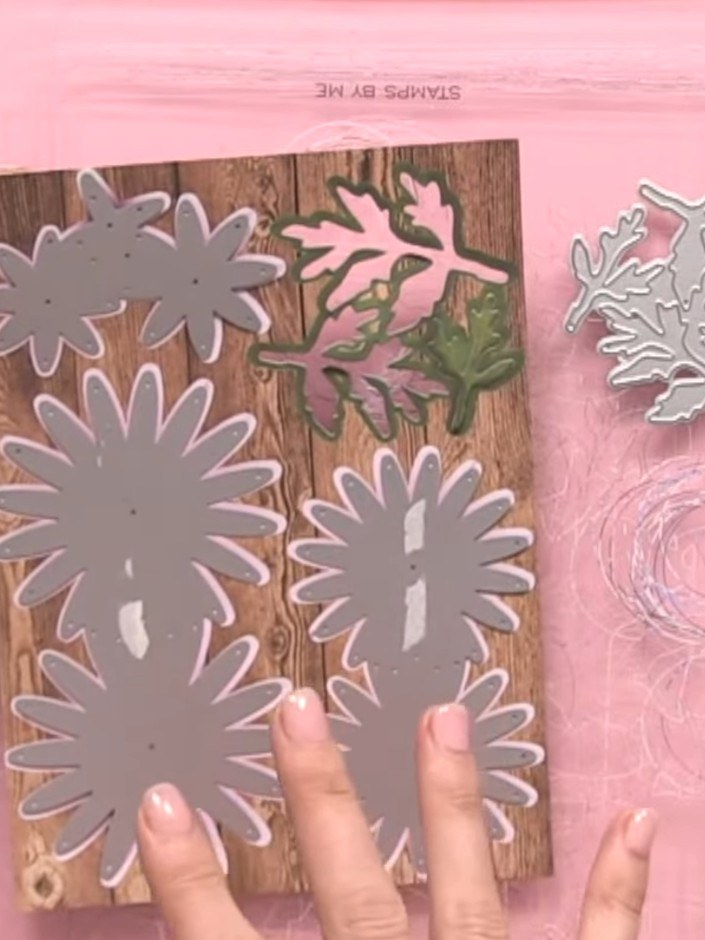
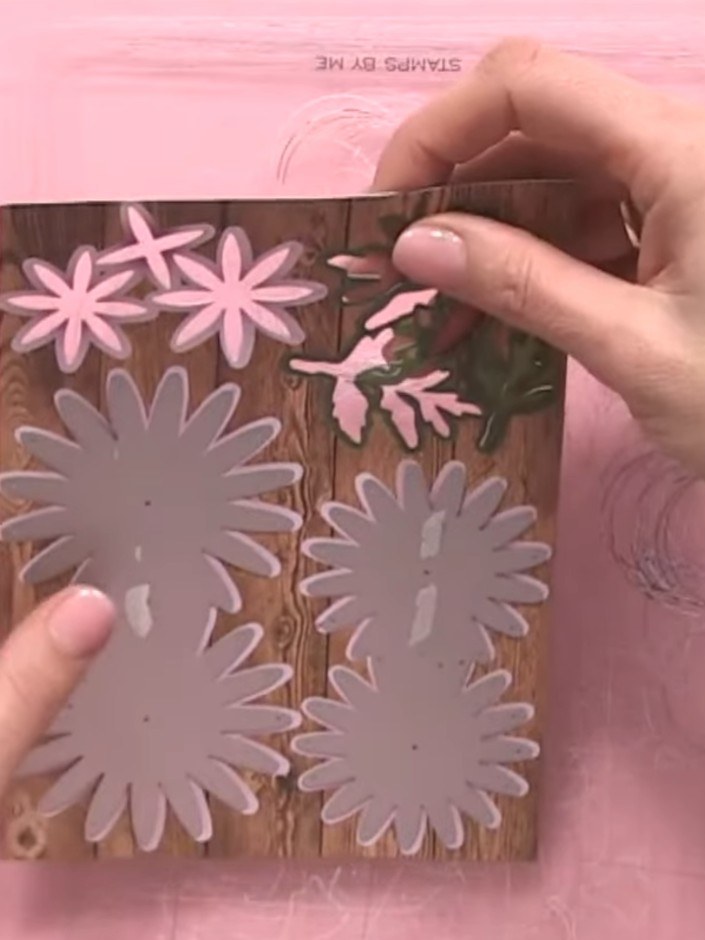
Position the green foliage pieces between and around the grey chrysanthemum flowers on the wood-effect panel. Arrange them to create a natural-looking bouquet, filling the spaces between the blooms.
 10
Store any unused die-cut pieces back in the coordinating envelope for future use. This helps keep your craft supplies organised and ensures you can use leftover pieces in other projects.
Share your make with the Stamps By Me community - and keep this guide for next time.
Written up from the show itself. See every guide from our shows · free how-to guides · watch live on My Telly · the previous layout