¡Regala a tus amigos €10 de descuento en su primer pedido!
Recomienda a un AMIGO








 The Friday Final Cutvie 6 nov 5:00 a. m.
 Community Showcaselun 9 nov 5:00 a. m.
 Hobbymaker Tvlun 9 nov 9:00 a. m.
Los precios cambian al instante. Cada idioma es nuestra propia traducción, no Google.
Un proyecto de nuestro programa en vivo EXCLUSIVA CREATE AND CRAFT - Acompaña a Toni EN VIVO en su nuevo lanzamiento FLOWERS FOR YOU - transmitido el 31 de marzo 22 · 31/03/2022 · velo desde 48:30
Create a delightful springtime card featuring wellington boots filled with a gorgeous floral display. This project uses selective ink application and watercolour accents to add depth and dimension to die-cut boots, creating a charming hand-painted effect. The finished design combines soft purples, greens, and greys with delicate flowers and a heartfelt sentiment.
 STAMPS BY ME MÁQUINA TROQUELADORA Y DE EMBOSSING DE 6 PULGADAS - 240921aVERLO
 TV - GOSSIP - SET 7 DE MARCADORES CON BRILLANTINA GLITTER SPARKLE OLIVE LILAC TANGERINE - 130422wVERLO
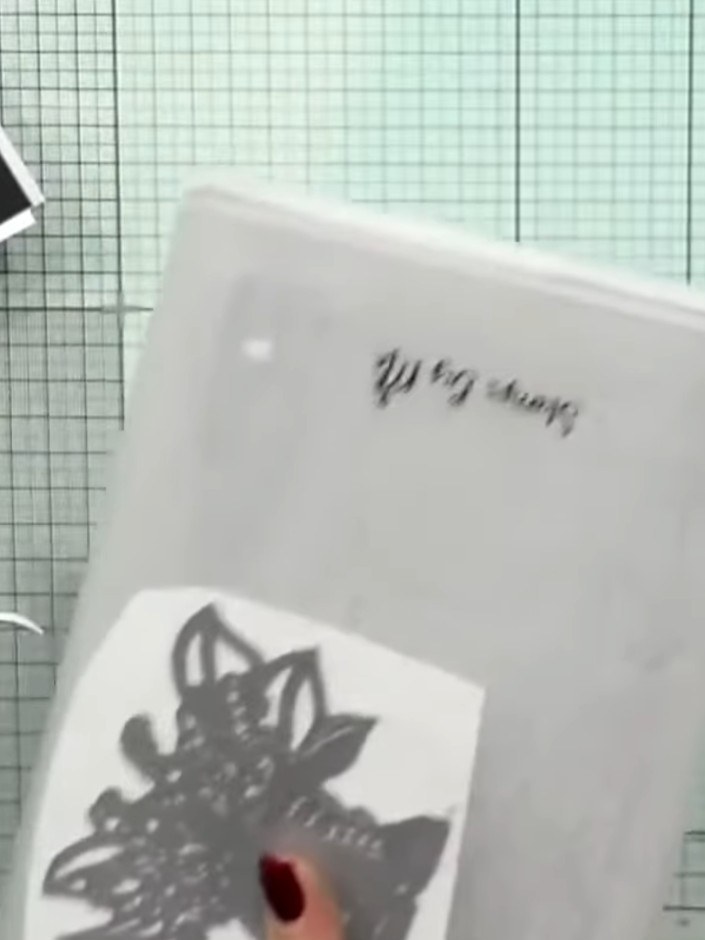
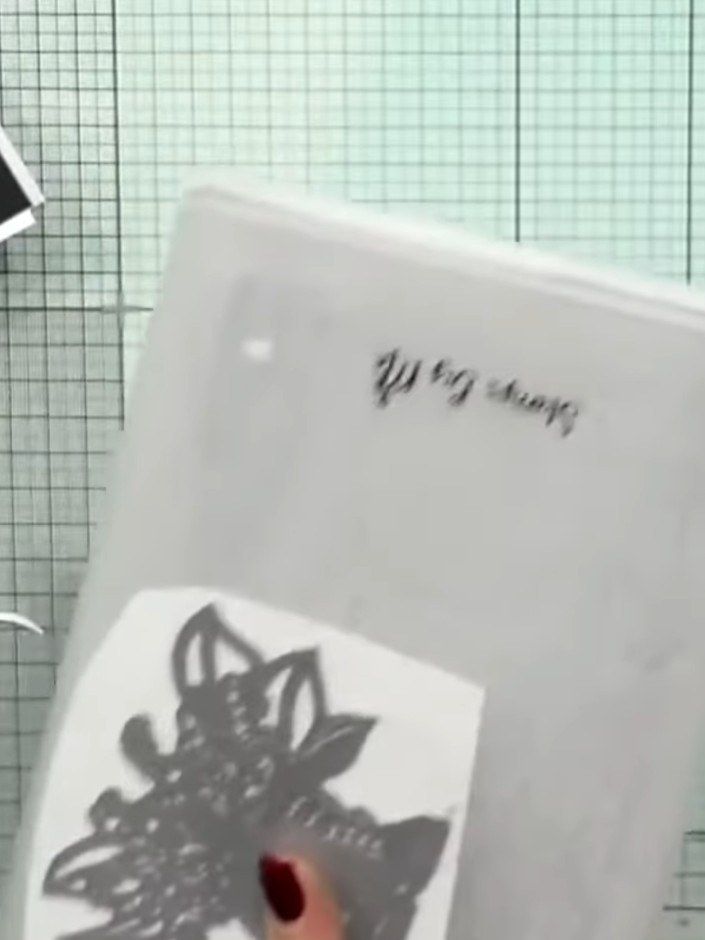
Place the die-cut floral wellington boot design face down on watercolour card. Run it through the die-cutting machine several times to ensure a clean cut and good embossing detail.
▶ ver este paso (48:30)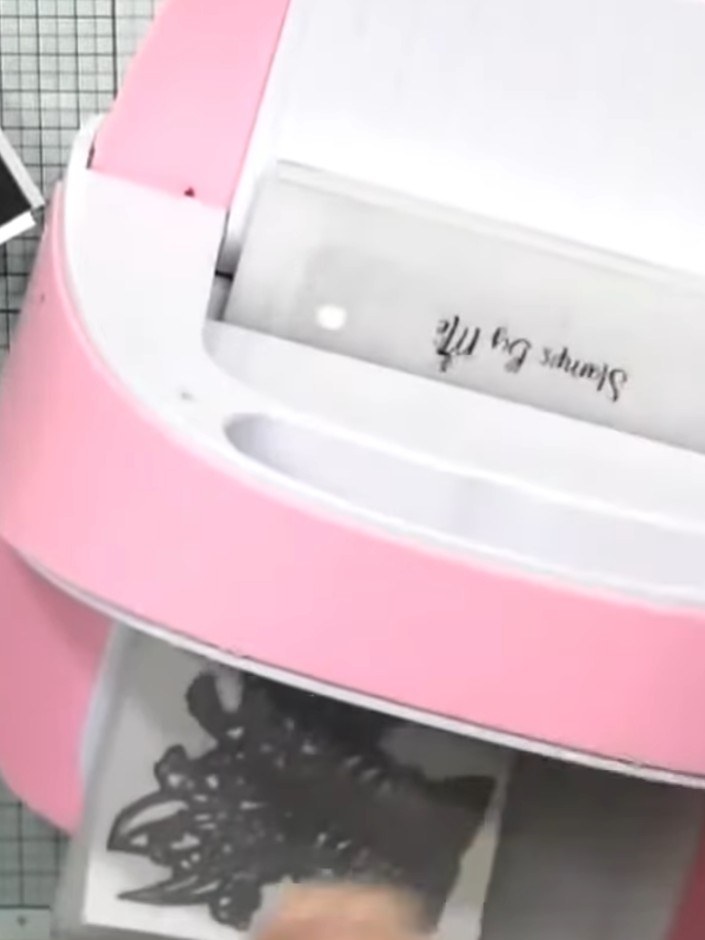
Die-cut the Spring Boots design from the watercolour card using your die-cutting machine. Remove the die-cut pieces from the card.
▶ ver este paso (48:45)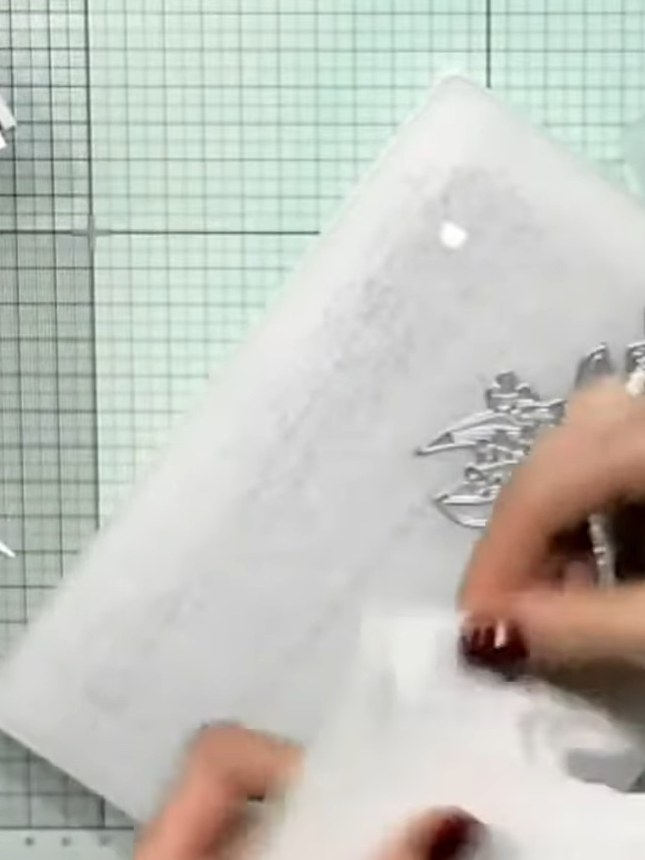
Carefully tap out all the die-cut pieces from the card. Set the pieces aside ready for assembly.
▶ ver este paso (49:00)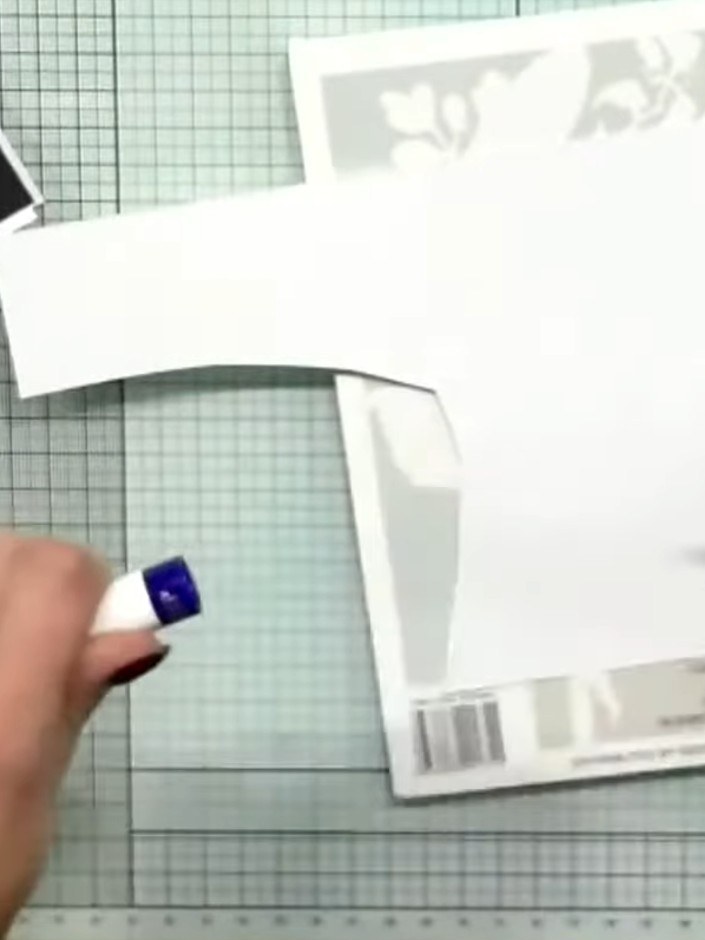
Dip the die-cut wellington boots into a blue ink pad to create selective colour coverage on the boots, applying the ink minimally for a subtle effect.
▶ ver este paso (49:15)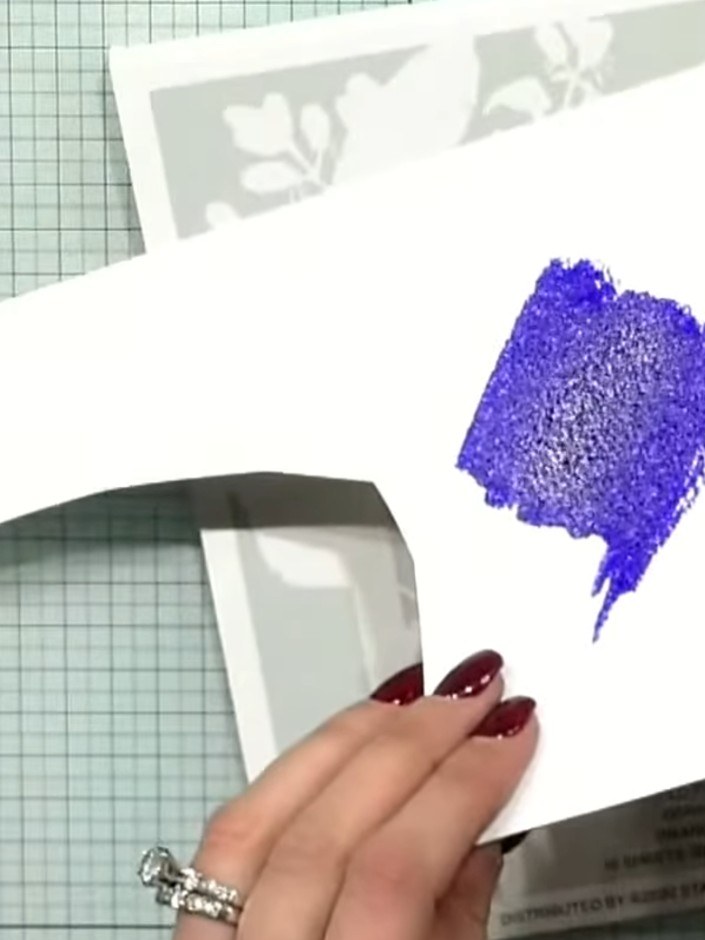
Allow the purple ink to dry slightly, leaving white areas visible on the boots for dimension and depth.
▶ ver este paso (49:45)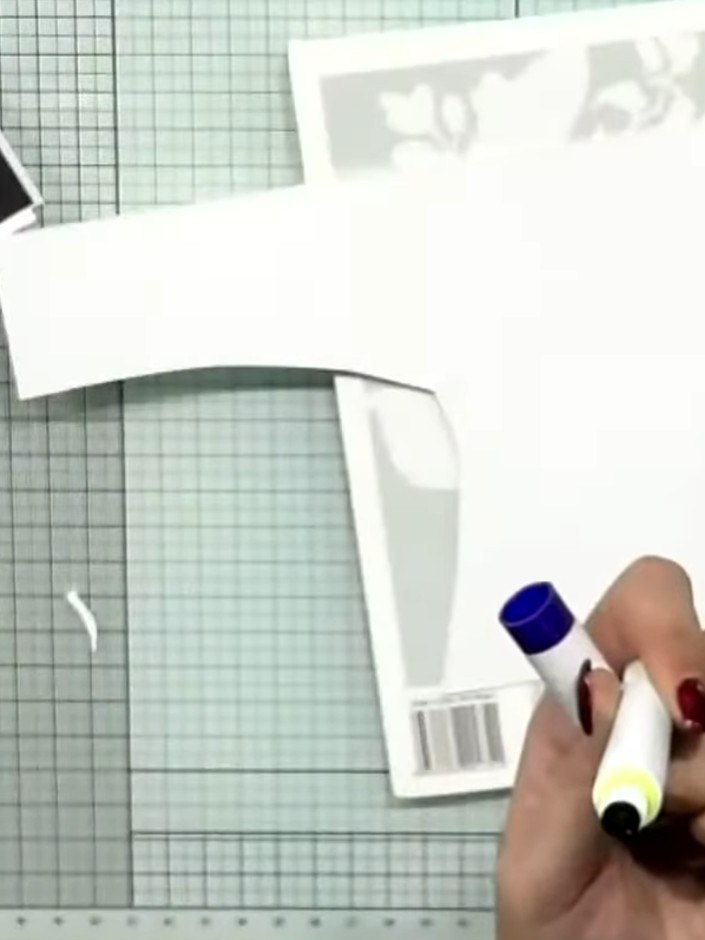
Using a brush, add a touch of blue watercolour to the top of the wellington boots.
▶ ver este paso (50:00)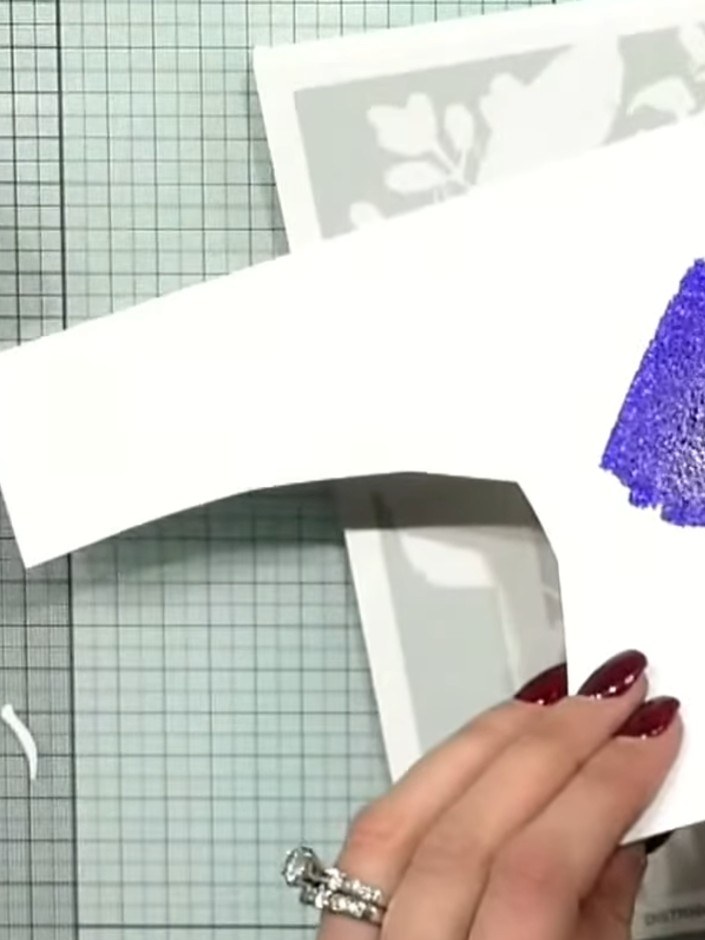
Apply purple sparkle pen colour to a corner of the card, creating a decorative patch of colour for added interest.
▶ ver este paso (50:30)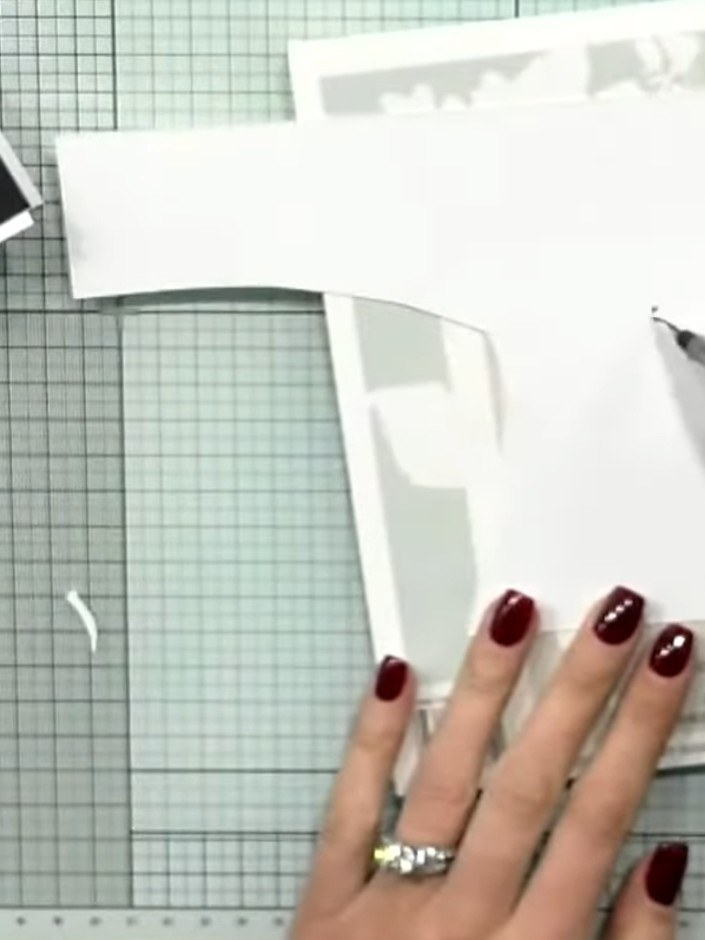
Layer the die-cut wellington boots onto black card to create a mat. Use the scoring tool to burnish the layers together firmly.
▶ ver este paso (51:00)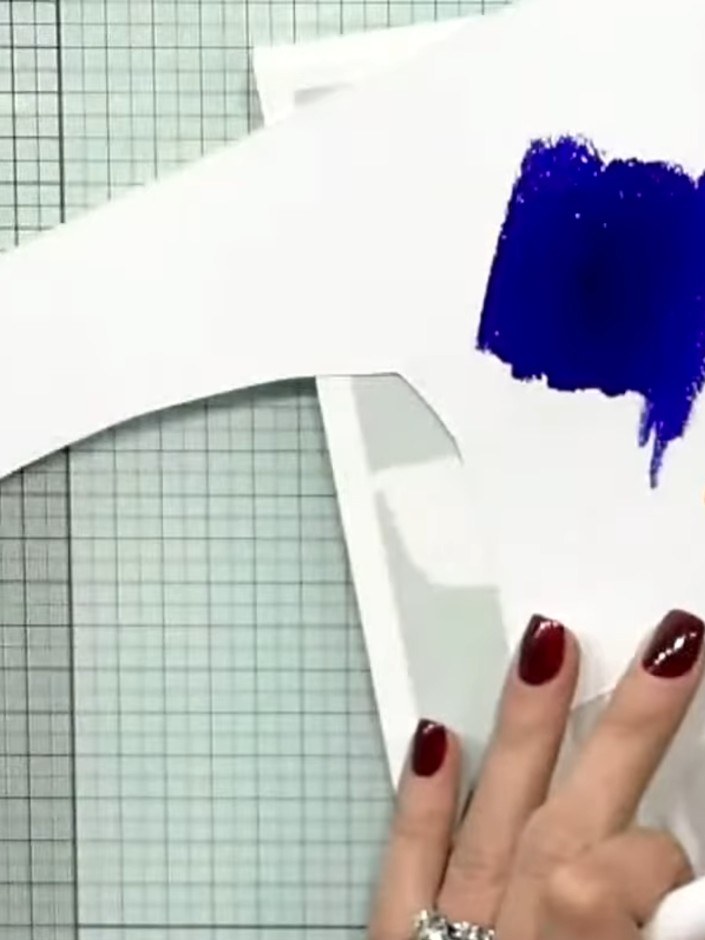
Add a white card layer on top of your coloured background for additional dimension.
▶ ver este paso (51:30)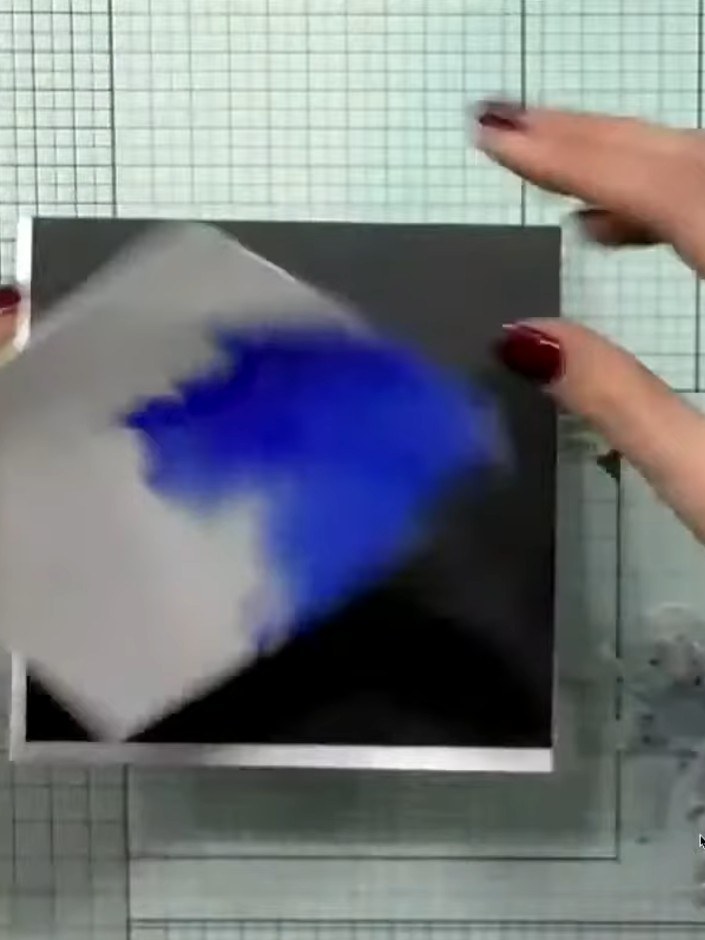
Mount the completed wellington boots design onto your card base using adhesive, ensuring it is centred and secure.
▶ ver este paso (56:00)Redactado a partir del propio programa. Mira todas las guías de nuestros programas · guías paso a paso gratis · mira en vivo en My Telly