Offrez à vos amis 10 € de réduction sur leur première commande !
Parrainez un AMI








Un projet de notre émission en direct MONDAY MADNESS - Retrouvez Simon d'AVAGO-INK pour ses dernières nouveautés - Diffusion du 17 OCT. 22 · 17/10/2022 · à voir dès 13:15
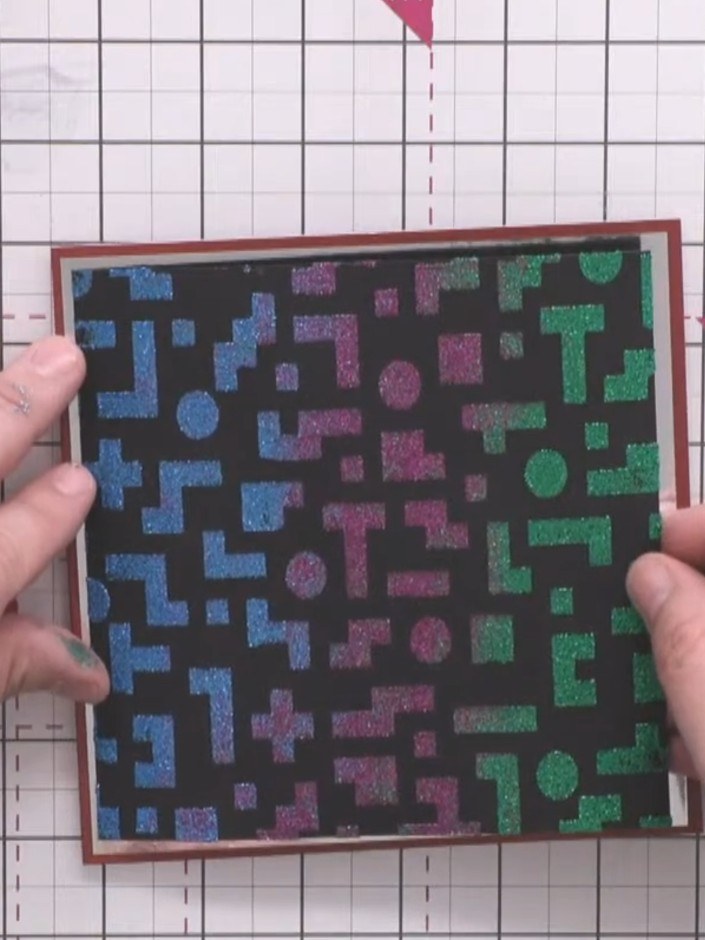
Create a striking retro gaming-inspired card featuring a textured pixel pattern background in vibrant blues, purples and greens on black. This layered design showcases stencilling and embossing techniques, with the gradient geometric shapes mounted on metallic silver mirror card and finished with a bold 'Game Over' sentiment.
 100574 - HTCN - AVAGO-INK DESIGNS - POCHOIR - PIXEL PATTERN - 100522aVOIR
 IZINK DIAMOND PAINT 80ML CARRIBEAN BLUE 070621ahVOIR
 IZINK DIAMOND PAINT 80ML VERT FONCE 070621tVOIR
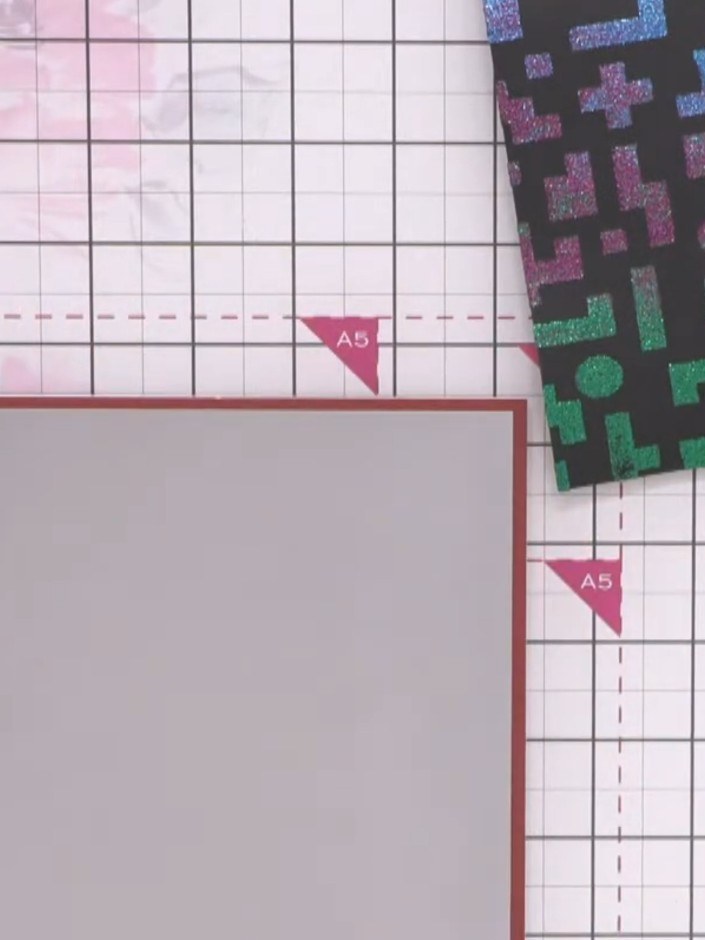
Take an A5 burgundy card blank and attach a slightly smaller silver mirror card panel to the front, leaving an even border around all edges.
▶ voir cette étape (13:30)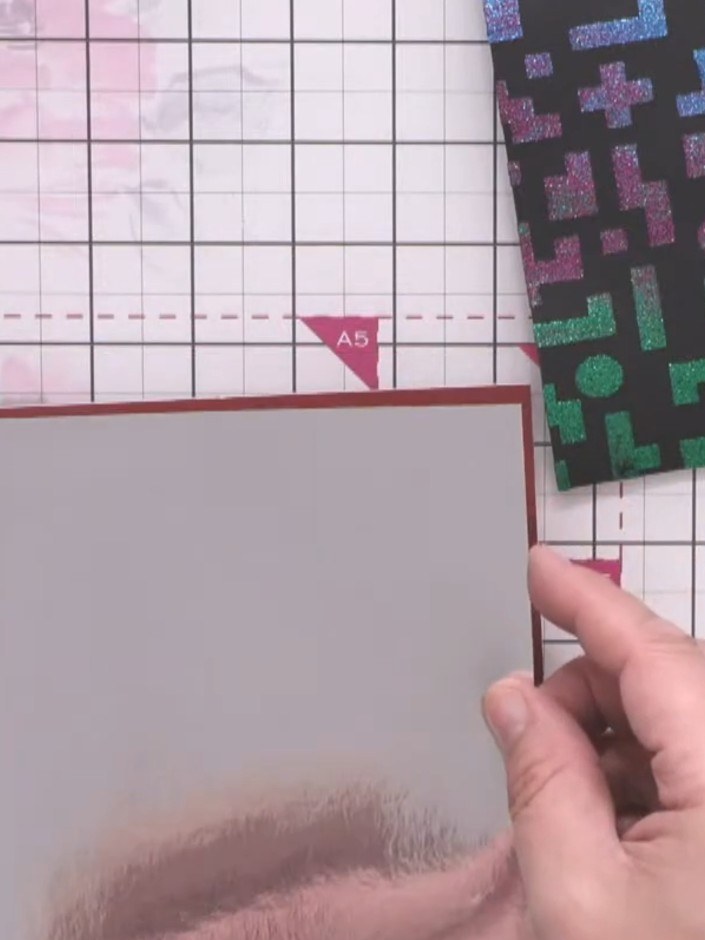
Apply tape runner adhesive to the back of the silver mirror card layer and attach it centrally to the burgundy backing card.
▶ voir cette étape (13:30)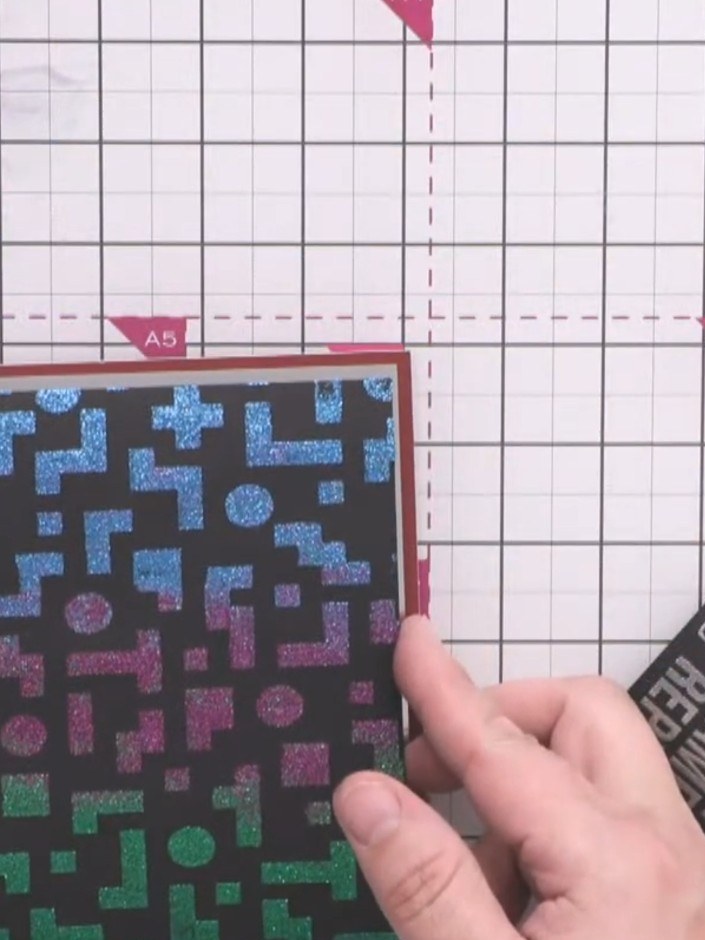
Apply tape runner adhesive to the back of the black pixel pattern card. Position it onto the silver mirror card, arranging the gradient colours so the blue is at the top transitioning to pink in the middle and green at the bottom.
▶ voir cette étape (14:00)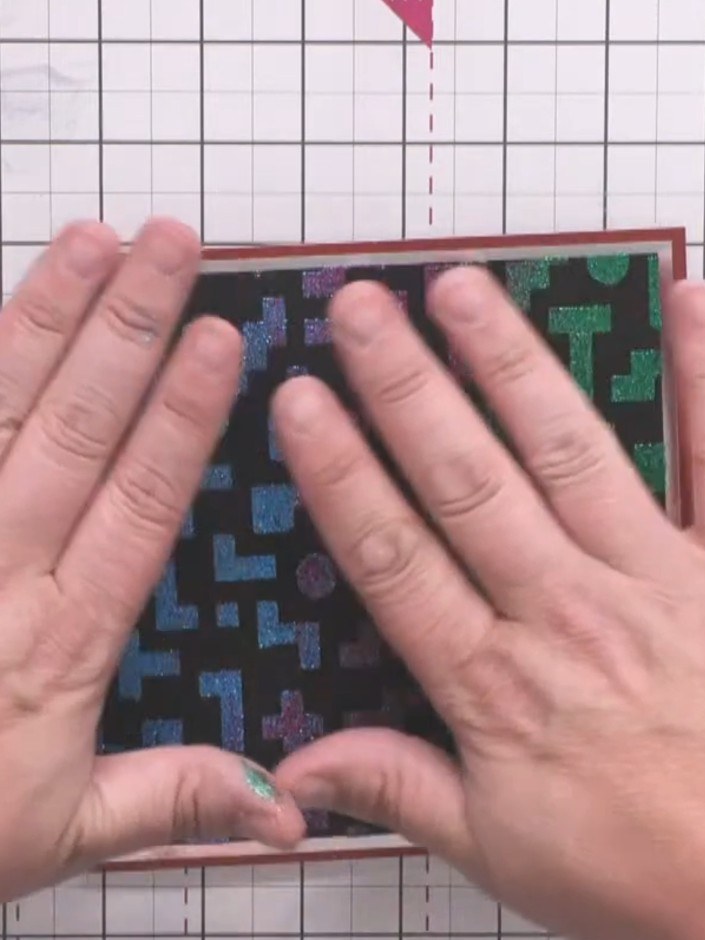
Apply foam tape to the back of the embossed sentiment card to give it height and dimension. Press firmly to secure the foam tape in place.
▶ voir cette étape (14:15)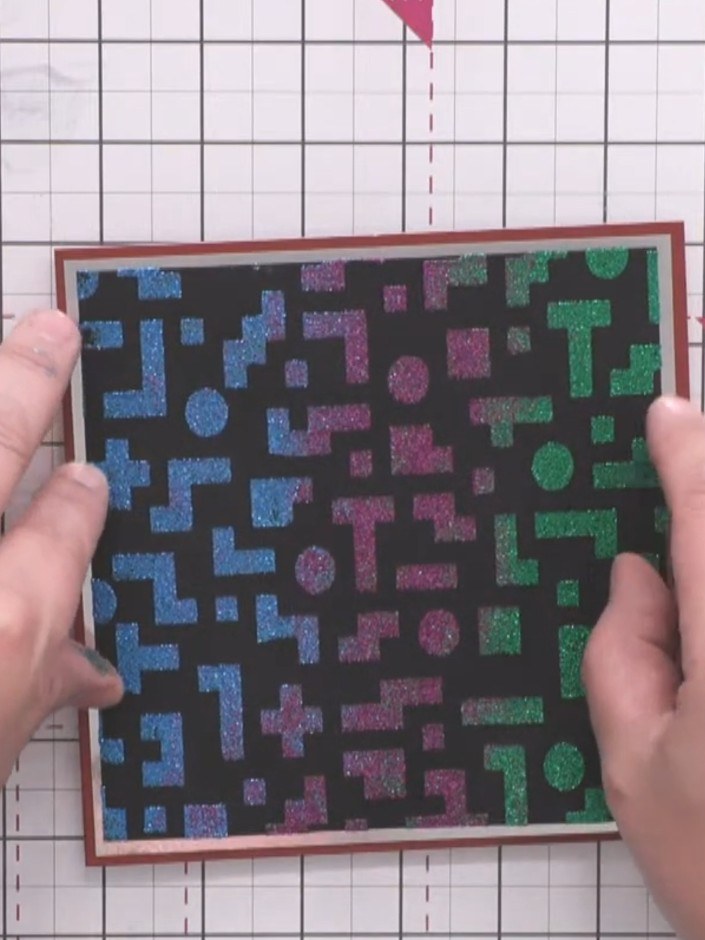
Position the embossed sentiment card centrally on top of the stencilled background panel, ensuring the textured pixel pattern remains visible around the edges.
▶ voir cette étape (14:30)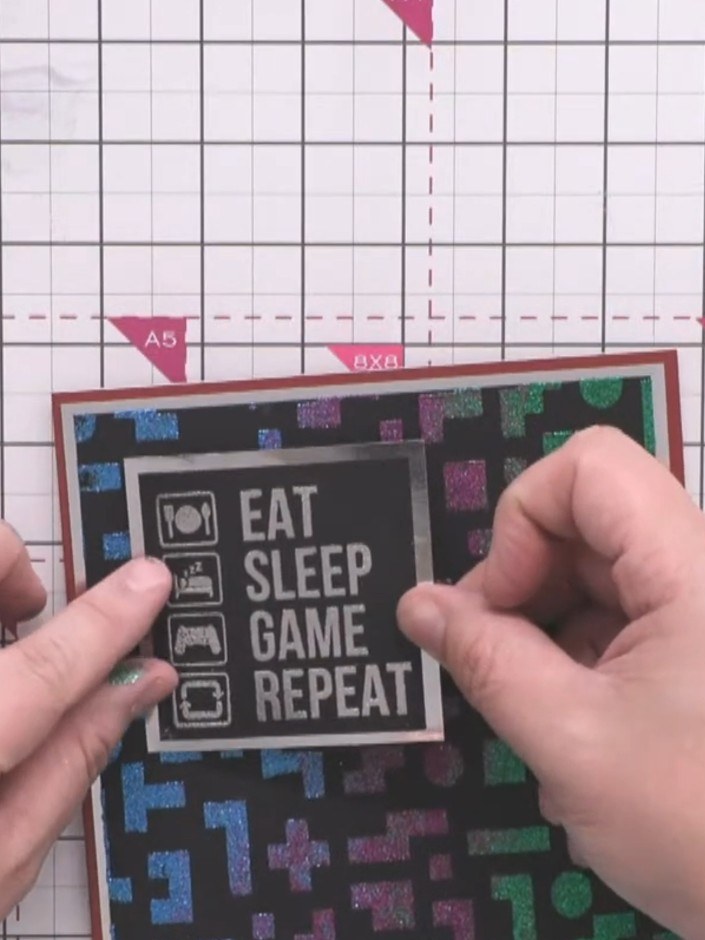
Press down firmly on all the layers to secure them together and complete your assembled card.
▶ voir cette étape (15:00)Rédigé à partir de l'émission elle-même. Découvrez tous les guides de nos émissions · tutoriels gratuits · regarder en direct sur My Telly