Offrez à vos amis 10 € de réduction sur leur première commande !
Parrainez un AMI








Un projet de notre émission en direct MONDAY MADNESS - Retrouvez Simon d'AVAGO-INK pour ses dernières nouveautés - Diffusion du 17 OCT. 22 · 17/10/2022 · à voir dès 18:15
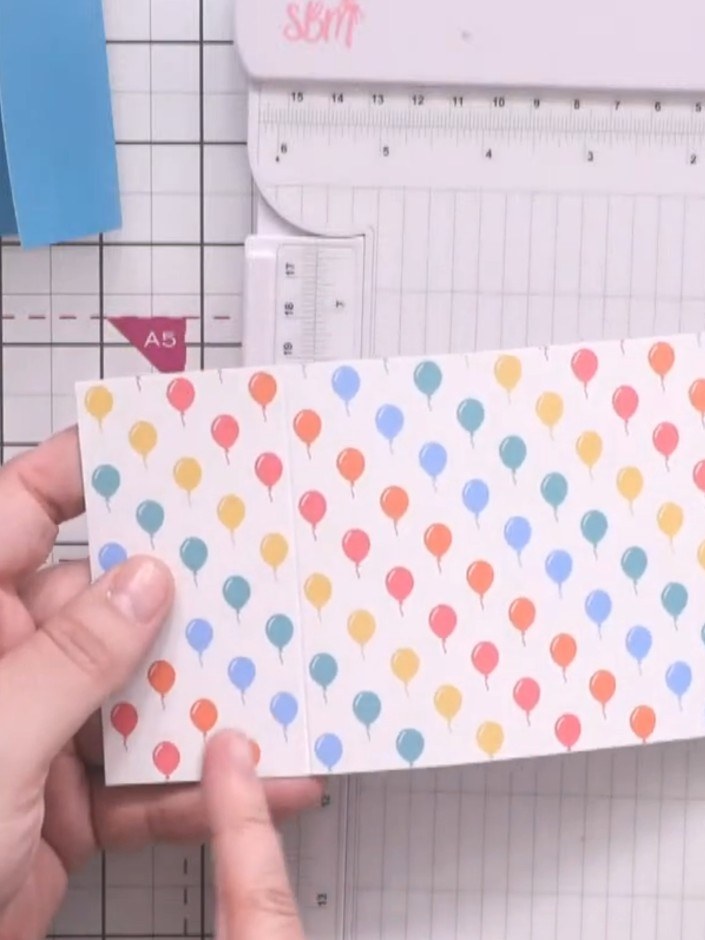
Create an eye-catching explosion gatefold card with a hidden centre reveal that opens to surprise the recipient. This project features gaming-themed designs with vibrant colours including teal, pink, and glittery Tetris-style patterns, combined with fun sentiments like 'I Don't Get Old I Level Up' and 'Eat Sleep Game Repeat'. The main techniques include die-cutting, stamping, colouring focal images, and constructing the unique gatefold mechanism with a decorative belly band closure.
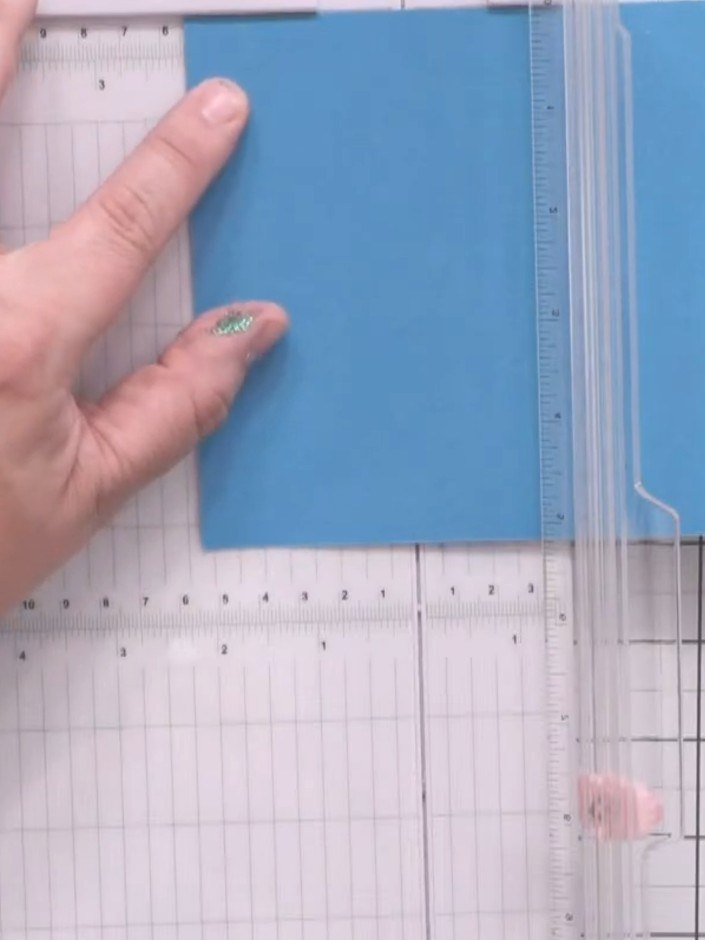
Cut a piece of blue card measuring 5¼ inches by 8½ inches for the outer card base.
▶ voir cette étape (18:30)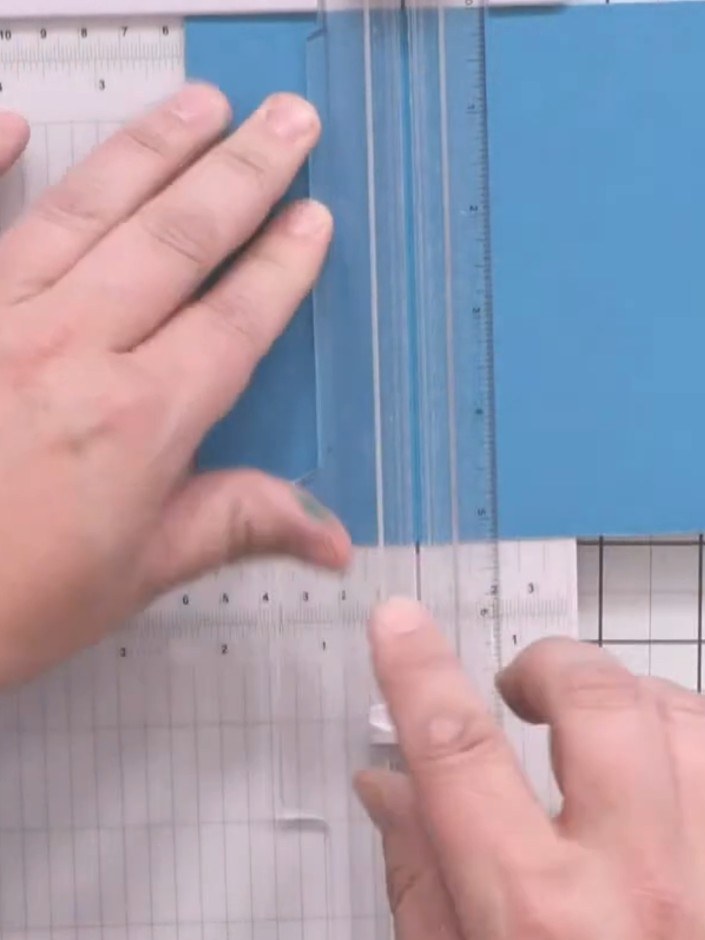
Score the blue card at 2⅛ inches down one side using a scoring board.
▶ voir cette étape (18:45)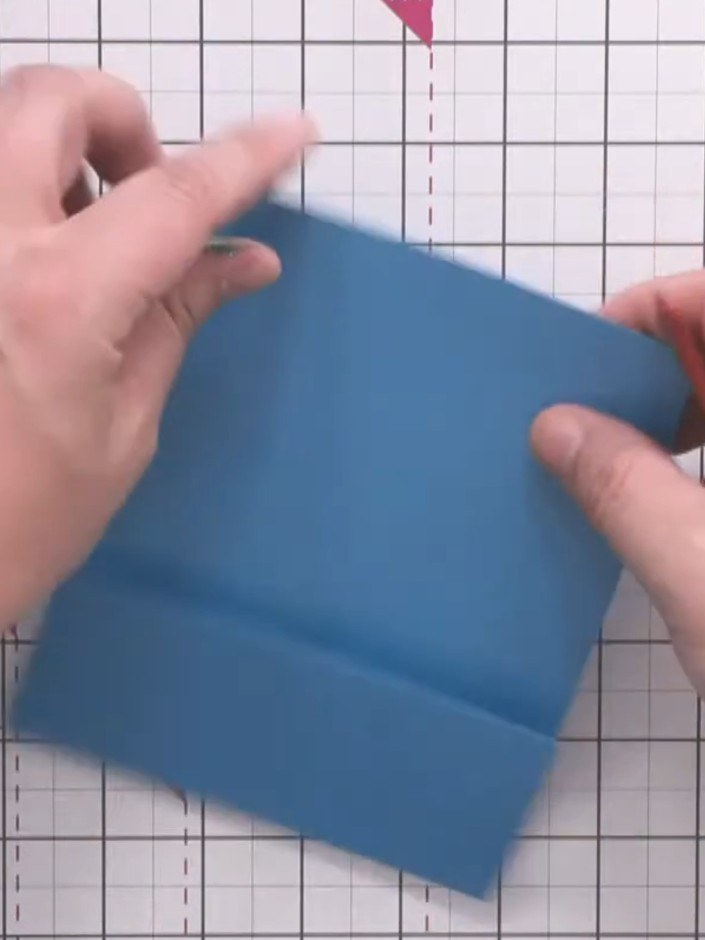
Use a bone folder to crease along the score line, creating a sharp fold in the blue card blank.
▶ voir cette étape (19:00)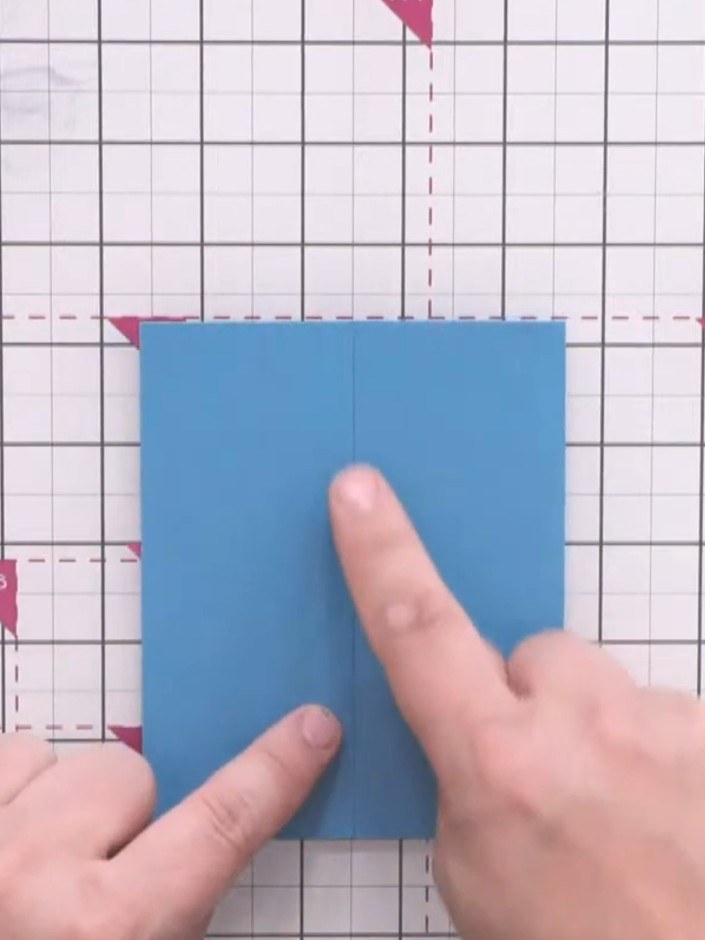
Fold the blue card in half and measure to find the centre point. Score at the matching position on the other side to create a symmetrical fold.
▶ voir cette étape (19:15)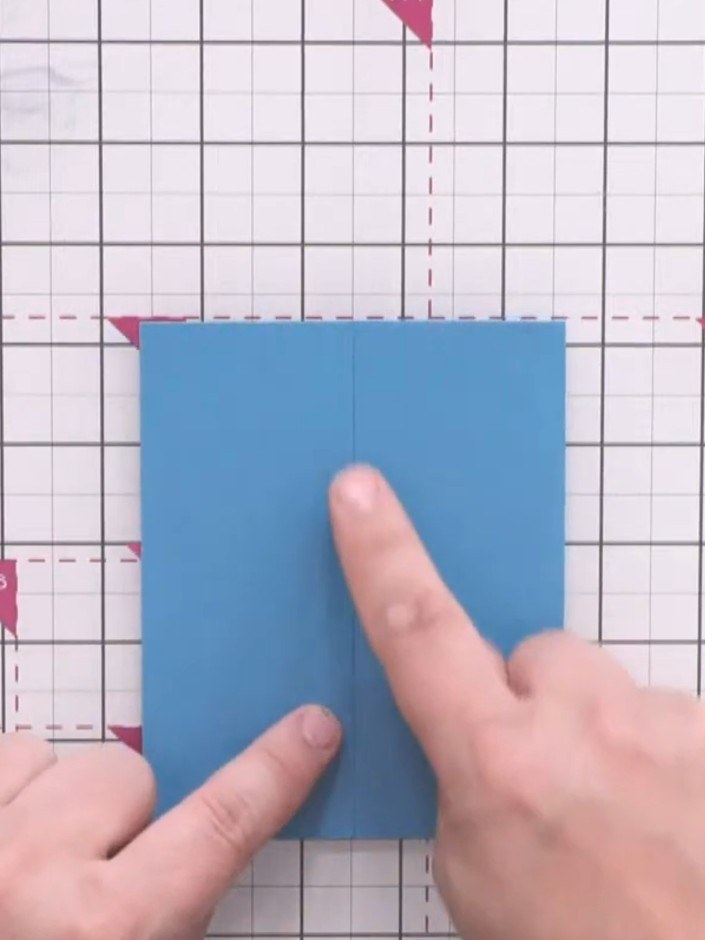
Use the bone folder to crease the second score line on the blue card, creating a gatefold card blank.
▶ voir cette étape (19:30)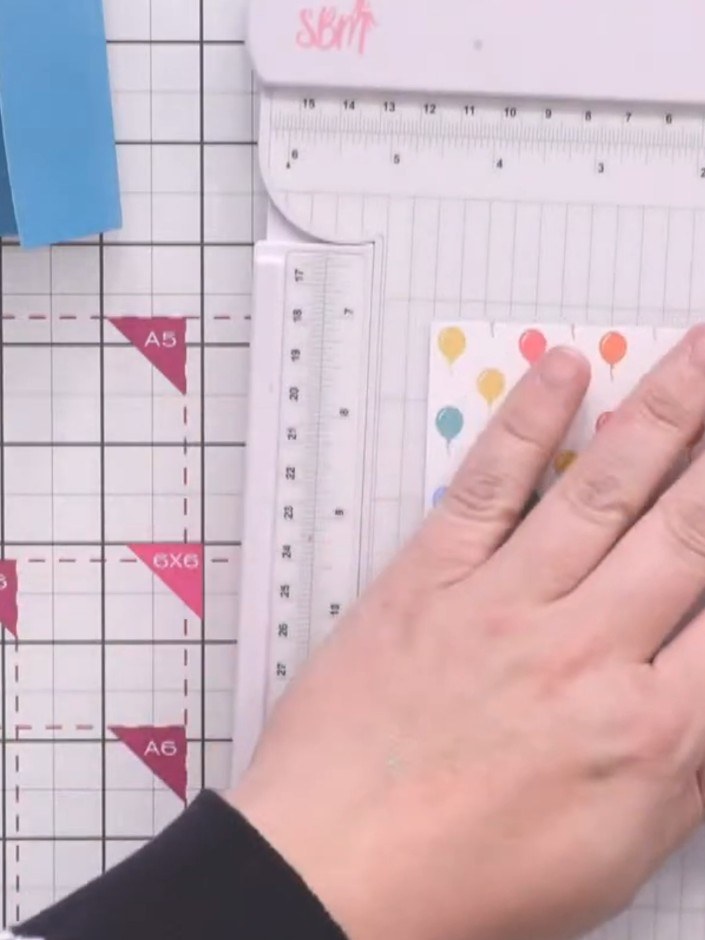
Cut a strip of card measuring 4 inches by 8 inches for the explosion insert.
▶ voir cette étape (20:00)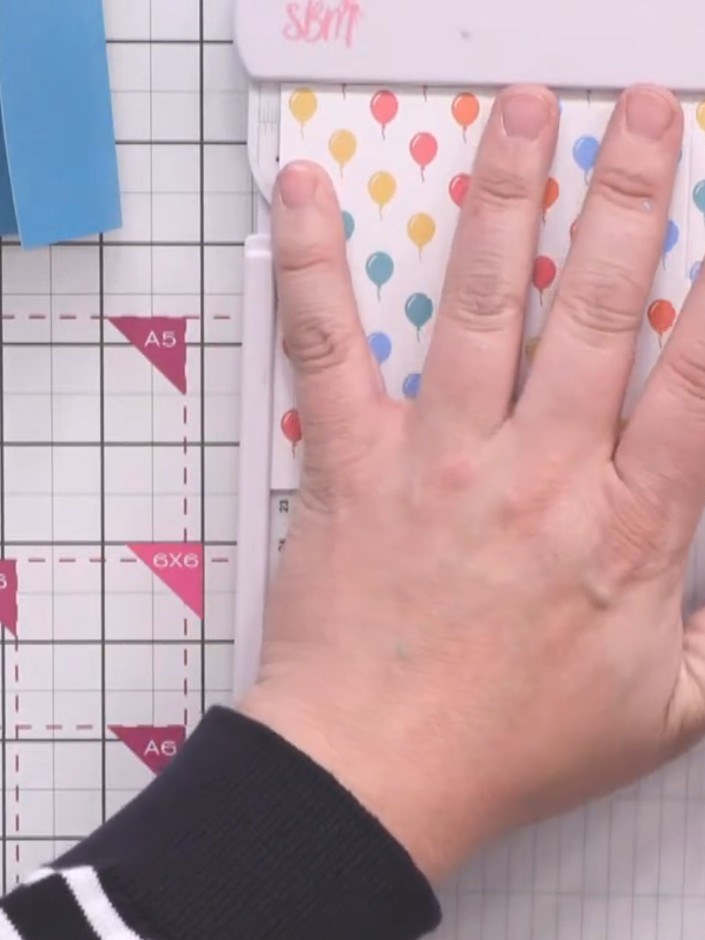
Score the patterned paper strip at 2-inch intervals using your scoring board. Hold the paper firmly in place whilst scoring to ensure accurate, straight score lines.
▶ voir cette étape (20:15)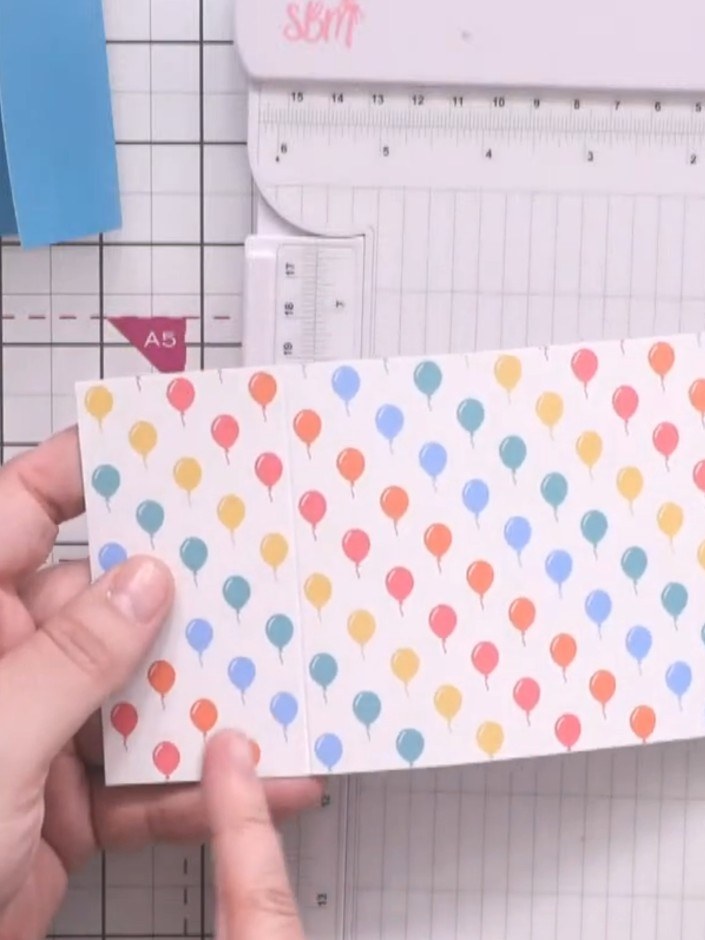
Create diagonal score lines across the corners of the white strip to form a cross pattern. Position the strip on your scoreboard and score from corner to corner diagonally in both directions.
▶ voir cette étape (20:30)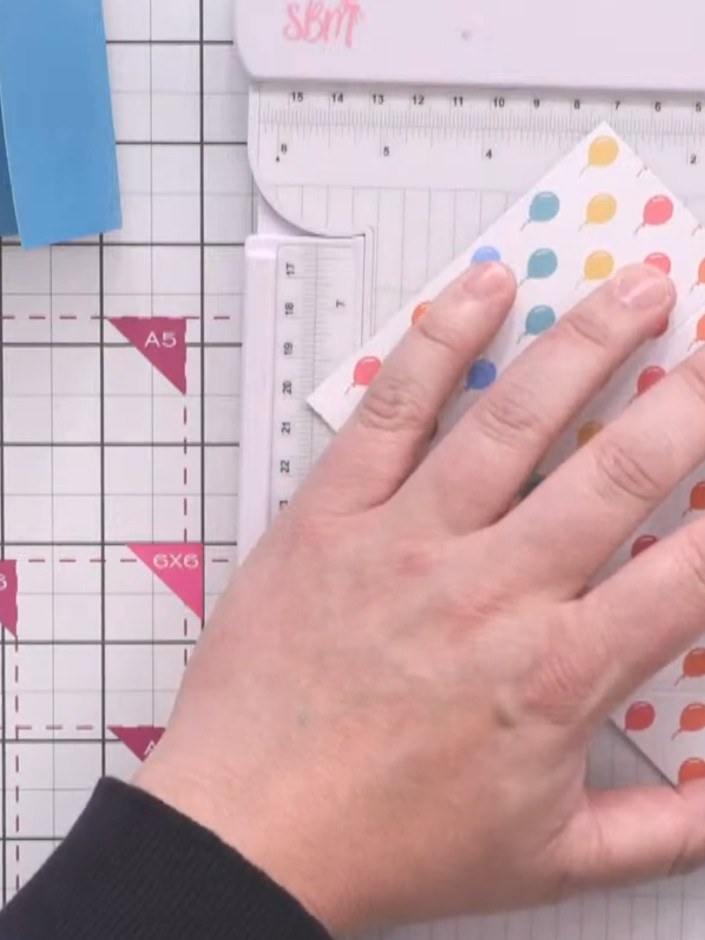
Use the bone folder to crease all score lines in both directions to break down the card fibres. Work systematically across the entire piece, ensuring each fold is well creased.
▶ voir cette étape (21:00)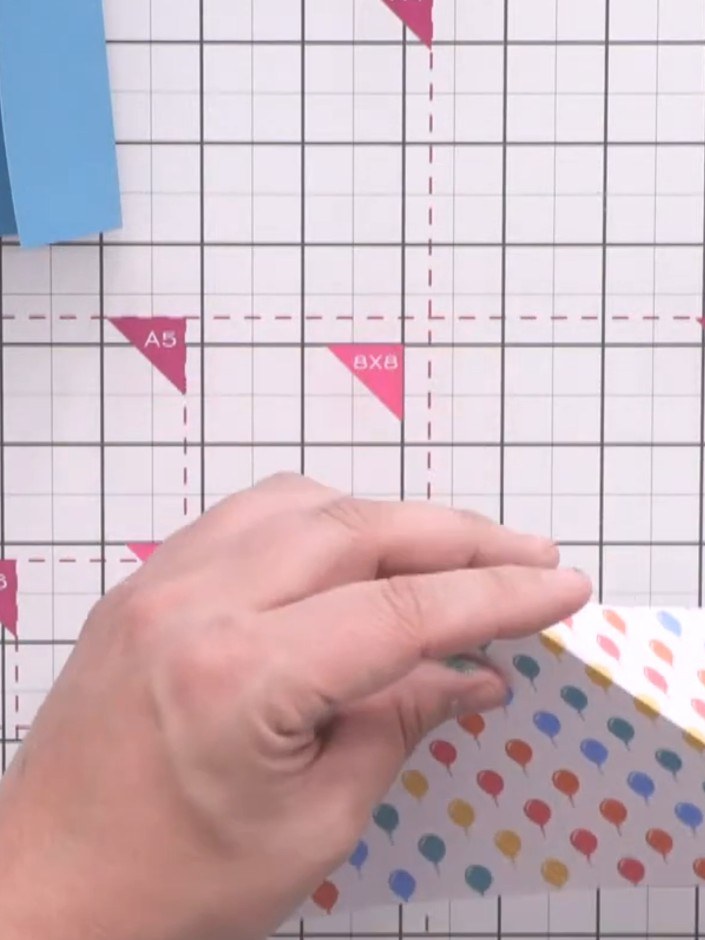
Fold the patterned strip inwards along all the creases so that the corners meet in the centre, creating a diamond-shaped reveal area.
▶ voir cette étape (22:00)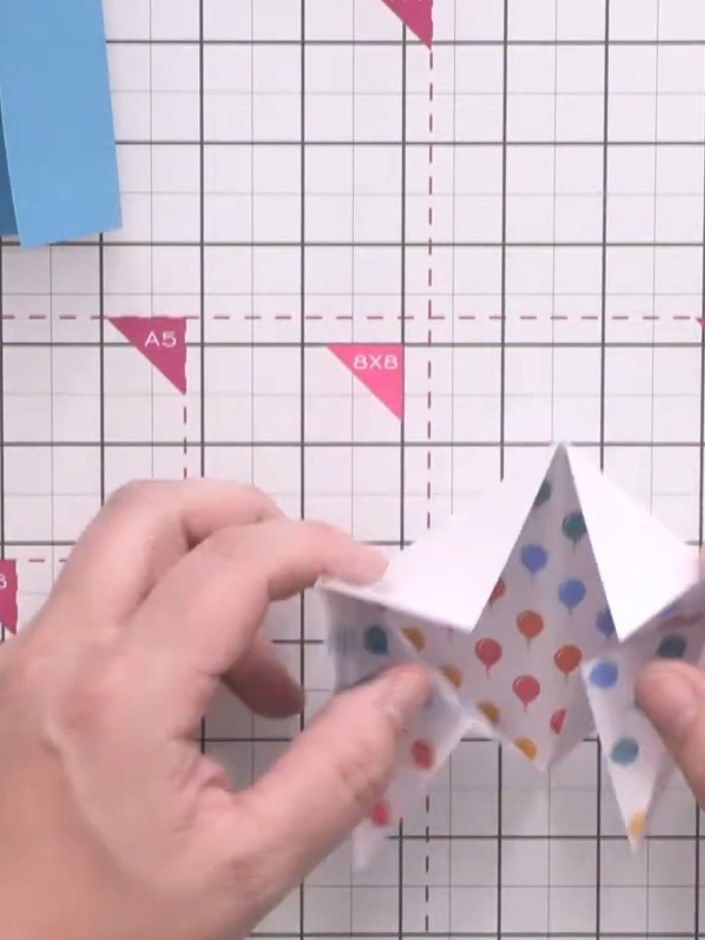
Stamp background detail onto the triangular sections on the back of the insert using a circuit board or similar background stamp. This will break up the white areas and add visual interest to the reverse side of the insert.
▶ voir cette étape (23:15)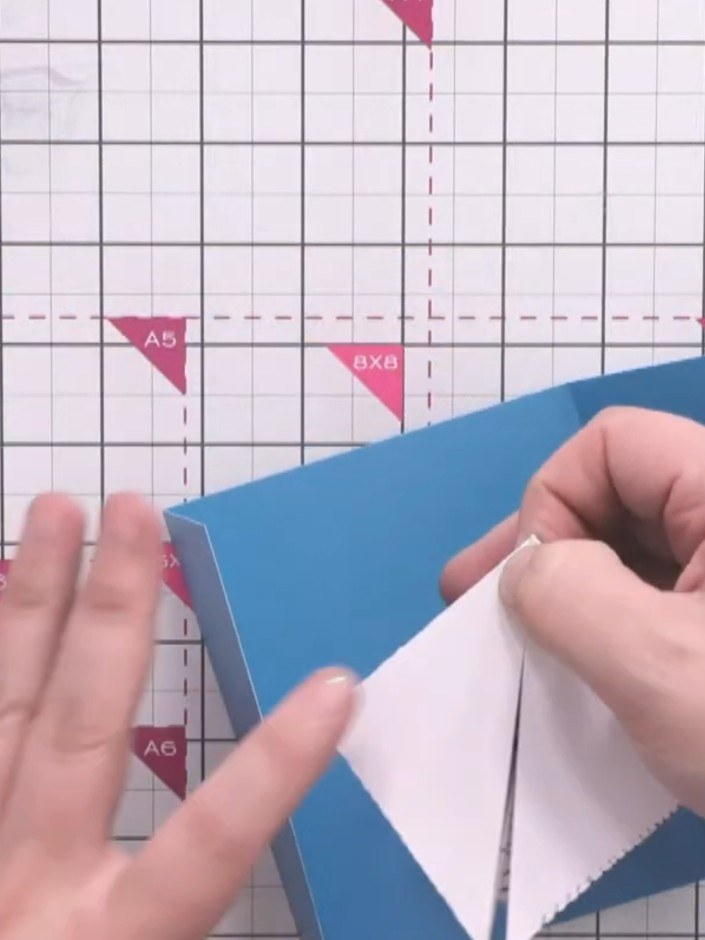
Apply tape runner adhesive to the centre edges of the white explosion insert piece.
▶ voir cette étape (25:15)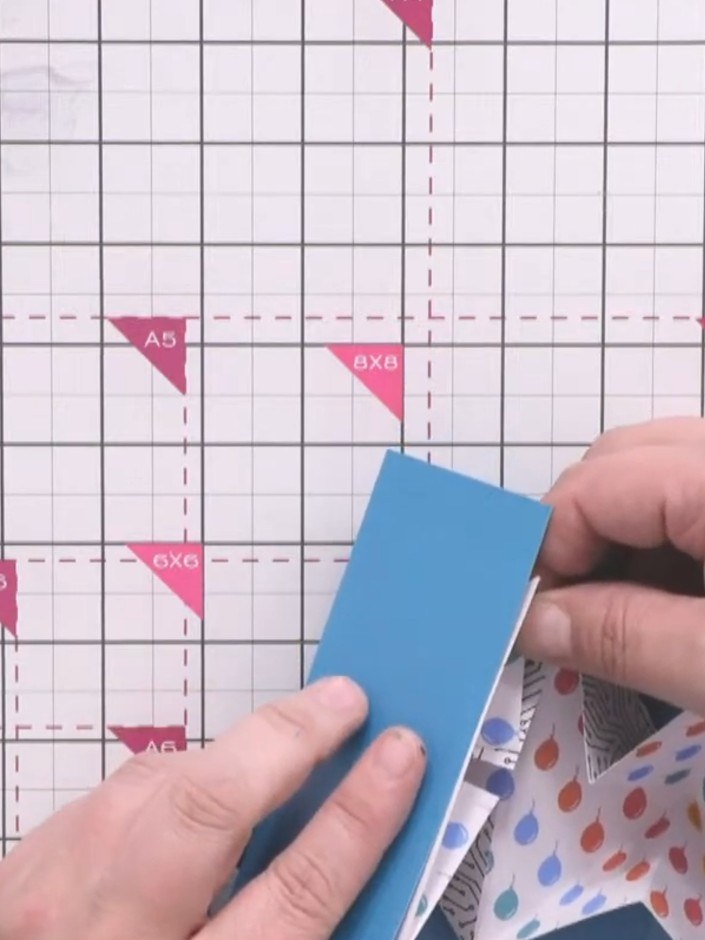
Position the folded insert inside the blue gatefold card, using the card edges to hold it in place centrally. The insert should sit with its explosion folds contained within the gatefold.
▶ voir cette étape (25:30)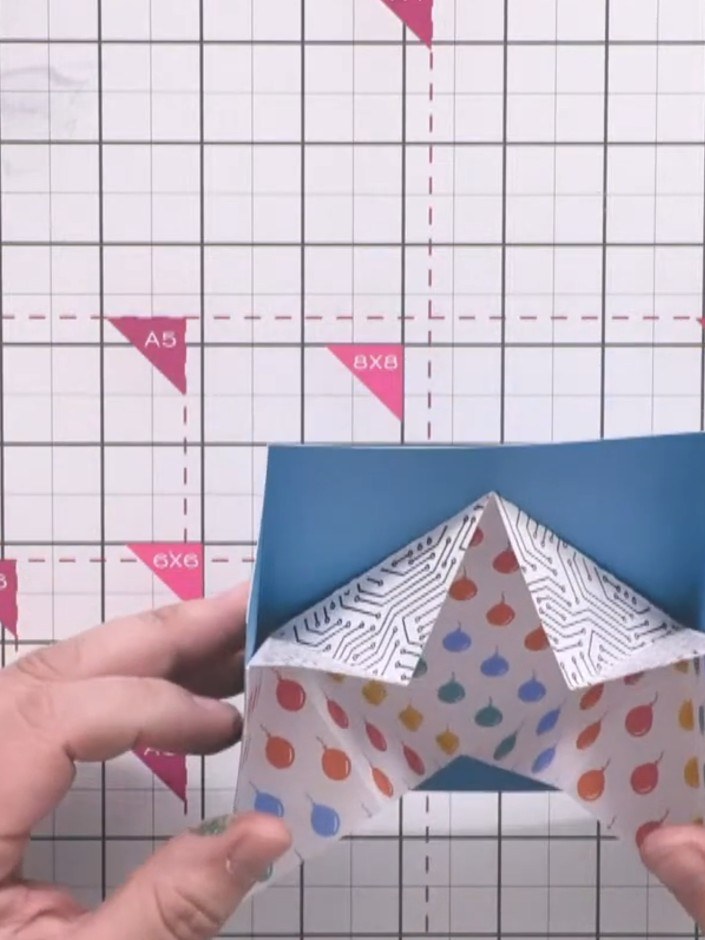
Press down firmly on the card insert to secure it in place and complete your explosion gatefold card with hidden centre reveal.
▶ voir cette étape (26:00)Rédigé à partir de l'émission elle-même. Découvrez tous les guides de nos émissions · tutoriels gratuits · regarder en direct sur My Telly
