Offrez à vos amis 10 € de réduction sur leur première commande !
Parrainez un AMI








Un projet de notre émission en direct MONDAY MADNESS - Retrouvez Simon d'AVAGO-INK pour ses dernières nouveautés - Diffusion du 17 OCT. 22 · 17/10/2022 · à voir dès 26:15
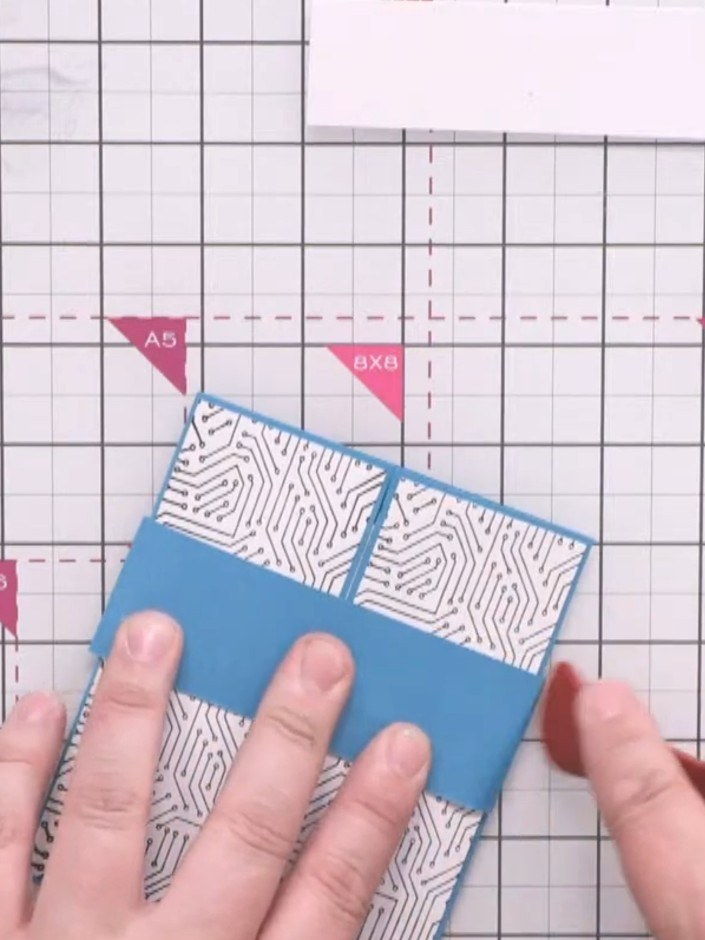
Create a stunning explosion card exterior with decorative stamped panels and a coordinating belly band. This project features blue and patterned paper panels with winter scene embellishments, finished with a 'Happy Anniversary' sentiment band that holds the card closed. You'll use stamping, die-cutting and layering techniques to create this elegant card design.
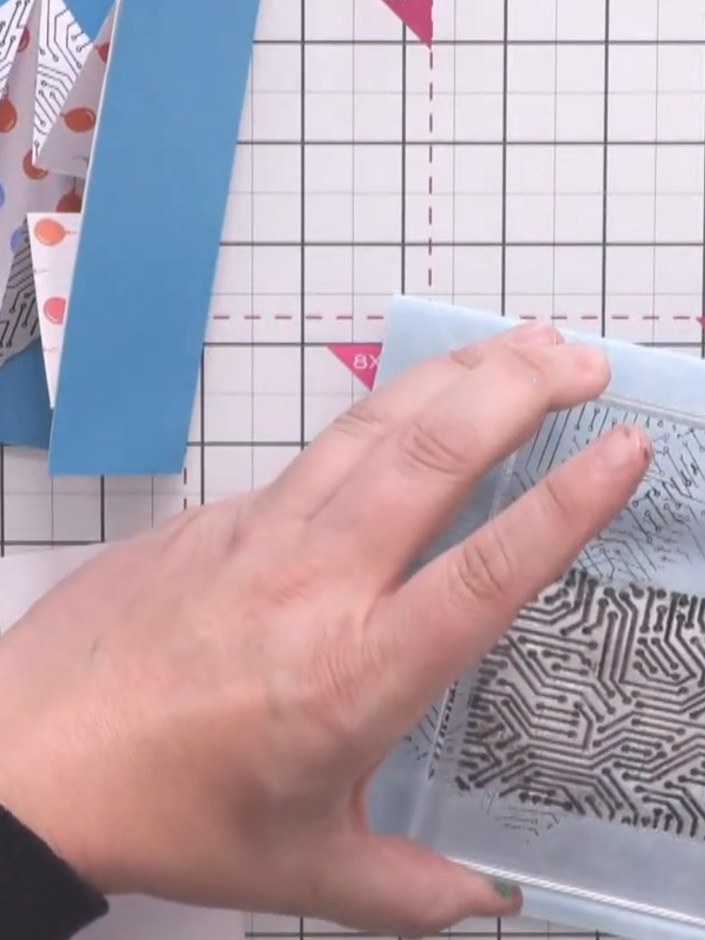
Cut two small card panels from patterned paper to fit the front flaps of the gatefold card. These will form the exterior decorative panels.
▶ voir cette étape (26:30)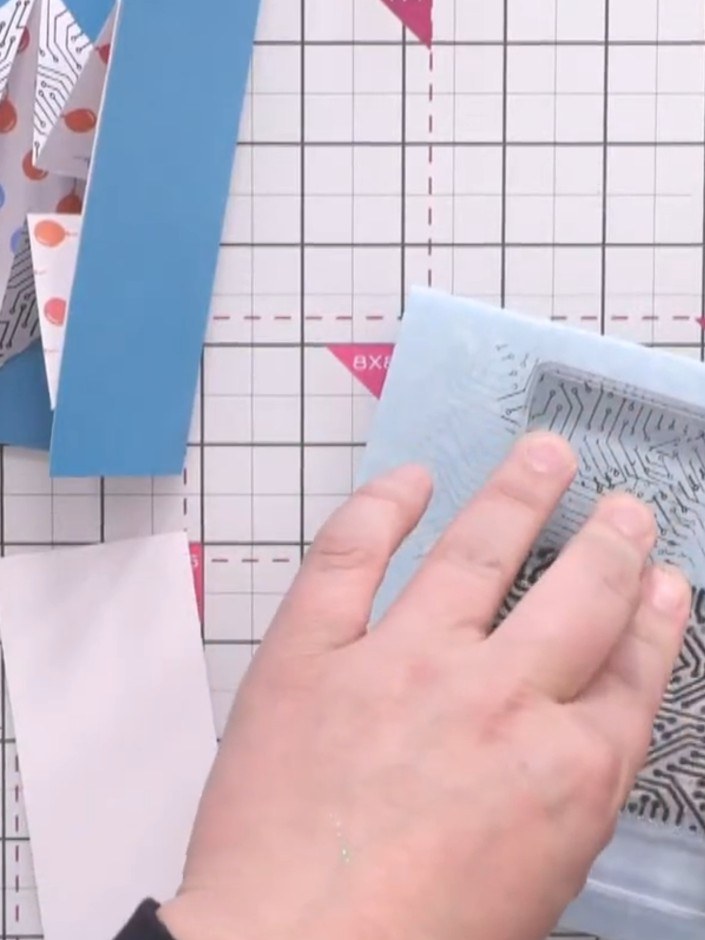
Stamp the light blue panels with a background stamp using black ink to create visual interest. Use a geometric or circuit board design stamp to cover the surface of each panel.
▶ voir cette étape (26:45)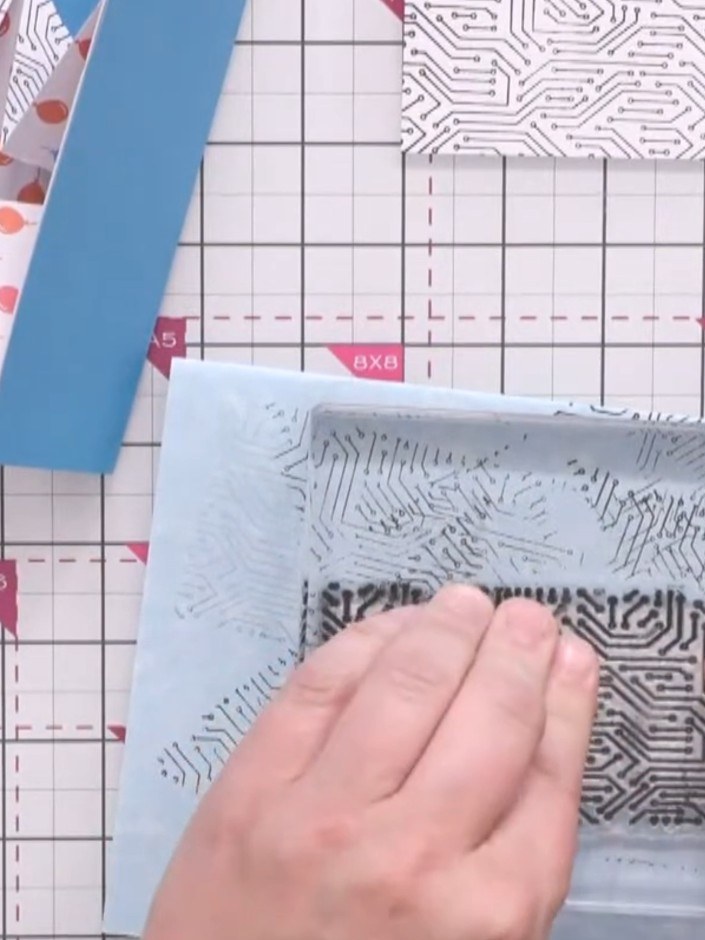
Apply tape runner adhesive to the back of each stamped panel. Turn each panel over and run the tape runner across the back to ensure full coverage. Press down firmly to secure the adhesive.
▶ voir cette étape (27:15)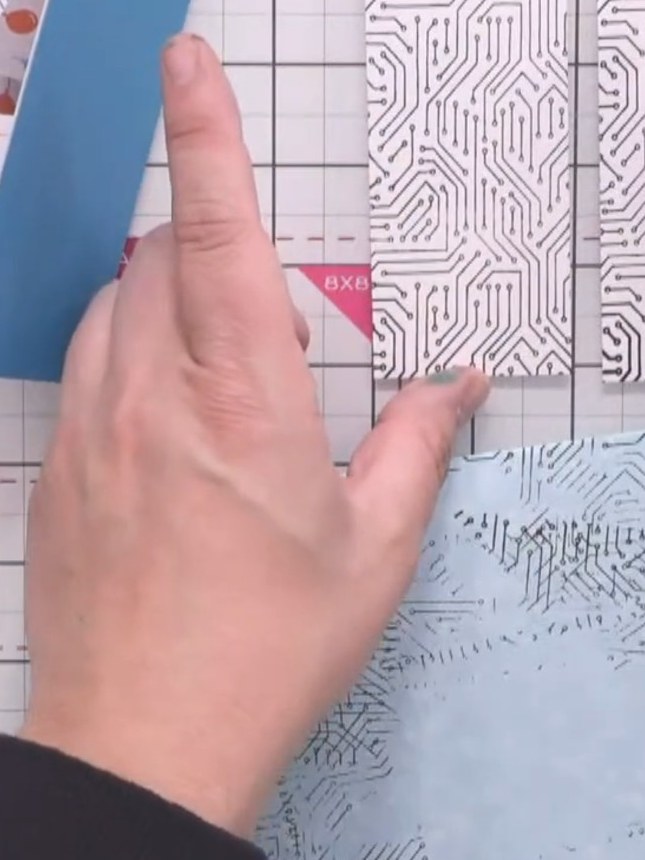
Position the stamped panels on the front flaps of the card base, leaving a small border of blue cardstock visible around all edges.
▶ voir cette étape (27:30)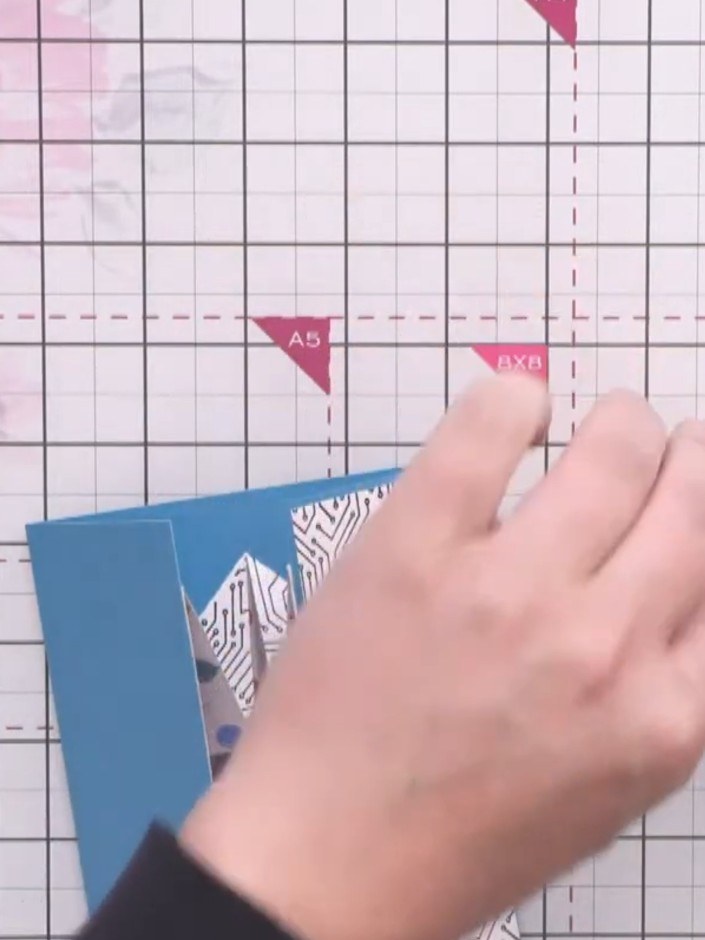
Cut a strip of blue card measuring 3 inches by 9½ inches for the belly band.
▶ voir cette étape (28:00)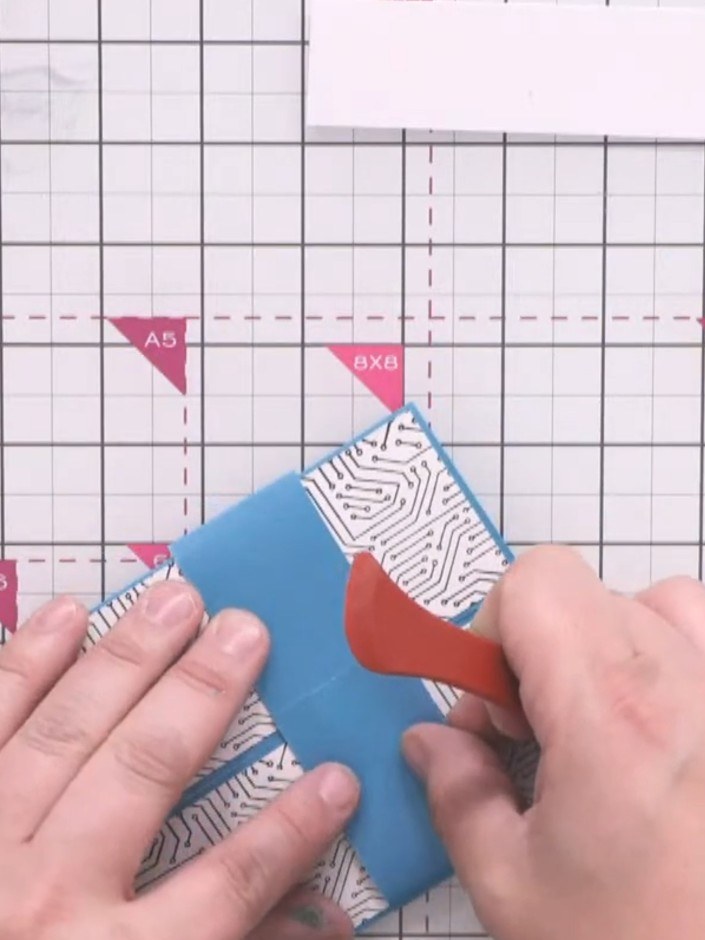
Wrap the blue belly band around the closed card and fold it to overlap slightly. Secure the overlap with tape runner adhesive down the centre.
▶ voir cette étape (31:45)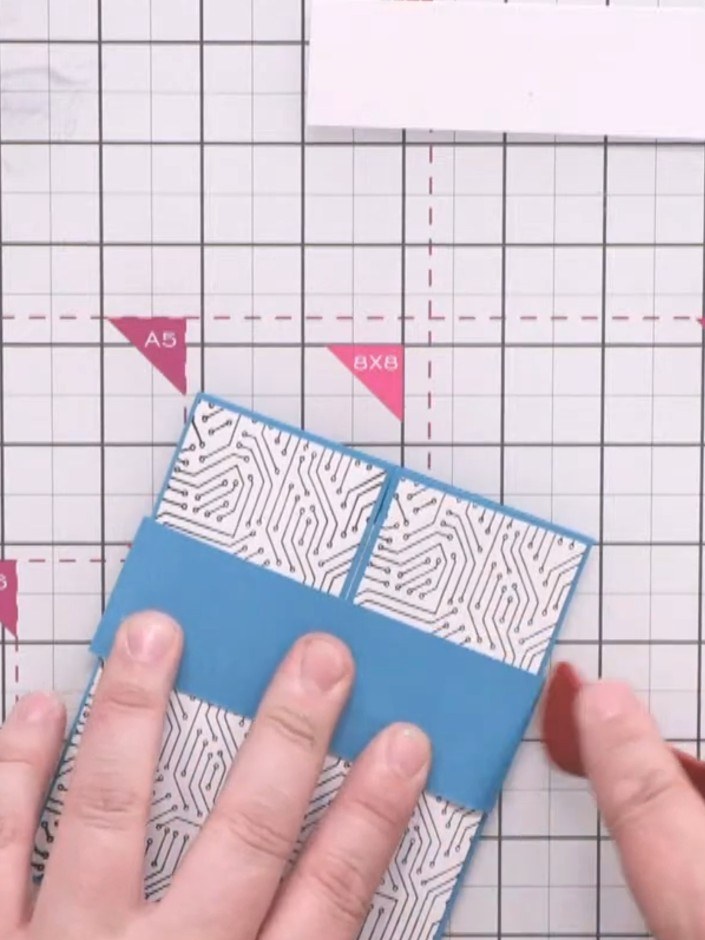
Trim the blue belly band to fit neatly around the card, ensuring it allows for slight movement when wrapped around the folded card.
▶ voir cette étape (32:00)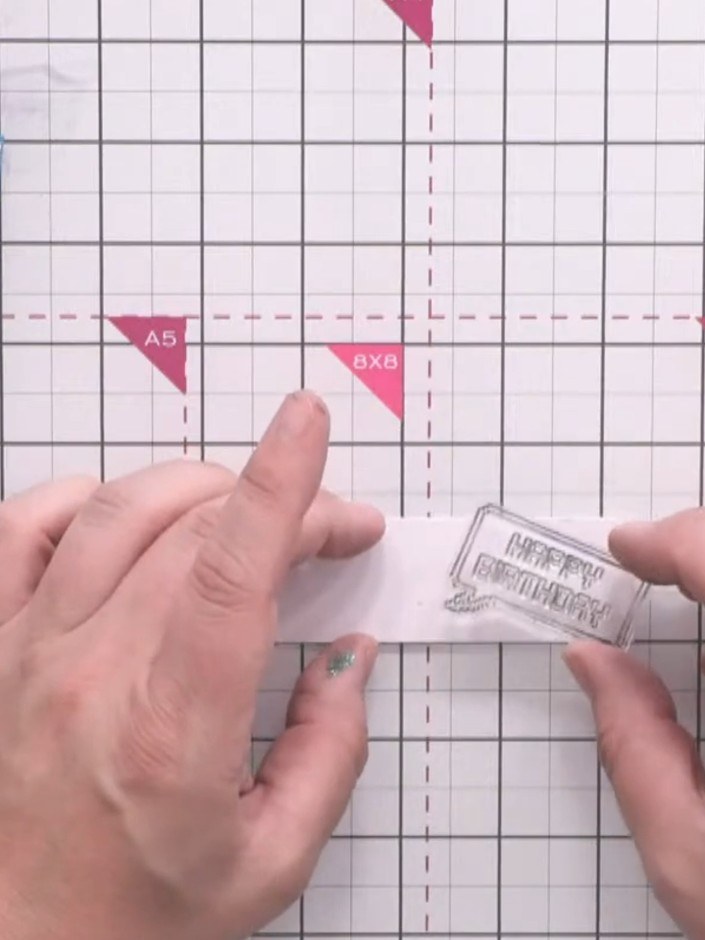
Stamp a 'Happy Birthday' sentiment bubble onto the belly band using black ink. Position the stamp centrally on the band and press firmly to ensure a clear impression.
▶ voir cette étape (32:15)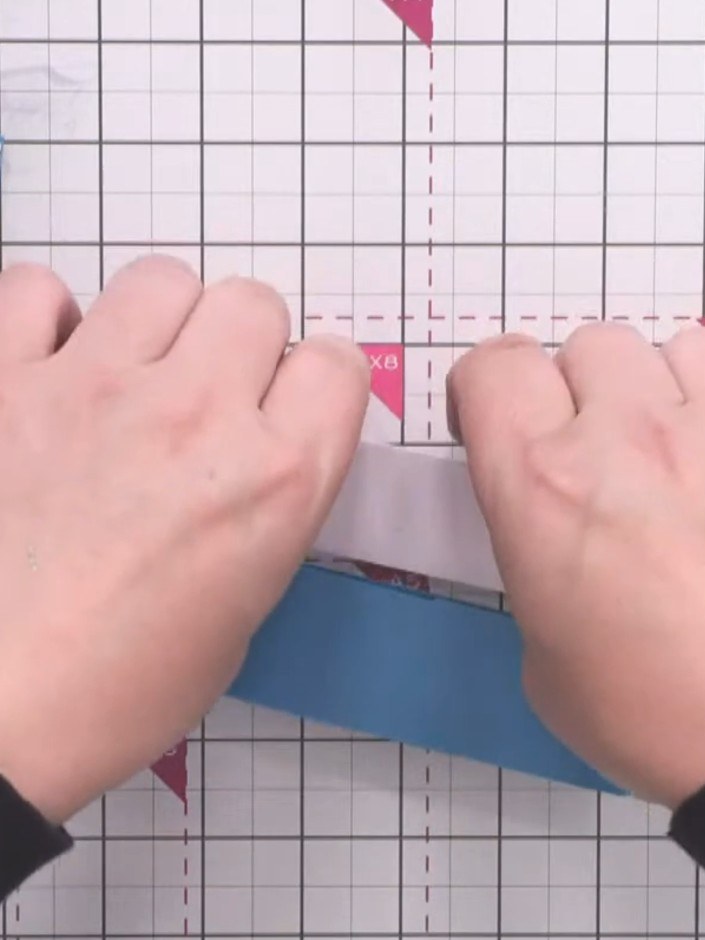
Stamp a second smaller sentiment bubble on the opposite side of the belly band for balance.
▶ voir cette étape (32:45)Rédigé à partir de l'émission elle-même. Découvrez tous les guides de nos émissions · tutoriels gratuits · regarder en direct sur My Telly
