Offrez à vos amis 10 € de réduction sur leur première commande !
Parrainez un AMI








Un projet de notre émission en direct MONDAY MADNESS - Retrouvez Simon d'AVAGO-INK pour ses dernières nouveautés - Diffusion du 17 OCT. 22 · 17/10/2022 · à voir dès 34:15
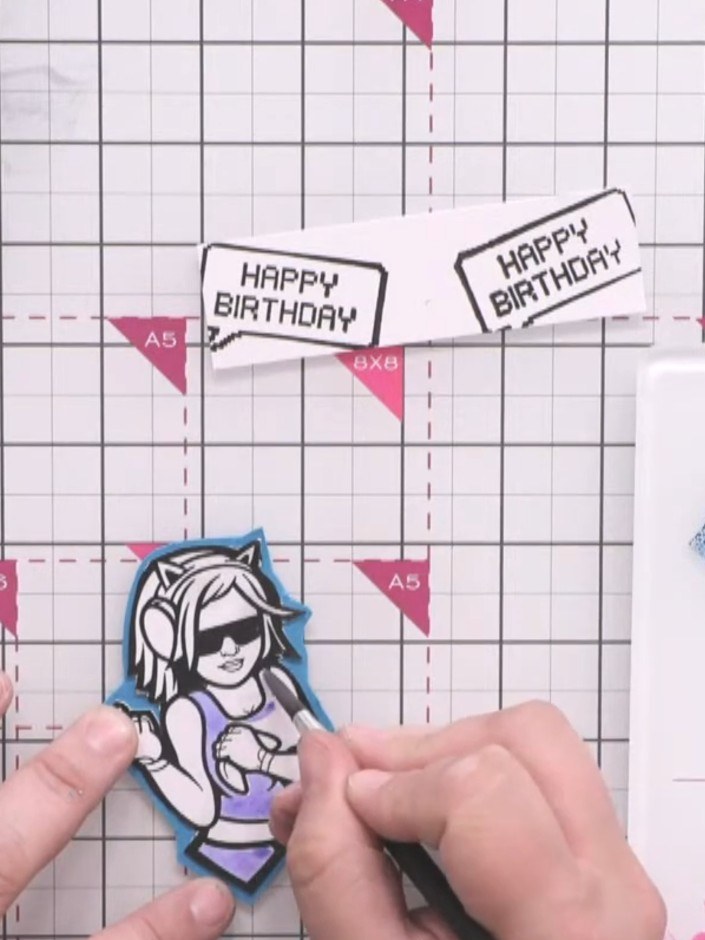
Create a stunning focal point character for your explosion card with this hand-painted design. Stamp a detailed character image in black ink, carefully cut it out and mat it onto coordinating cardstock, then bring it to life with beautiful watercolour washes in blues and teals. This technique adds personality and visual interest to your card's exterior, making it a truly eye-catching centrepiece.
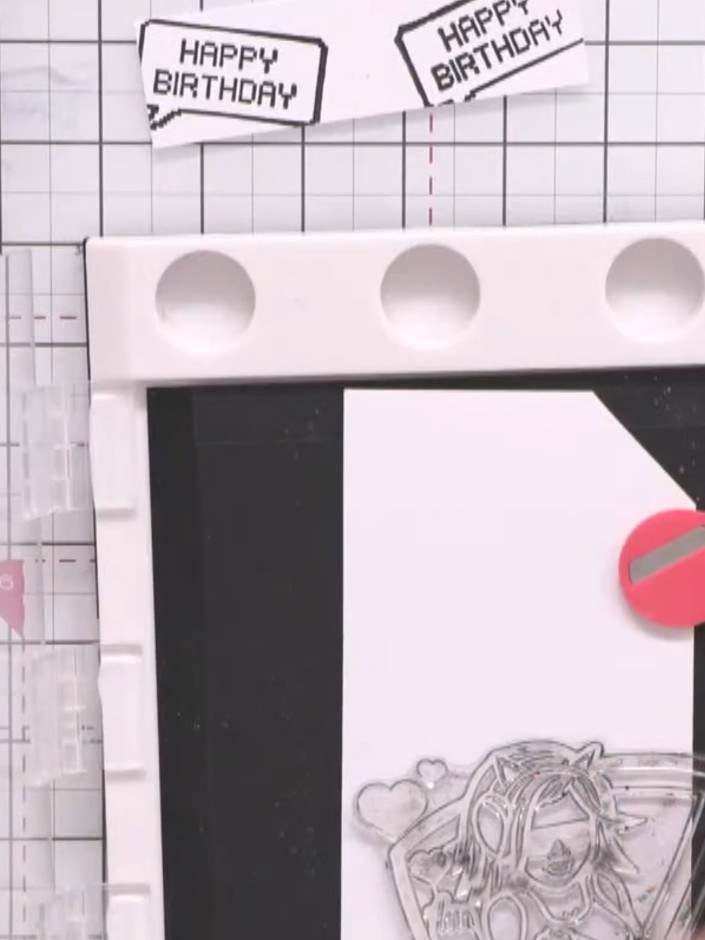
Stamp a large character image onto white card using black ink. Position the stamp carefully on the stamping platform to ensure a crisp, clear impression of the figure.
▶ voir cette étape (34:30)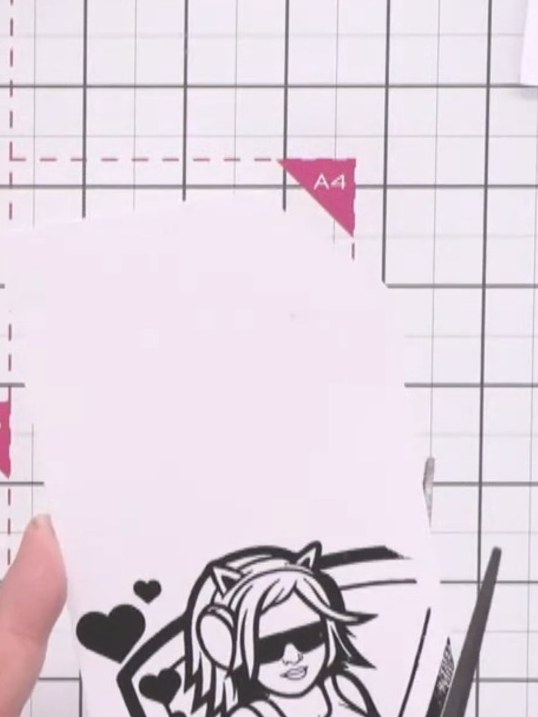
Carefully cut around the character outline using scissors, following the black ink edge closely. Cut into the hair and details to create a precise silhouette.
▶ voir cette étape (35:45)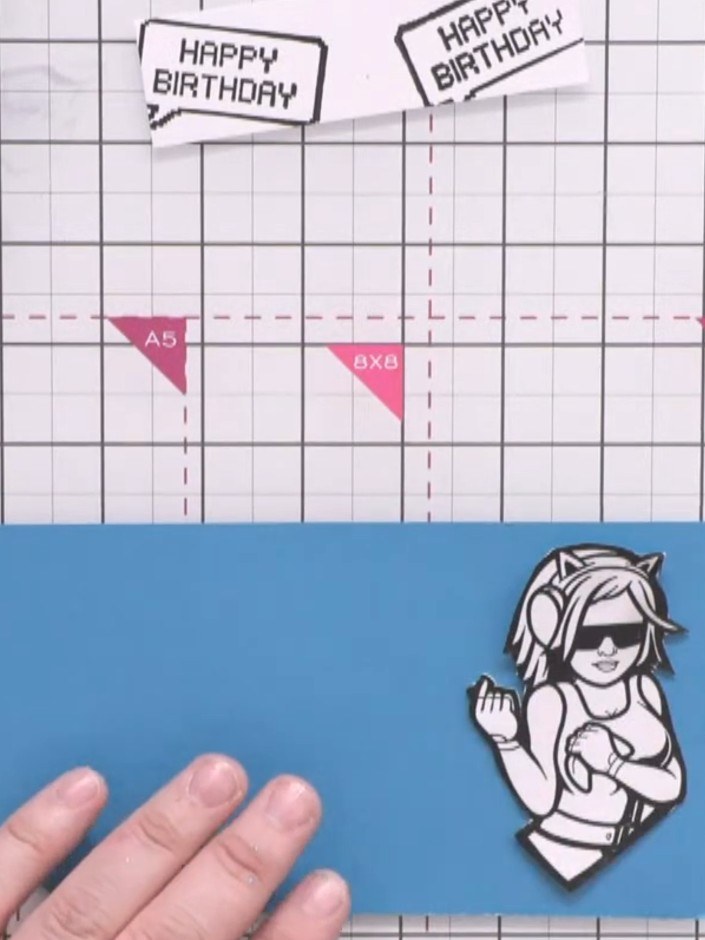
Cut a slightly larger rectangle from teal card to create a backing layer for your stamped character. Position the stamped character on the right side of the teal backing piece.
▶ regarder cette étape (37:30)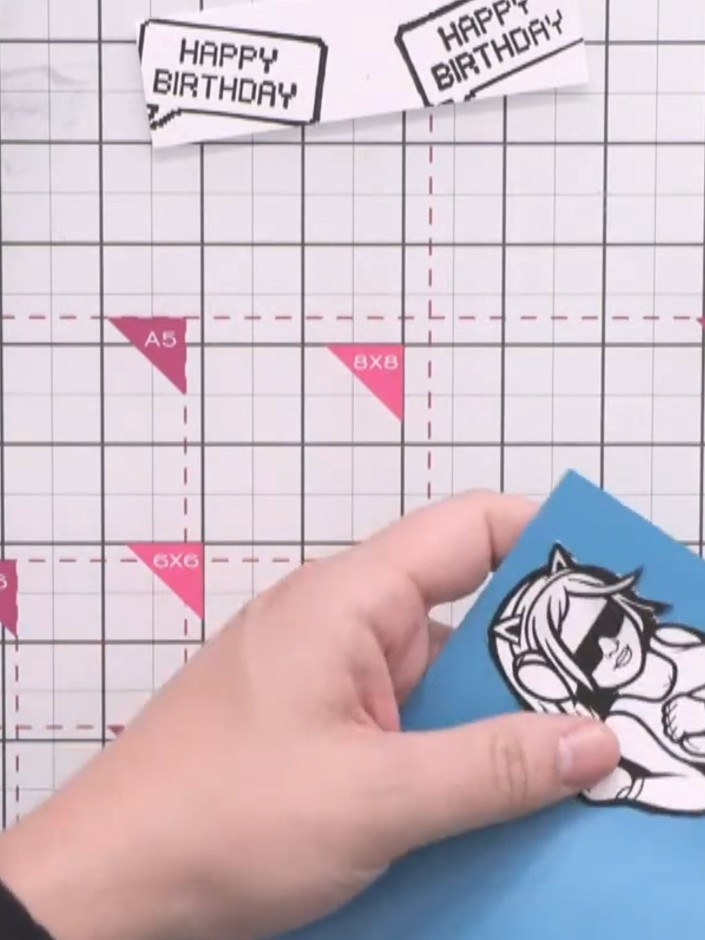
Apply tape runner adhesive to the back of the black-stamped character. Mount the character onto the blue coloured backing layer, positioning it centrally.
▶ regarder cette étape (38:00)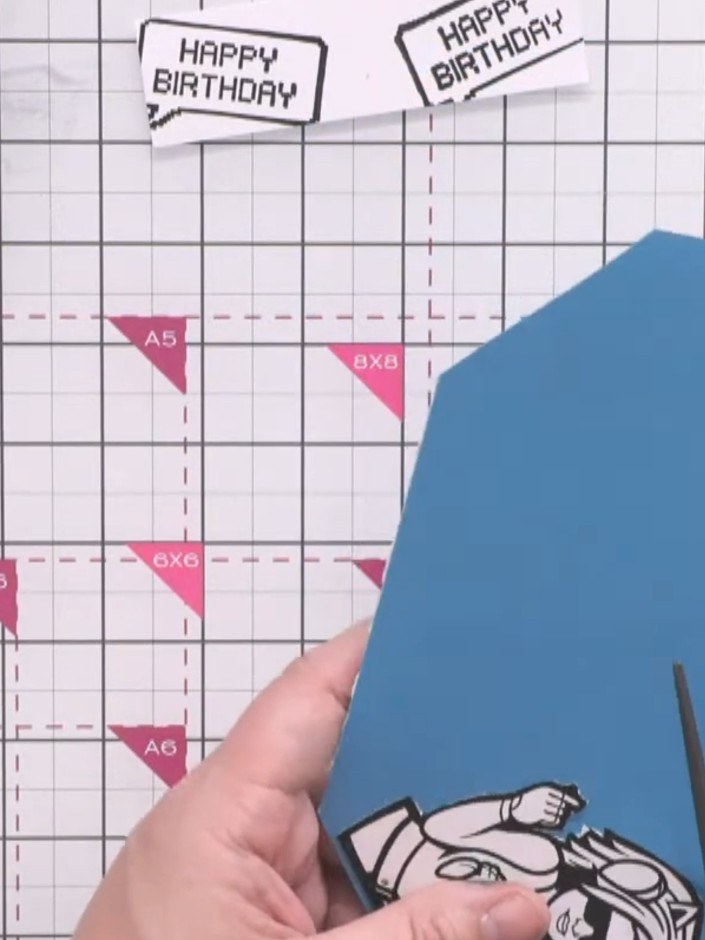
Cut around the coloured character, leaving a small blue border visible around the stamped image. Take care when cutting around detailed areas such as the hair and ears.
▶ voir cette étape (38:15)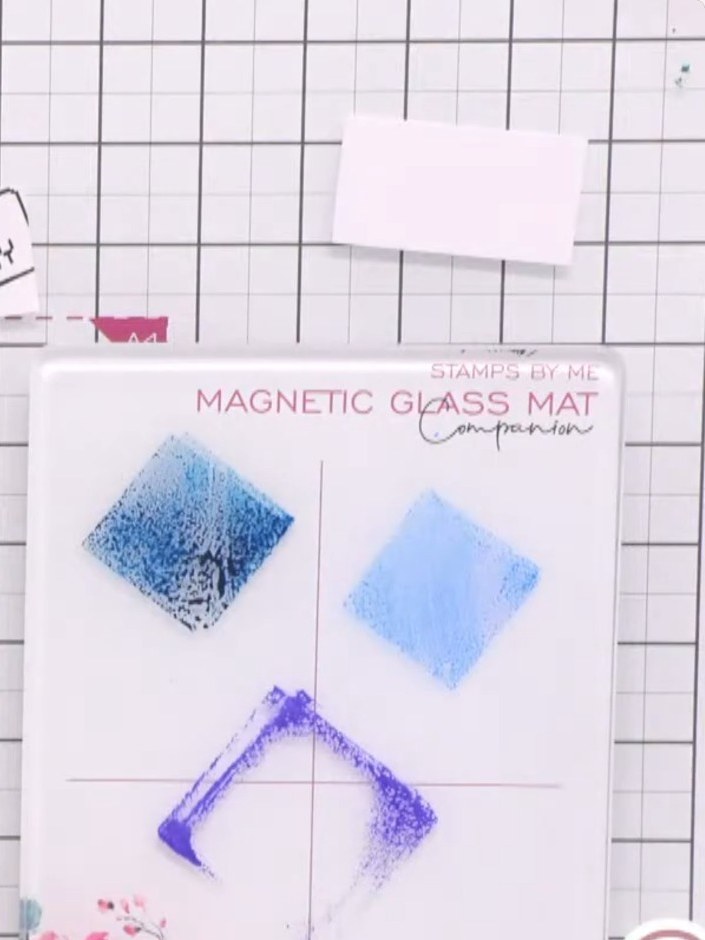
Prepare a watercolour palette with blue tones. Add a small amount of water to create a paint wash for colouring the stamped image.
▶ voir cette étape (39:15)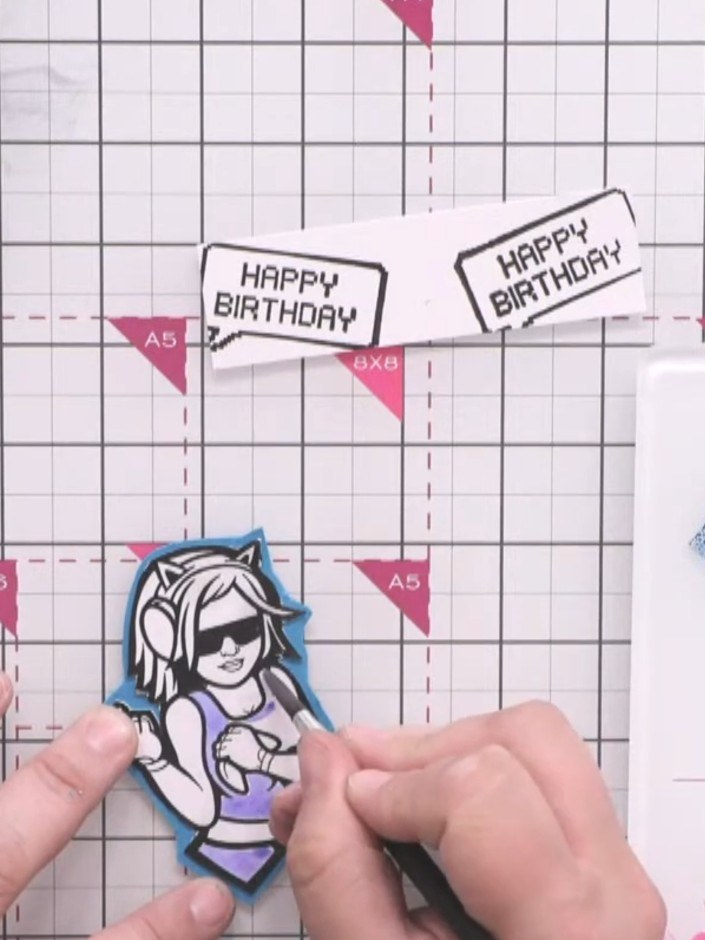
Paint the character's clothing with a base layer of lighter blue watercolour. Apply the colour to the top and skirt areas, building up the tone gradually.
▶ voir cette étape (39:45)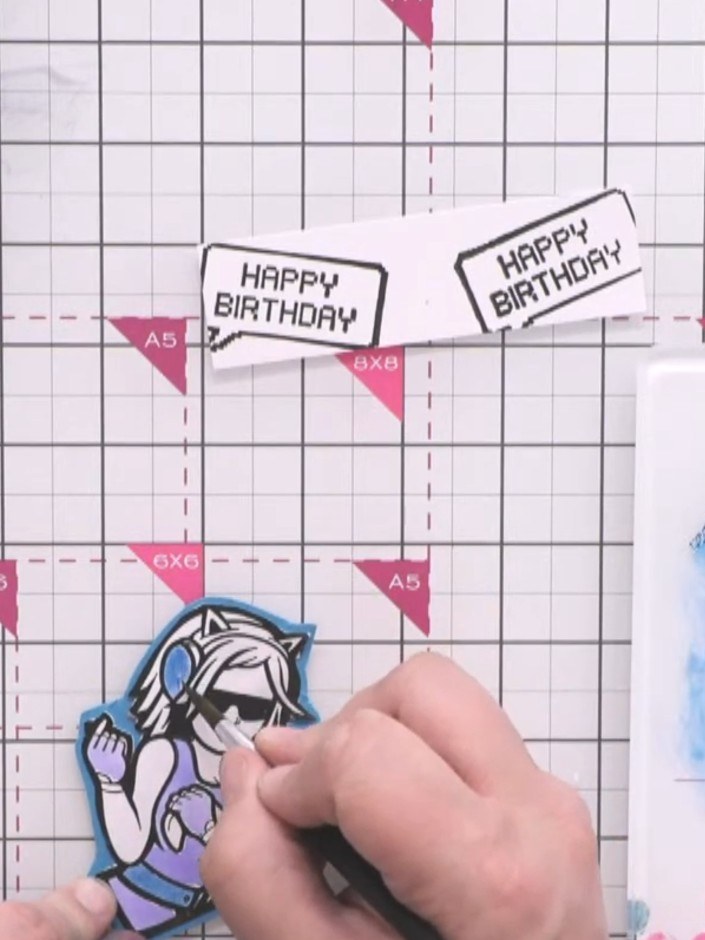
Add darker blue tones to the character's hair using varied shades to create depth and detail. Layer the colours to build dimension in the hair area.
▶ voir cette étape (40:15)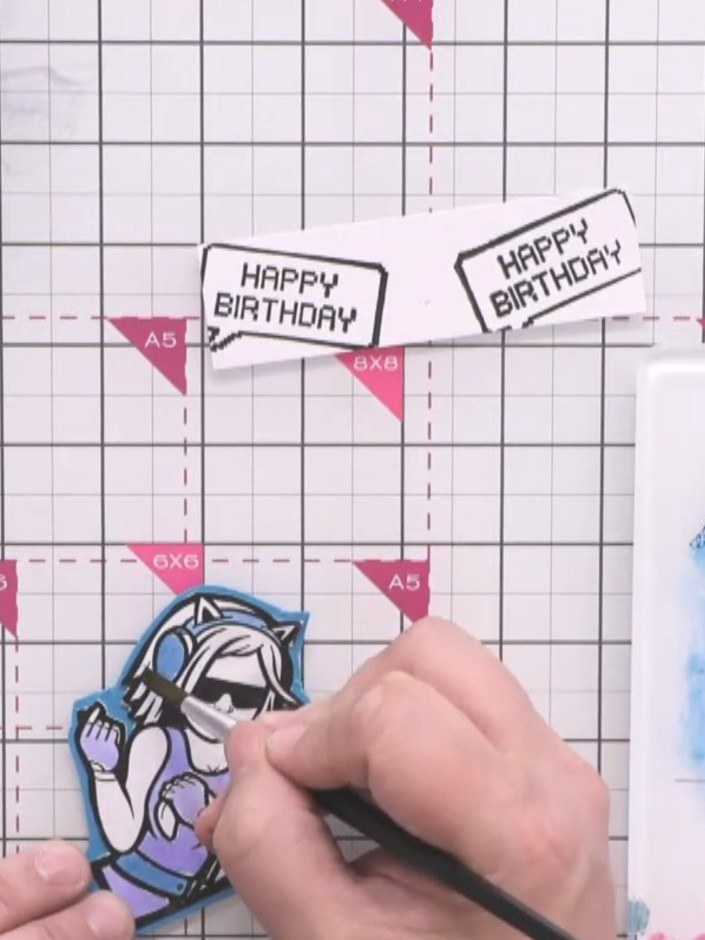
Paint the character's gloves with a lighter blue shade using a fine brush or pen.
▶ voir cette étape (40:45)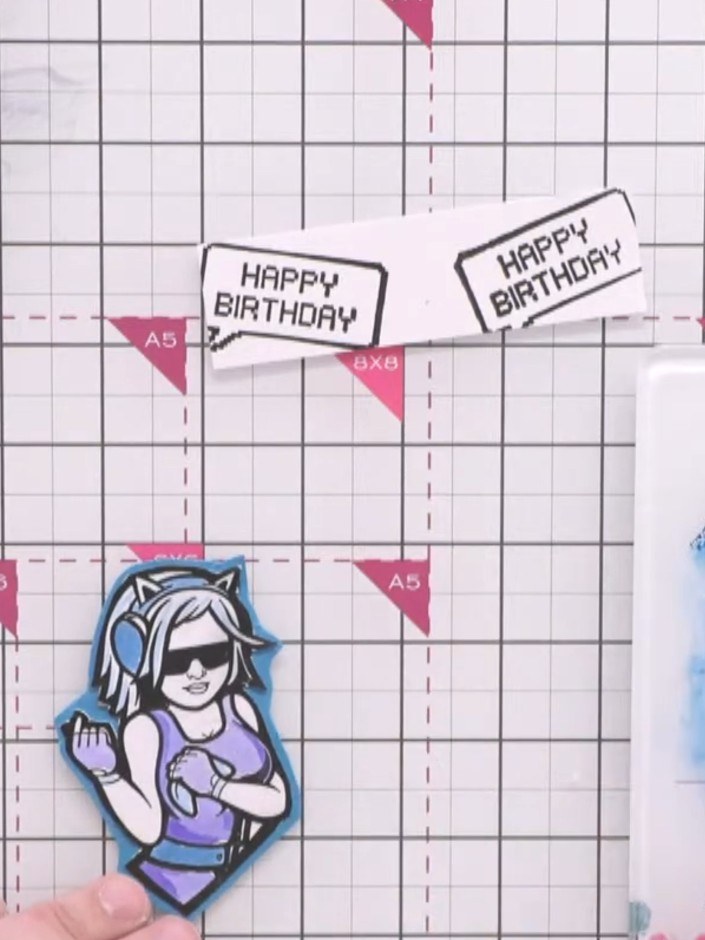
Add blue lipstick to the character's face using a fine brush for a pop of colour and extra detail.
▶ voir cette étape (41:15)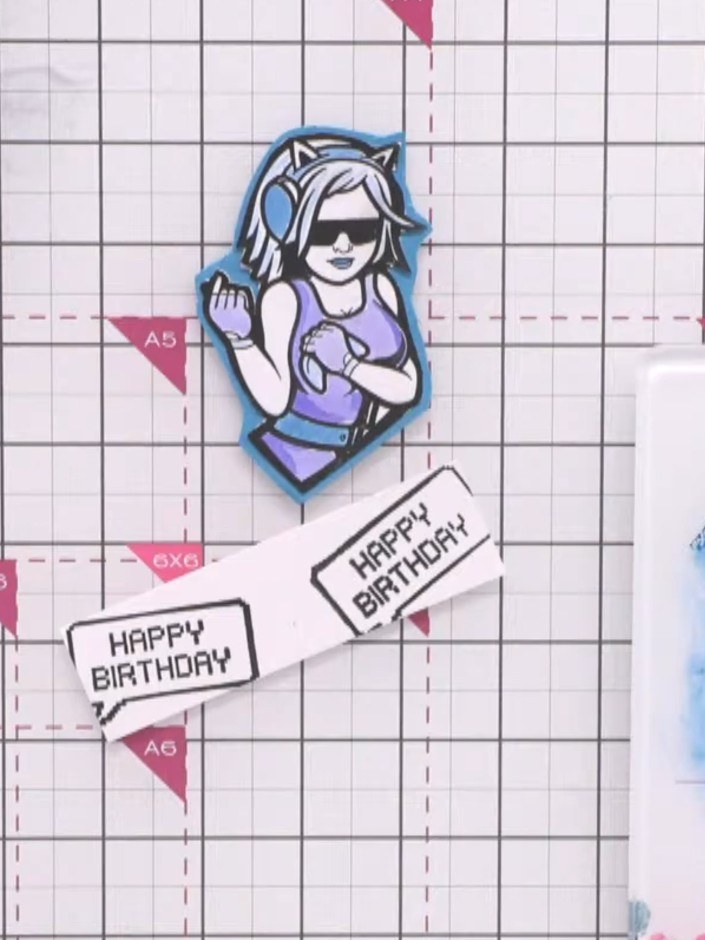
Allow the watercolour to dry completely before proceeding with card assembly. This ensures the colours don't smudge or bleed when handling the stamped elements.
▶ voir cette étape (41:30)Rédigé à partir de l'émission elle-même. Découvrez tous les guides de nos émissions · tutoriels gratuits · regarder en direct sur My Telly
