Give your friends €10 off their first order!
Refer a FRIEND








Prices change straight away. Every language is our own translation, not Google.
A project from our live show IDEAL WORLD - Join Toni and Yiannis for the latest Stamps By Me product launch - Broadcast Wed 12th March 25 · 12/03/2025 · watch it from 11:15
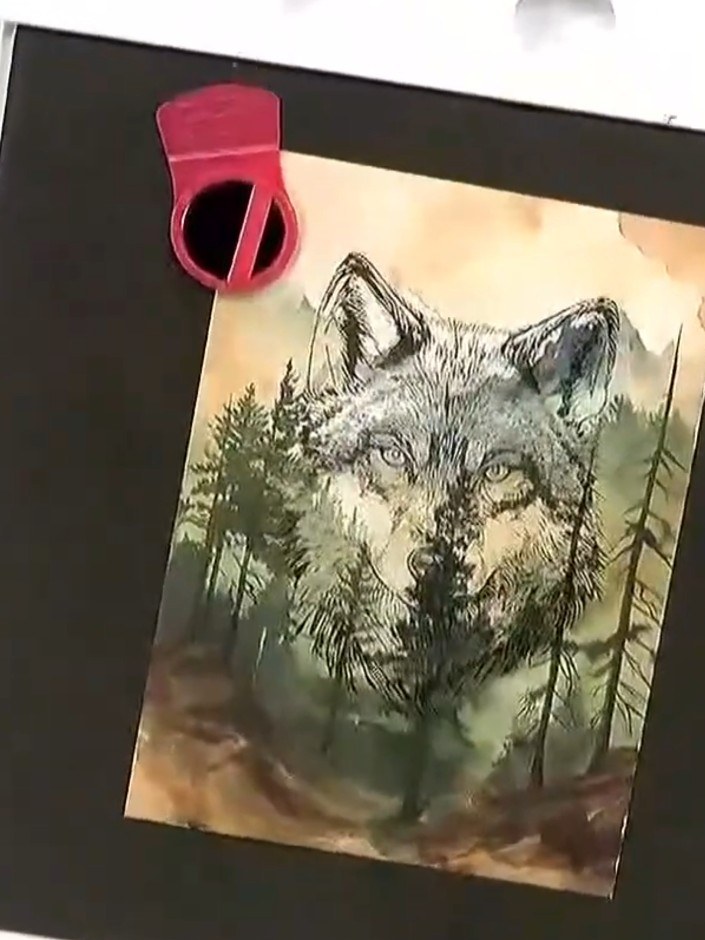
Create a striking woodland card featuring a detailed wolf stamp enhanced with atmospheric watercolour effects. The wolf is brought to life with subtle green and brown tones, set against a soft background with hints of purple and peach. Using stamps, stencils and a masking technique, you'll achieve a professional halo effect that makes the wolf stand out beautifully.
 Stamps By Me - Woodland Wolf - Stamp and Stencil Set - 030724ASEE IT
 Stamps By Me - Woodland Wildlife the Next Chapter - 5 X 7 Paper Collection - 030724BSEE IT
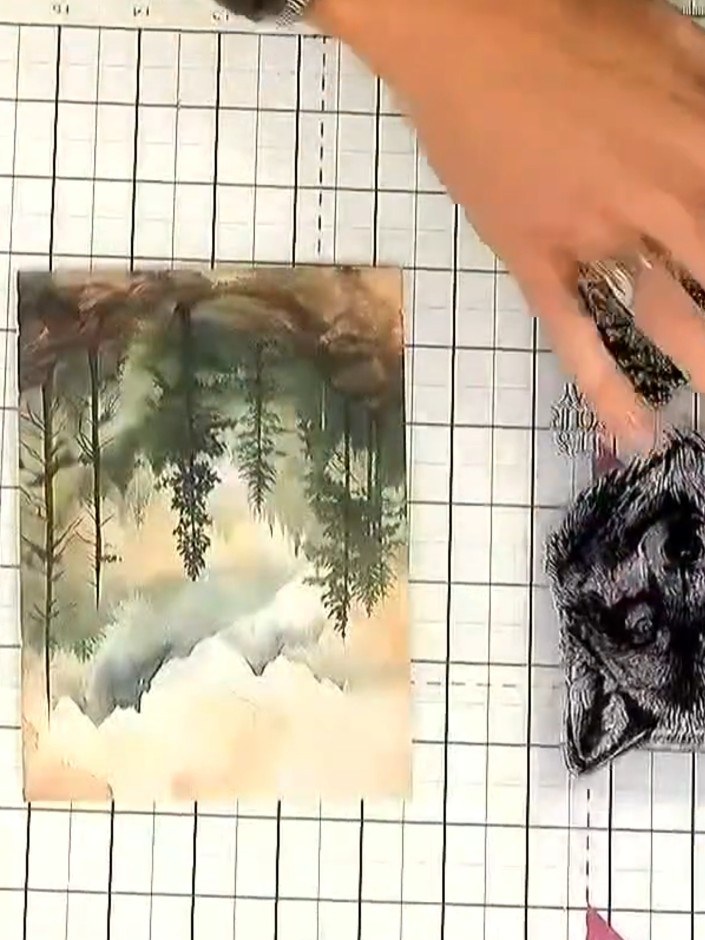
Trim a piece of patterned paper from the Woodland Wildlife collection to your desired card size, selecting a design that complements the wolf theme.
▶ watch this step (11:30)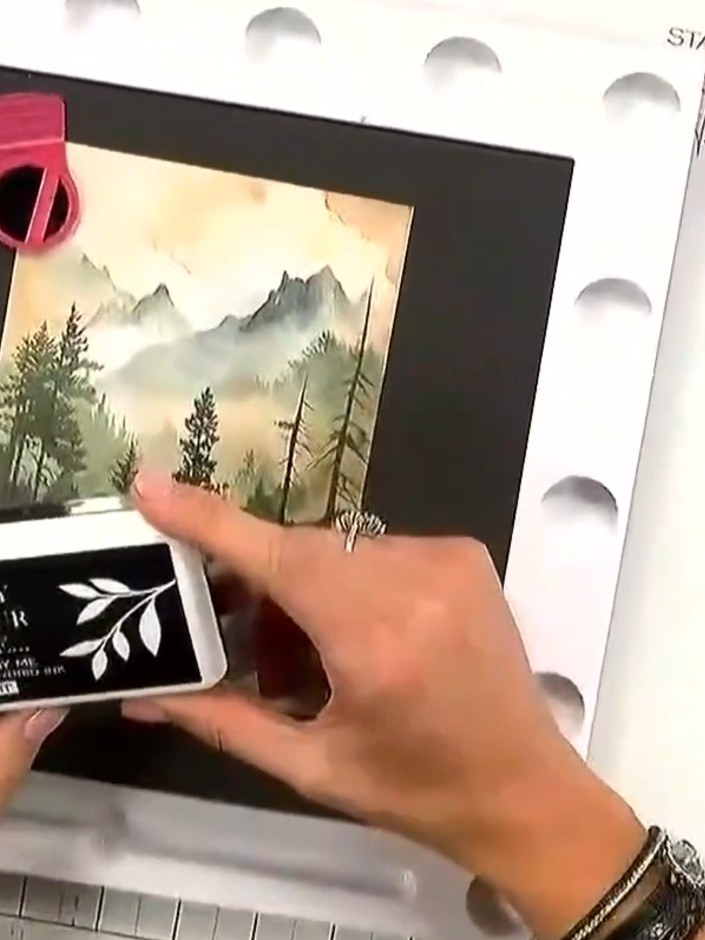
Stamp the wolf image onto the centre of your watercolour-effect card using a dark ink pad. Press firmly to ensure all the detail is captured clearly.
▶ watch this step (12:30)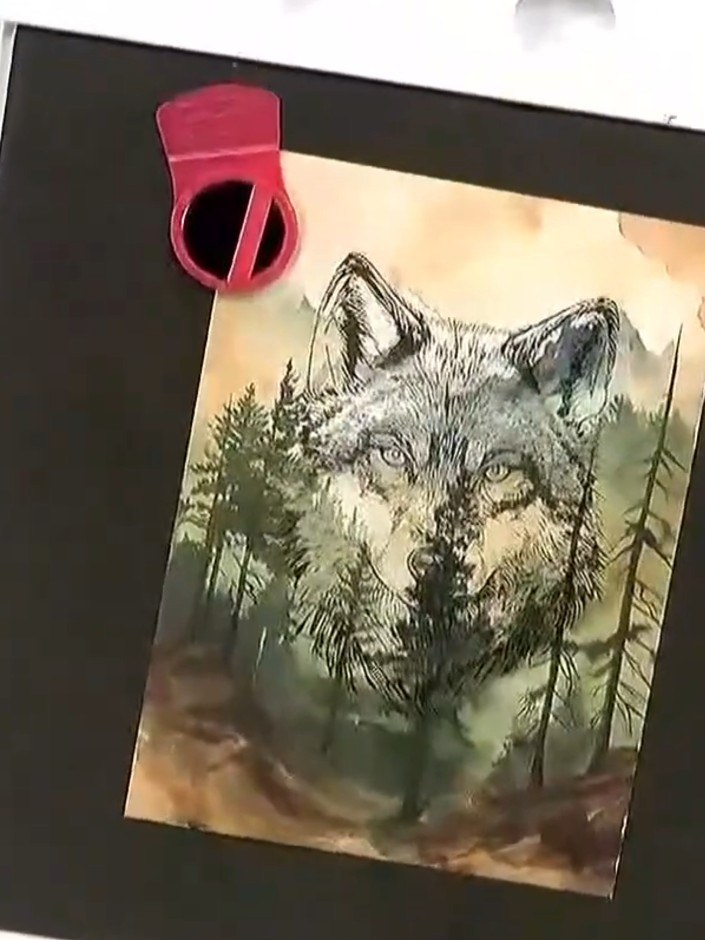
Position the interior mask stencil over the stamped wolf image to protect the design whilst working on the background. Hold it firmly in place with a pink magnetic glass mat clip at the top.
▶ watch this step (13:15)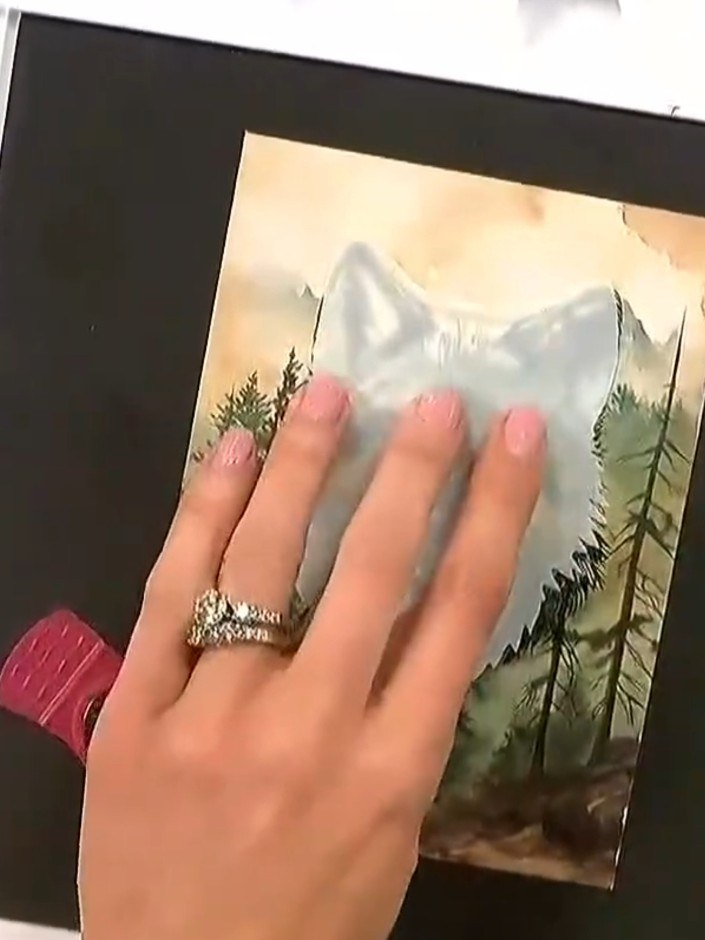
Using a brush, apply white ink around the wolf image to create a halo effect. This will help the wolf stand out from the woodland background. Blend the ink gently outwards from the wolf's edges.
▶ watch this step (15:00)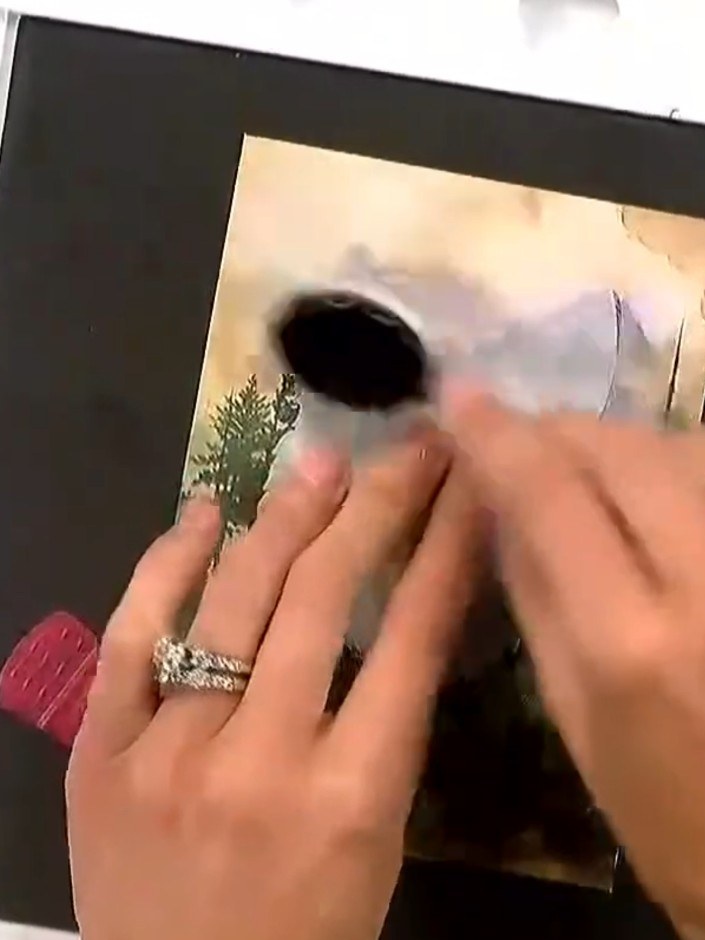
Carefully peel away the mask stencil from the black card to reveal the white halo effect around the stamped wolf image.
▶ watch this step (15:30)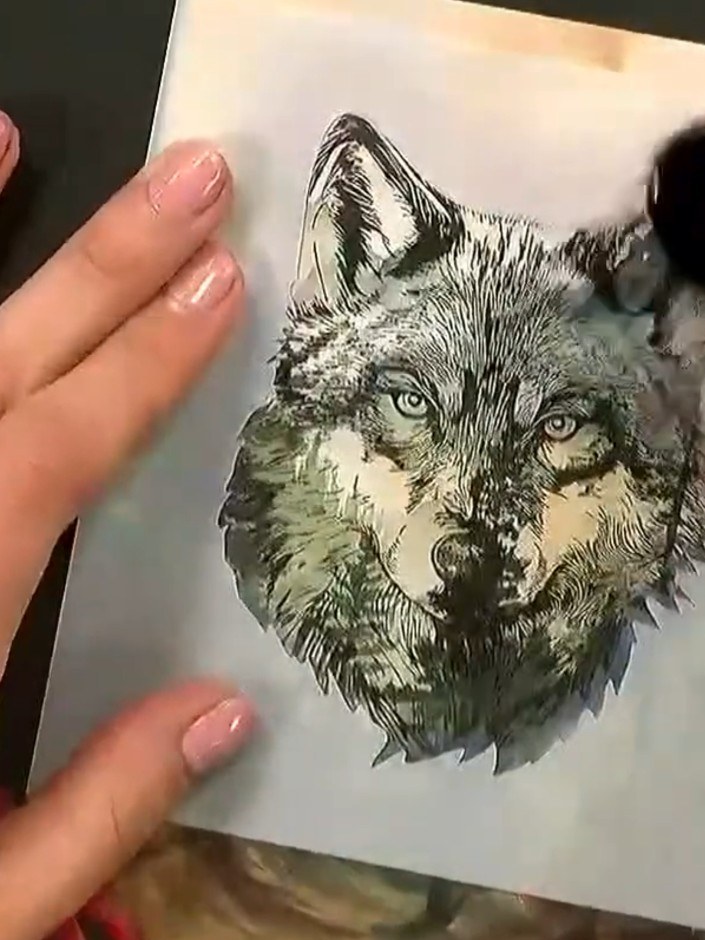
If desired, use the exterior stencil to add additional colour or texture around the stamped wolf design. Apply ink through the stencil to create a subtle halo effect that enhances the woodland scene.
▶ watch this step (18:00)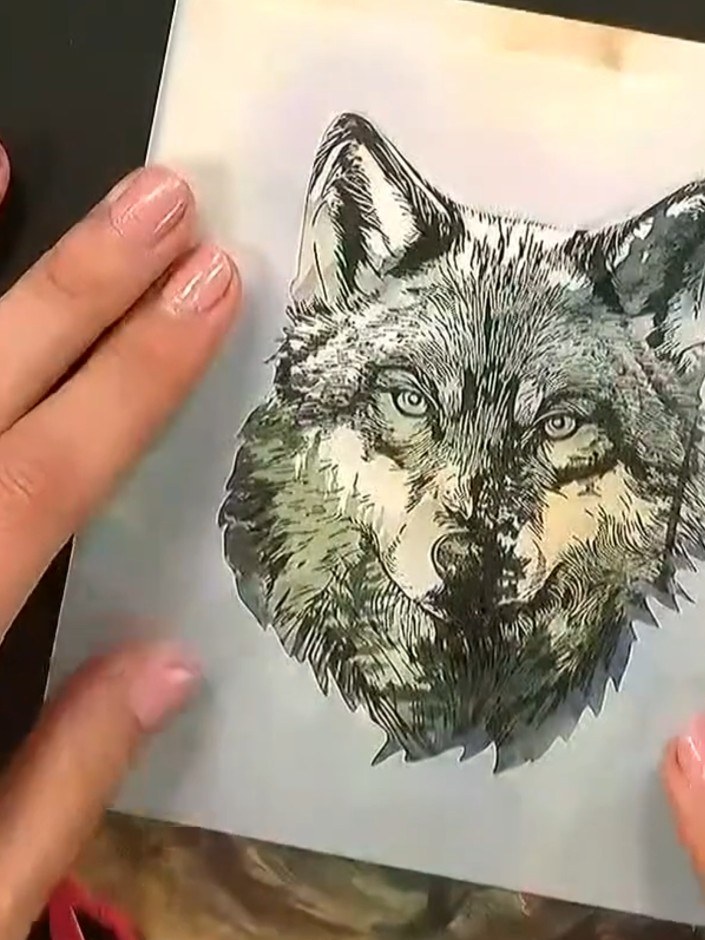
Mount your finished wolf image onto a card blank using adhesive. The stamped and coloured design creates a striking focal point for your woodland-themed card.
▶ watch this step (18:15)Written up from the show itself. See every guide from our shows · free how-to guides · watch live on My Telly


