Give your friends €10 off their first order!
Refer a FRIEND








Prices change straight away. Every language is our own translation, not Google.
A project from our live show ONE DAY SPECIAL - Join Toni for her brand new launch - Broadcast 6th December 24 · 06/12/2024
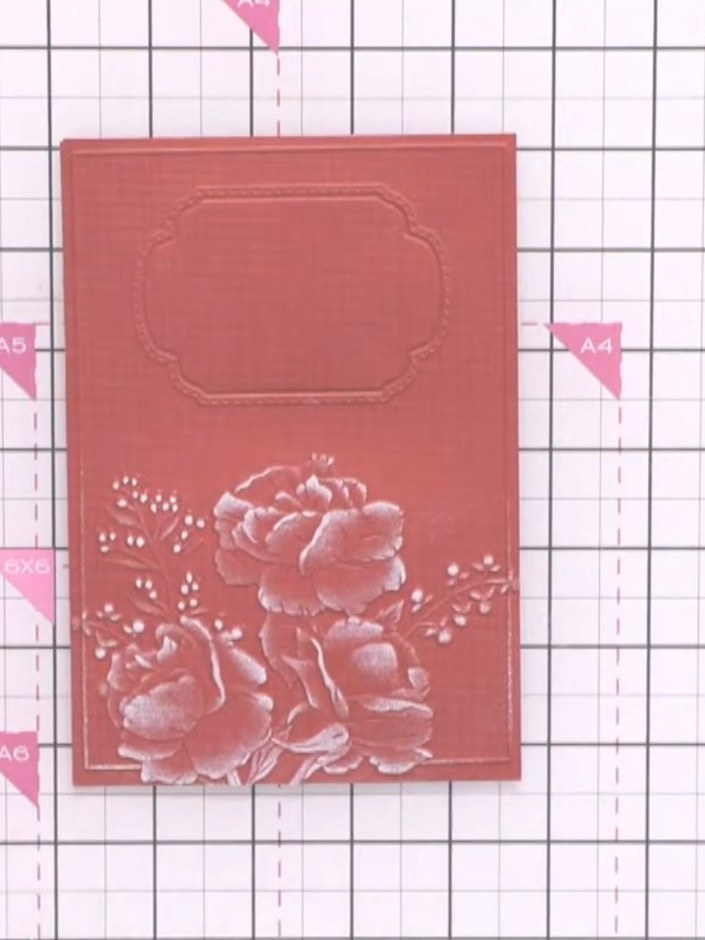
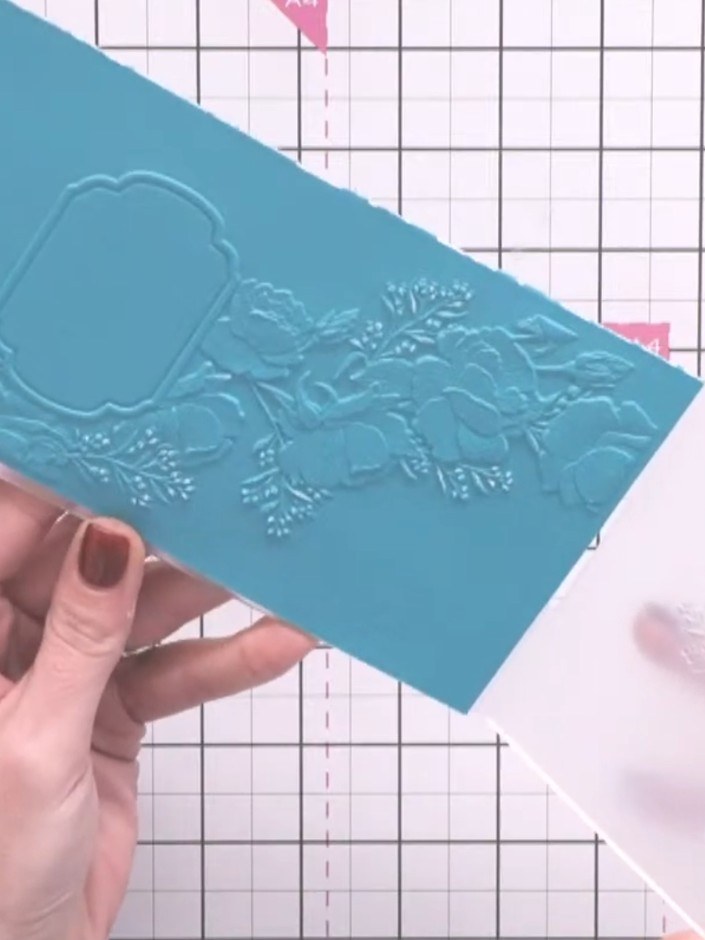
Create an elegant slimline card featuring a beautifully embossed design in coral and turquoise tones. This project uses the All Occasions embossing folder in a smaller format, with a clever technique of inking directly onto the folder to achieve stunning detail on both the raised and debossed surfaces. The result is a sophisticated card perfect for any occasion.
 1
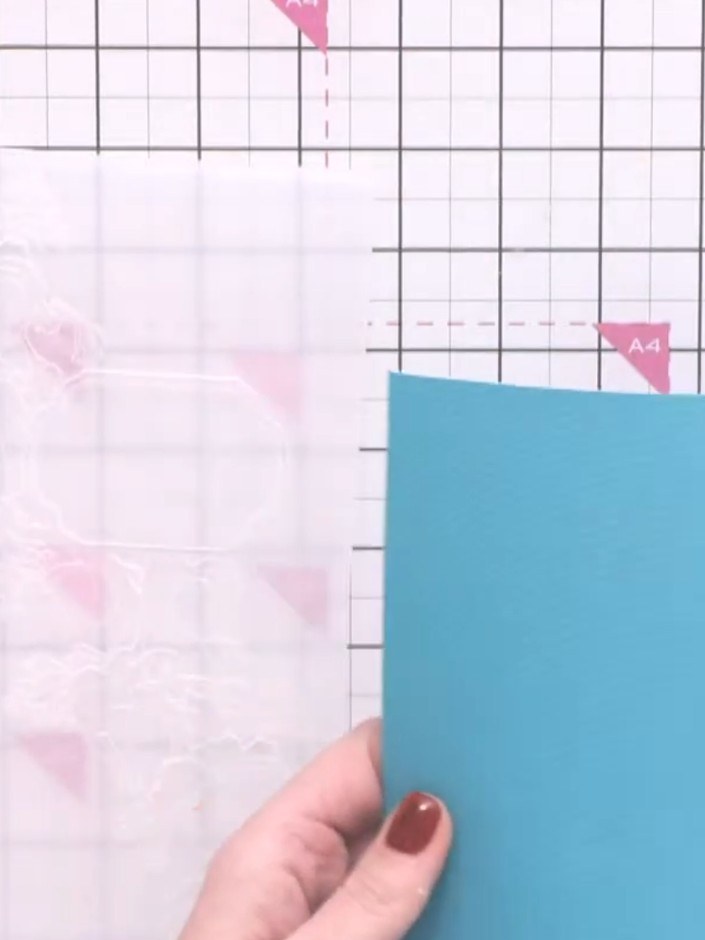
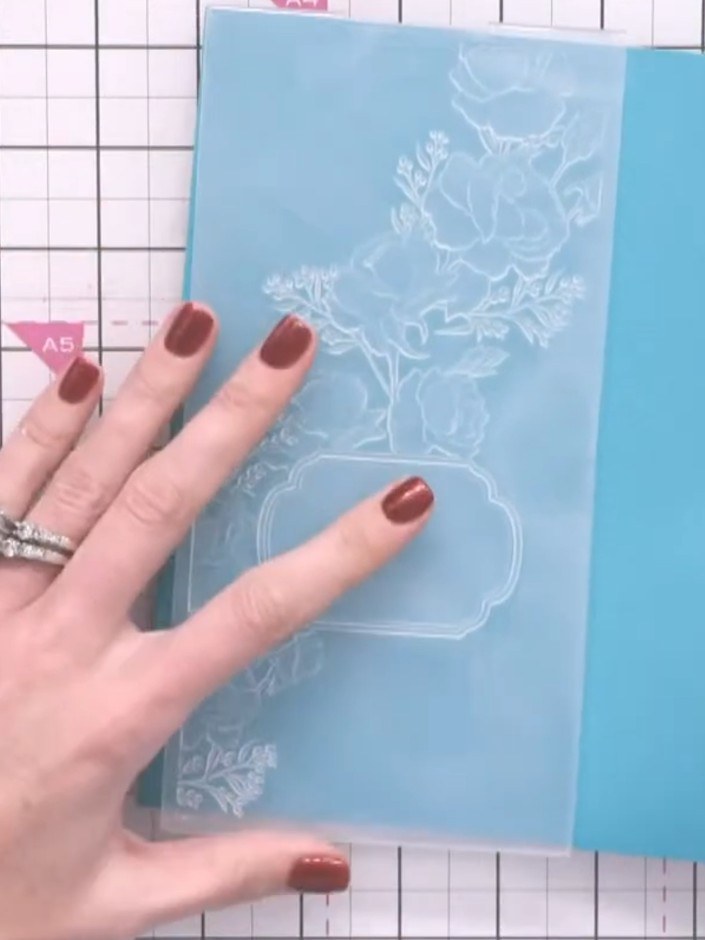
Select a piece of DCWV cardstock in a coordinating colour for your slimline card. Place the turquoise cardstock on your cutting mat.
 2
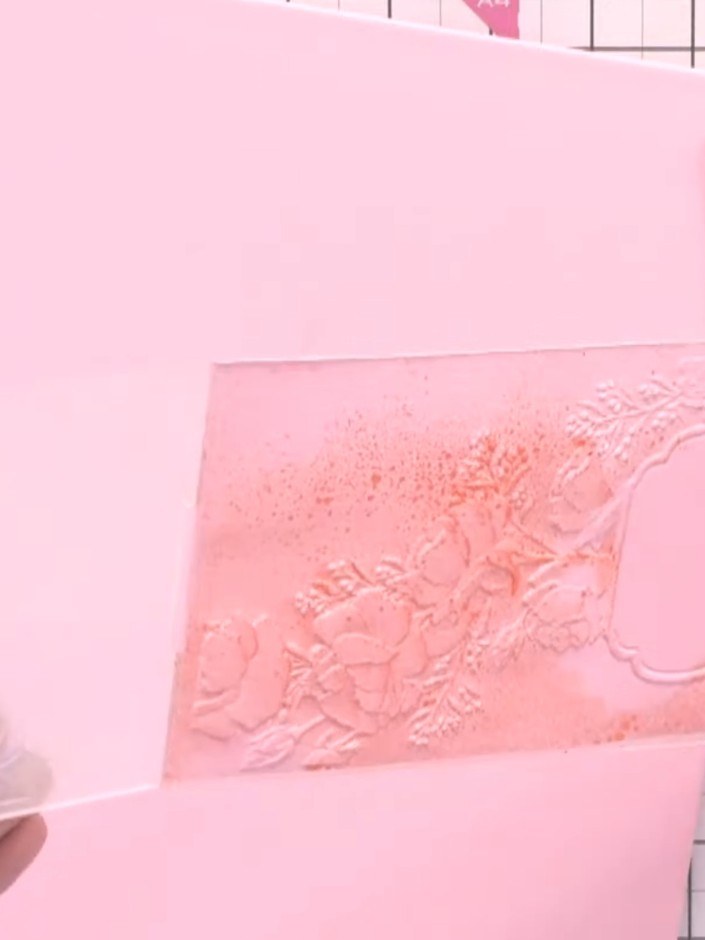
Ink the raised side of the All Occasions slimline embossing folder with your chosen ink pad colour. Apply the ink evenly across the embossed design.
 3
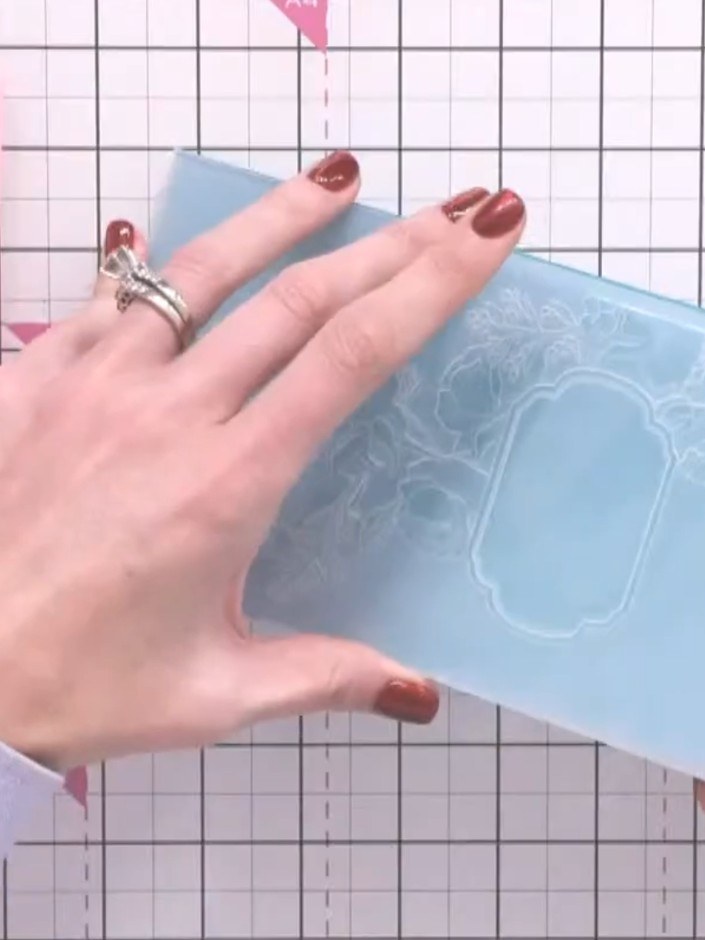
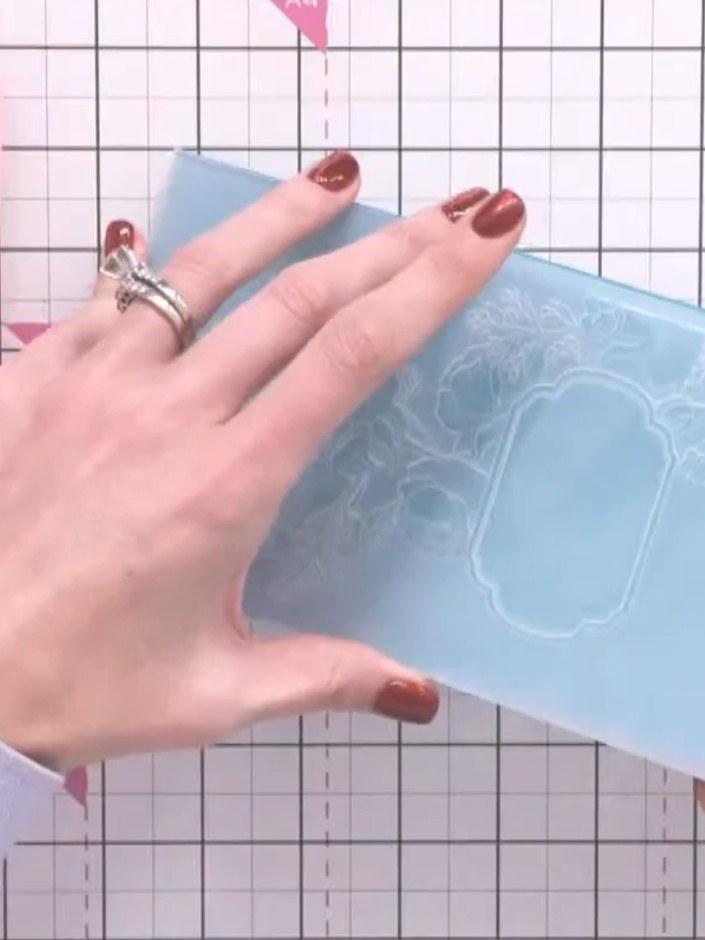
Use a soft brush to gently blend and soften any harsh lines in the inked areas of the embossed design.
 4
Place the inked embossing folder onto the pink base plate of your die-cutting machine, with the embossed design facing up.
 5
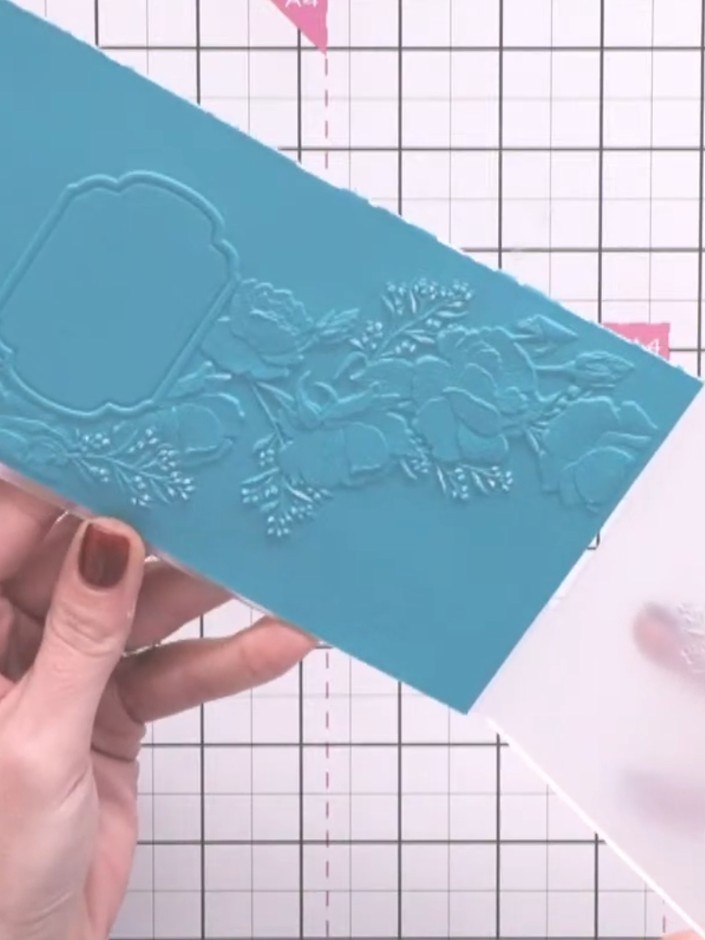
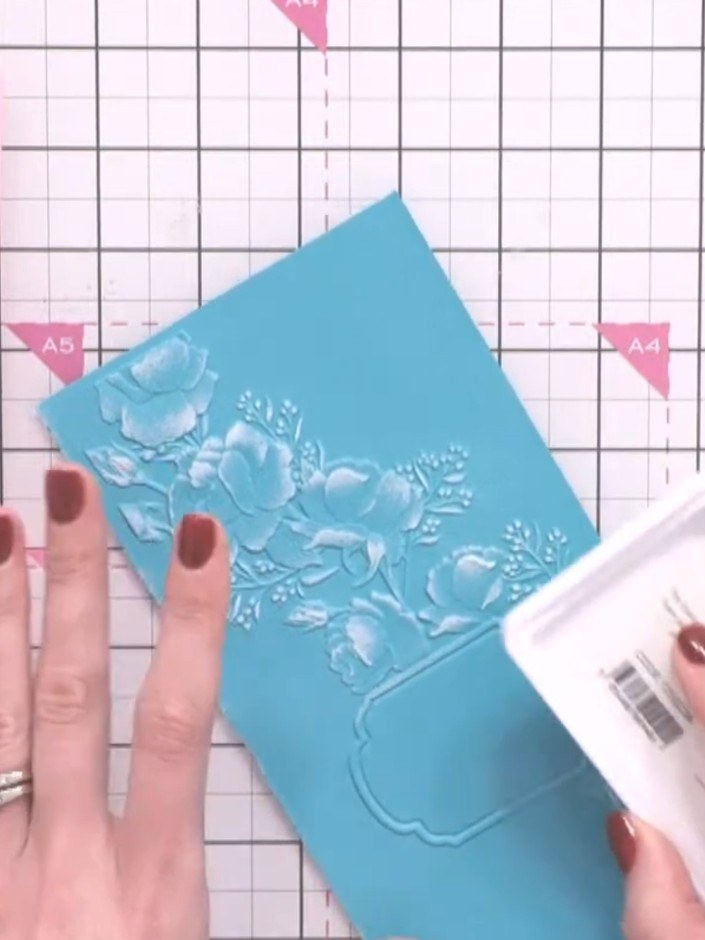
Position your blue cardstock on top of the embossing folder on your craft mat, ensuring the embossed design is face up and the cardstock covers the embossed area.
 6
Place a clear plate on top of the embossed card and run through the die-cutting machine to set the embossing.
 7
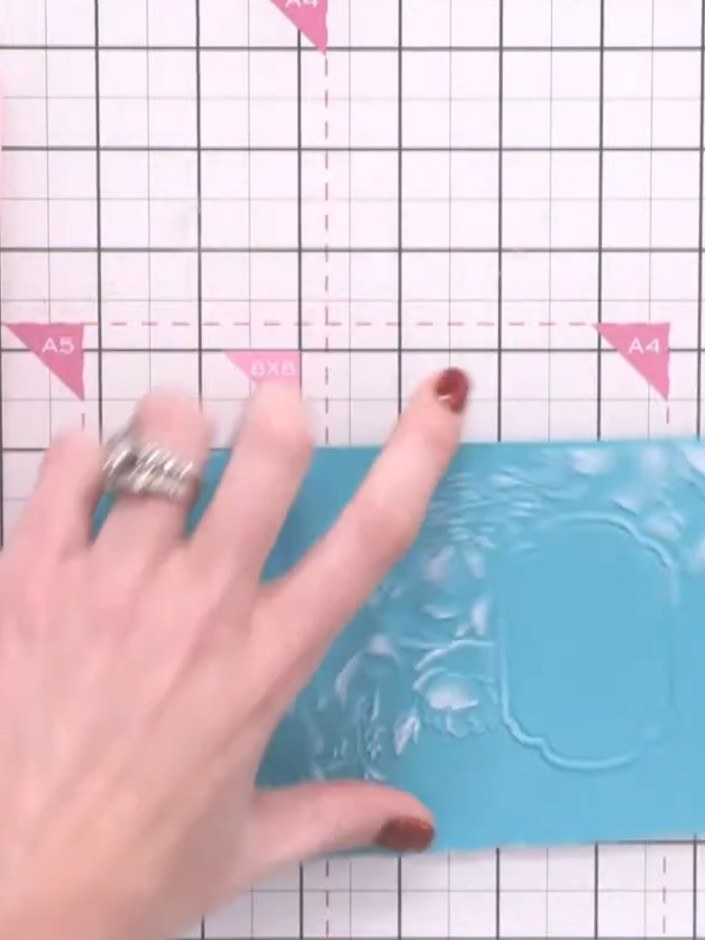
Flip the card over to reveal the debossed side. Using a complementary ink pad colour, gently ink over the debossed surface to add subtle colour to the recessed areas. Run the card through the die-cutting machine again to transfer the ink from the debossed areas onto the card surface.
Share your make with the Stamps By Me community - and keep this guide for next time.
Written up from the show itself. See every guide from our shows · free how-to guides · watch live on My Telly · the previous layout